DIY Paper Craft Birdhouse Valentine Tutorial
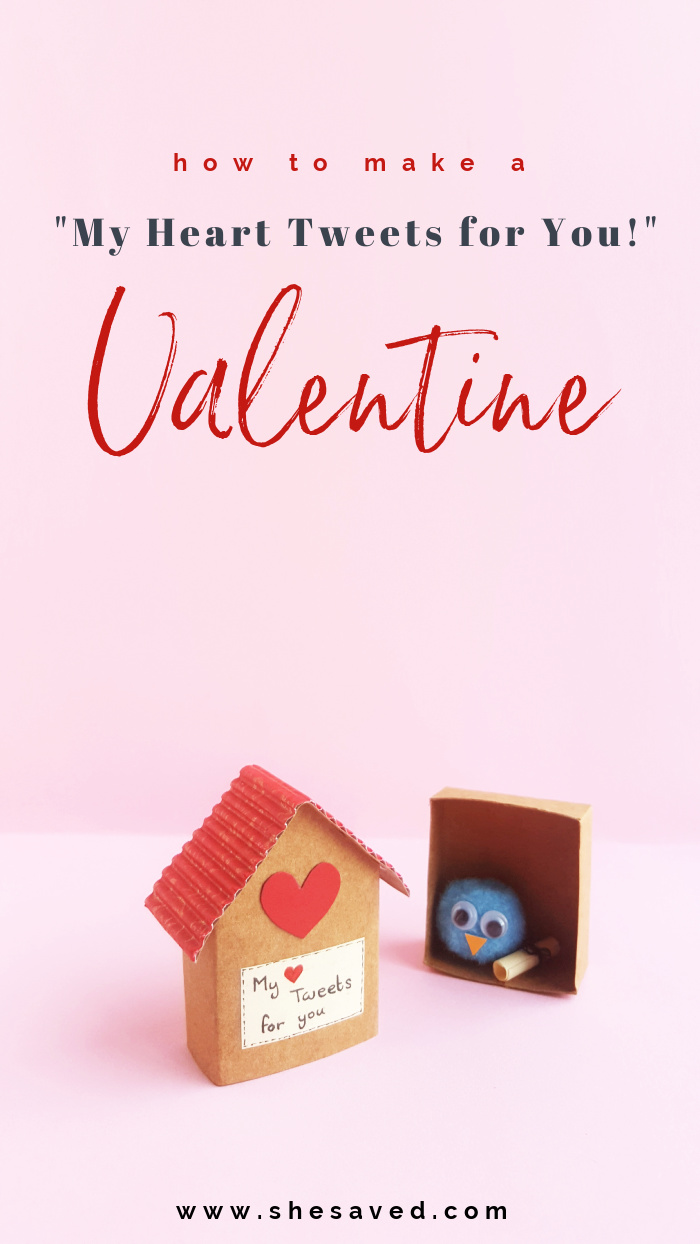
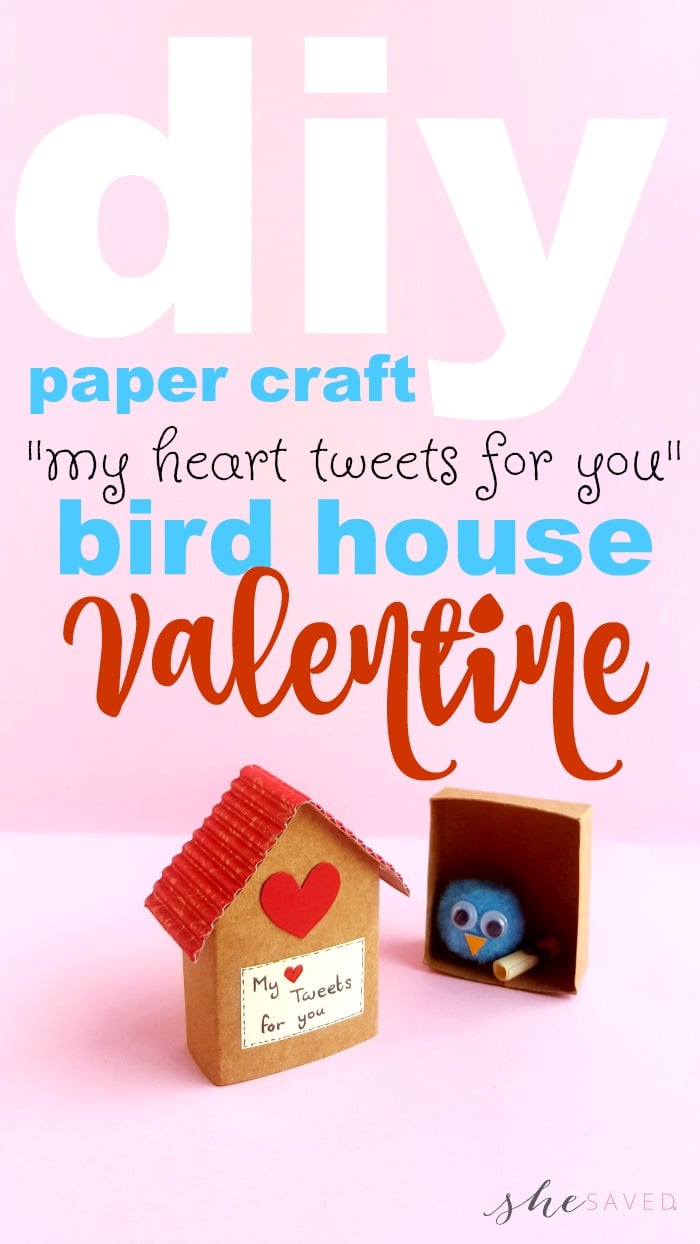
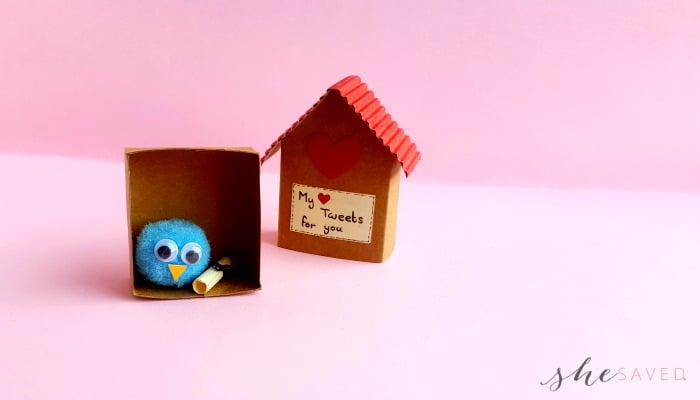
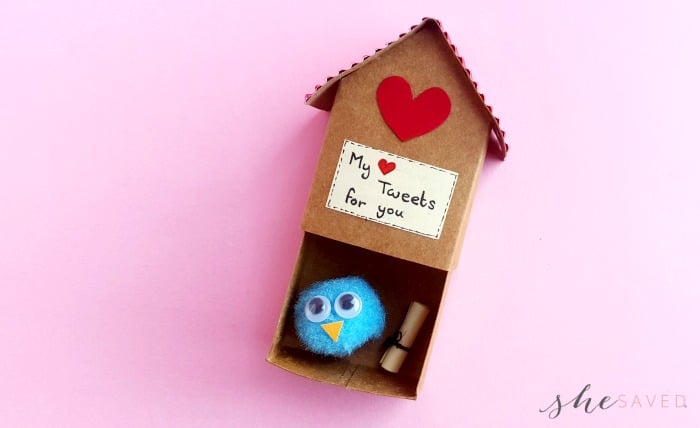
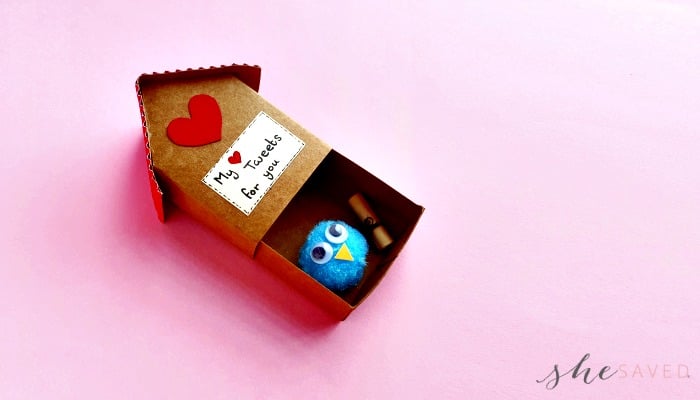
I can barely handle the cuteness level of this fun DIY paper craft birdhouse Valentine, isn’t it the most darling thing ever!?? My heart TWEETS for you! …. that’s the sweetest!!
DIY Paper Craft Birdhouse Valentine Tutorial
I think that a huge part of gift giving is the thought and time that you put into the gift.
My daughter loves DIY crafts so it’s something that I’ve really made a point to encourage and share with her. I love paper crafts because for very little investment, she can make so many neat things and is really only limited by her imagination!
You can check out some of our other favorite homemade gift ideas here.
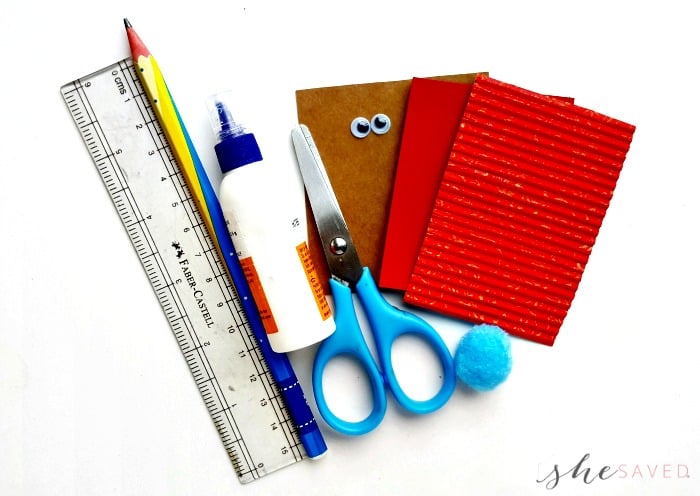
List of Supplies for making Birdhouse Valentines
- Colored cardstock paper
- Pencil
- Black marker (fine point)
- Scissors
- Craft glue
- Pompom
- Googly eyes
- Ruler
Instructions for making Birdhouse Valentine’s Day Matchbox
Step ONE
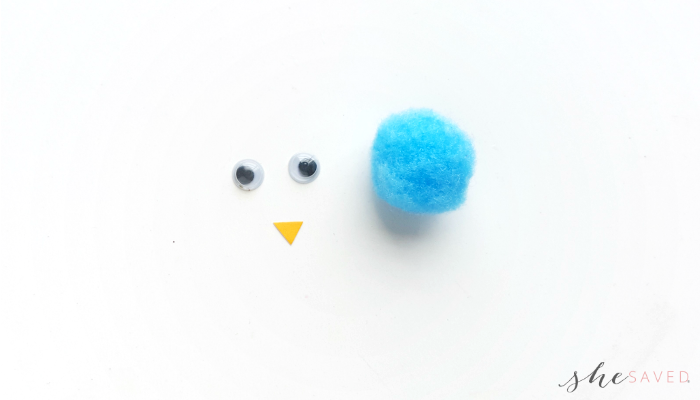
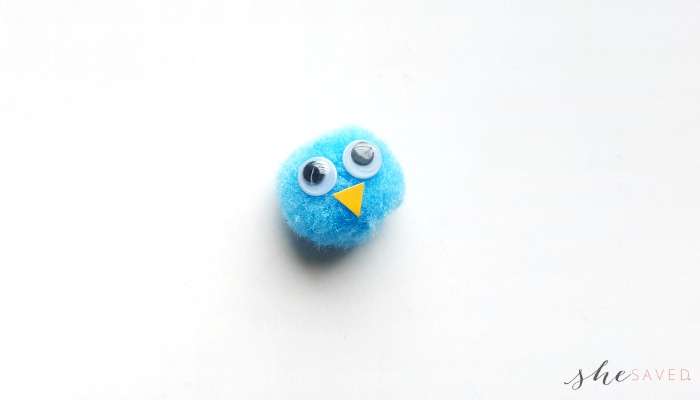
Start with a small pompom and 2 googly eyes. Cut out a small triangle shape for the beak (orange or yellow).
Step TWO
Glue the eyes and the triangle onto the pompom to make your cute little pompom bird!
The Matchbox Birdhouse body
Step THREE
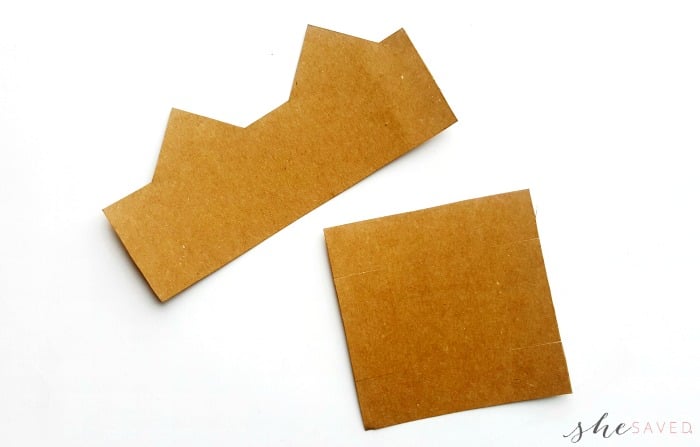
Select cardstock papers for the matchbox. Trace the template patterns on the cardstock paper and use scissors to cut them out.
Step FOUR
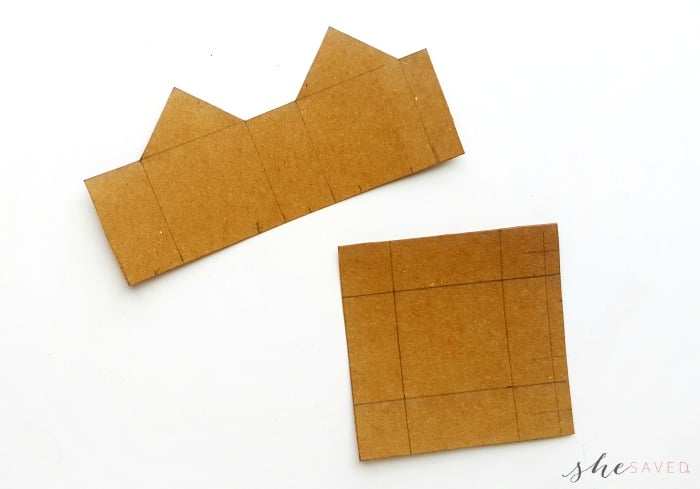
Notice the grey lines on the template patterns? Use a ruler to trace these lines on the cut out cardstock papers. These lines are folding lines. And the dash lines are for cutting slits.
Step FIVE
Take the square cut out and cut slits along the dash lines. Make folds along the grey lines as shown in the template.
Step SIX
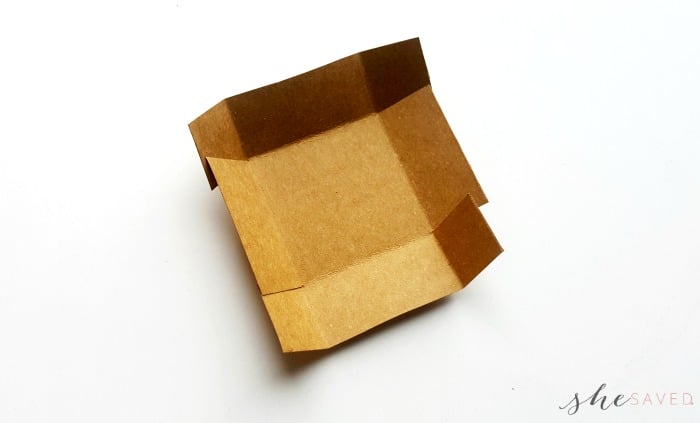
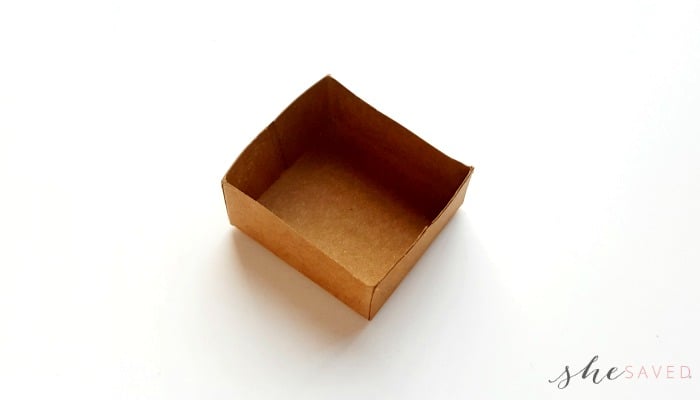
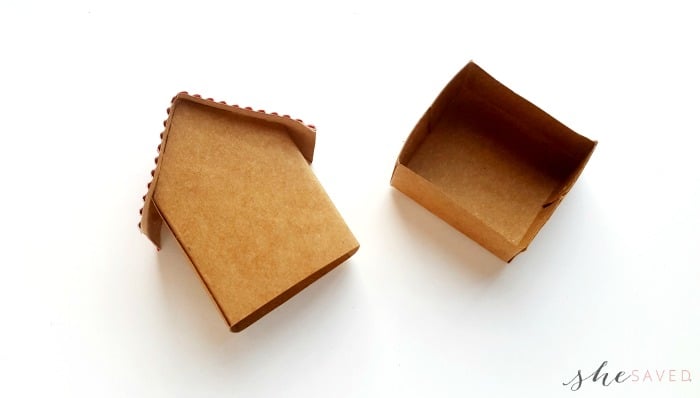
Fold up the sides of the square piece and join the slit part to the side next to it. Glue and close all 4 sides to make the box.
Step SEVEN
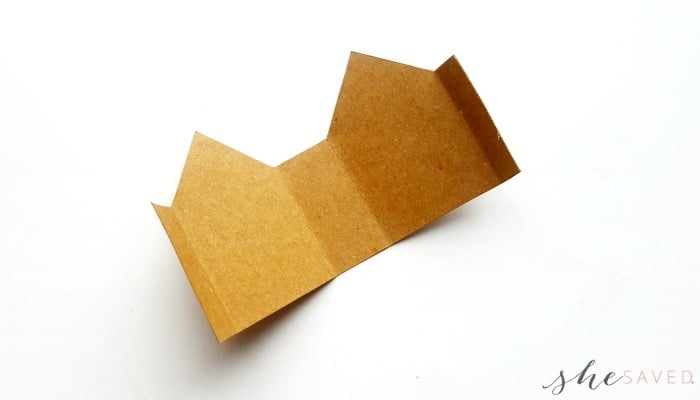
Take the birdhouse base cut out and make folds along the shown lines from the template.
Step EIGHT
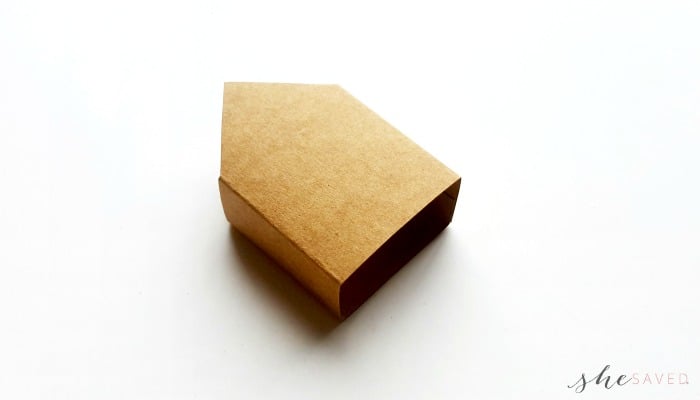
Fold and overlap the 2 open end rectangular parts. Apply glue to join and close the side.
Paper Crafted Birdhouse Roof
Step NINE
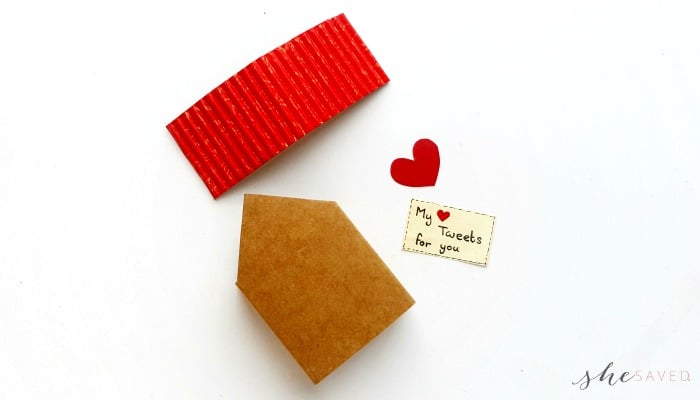
I love the look of colored corrugated cardboard paper as the roof. Trace the pattern for the roof on whatever type of paper that you choose for the roof and cut it out using scissors. Cut a small heart shape and a small square piece from stationary paper. Write down a quote on the small paper cut out.
Step TEN
Fold the roof into half and stick it on the top end of the birdhouse to complete the outer part of the matchbox birdhouse.
Step ELEVEN
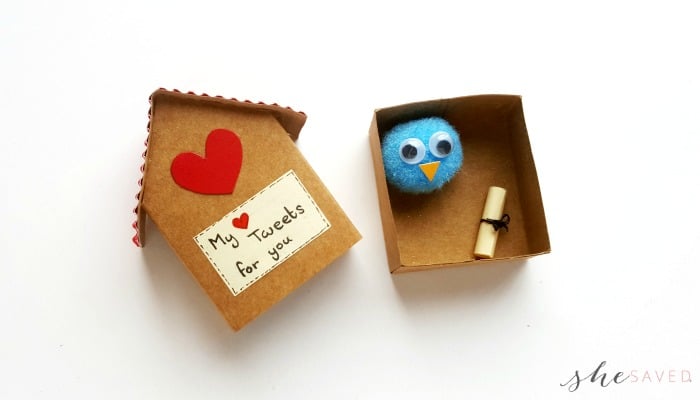
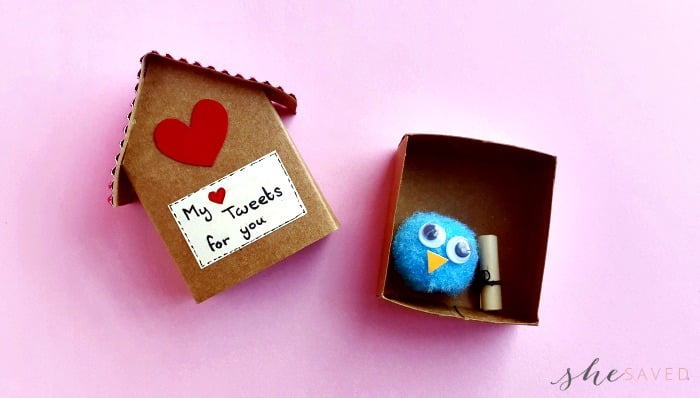
Glue the heart cut out and the quote on the front side of the matchbox birdhouse. Place the pompom bird inside the box (inner part of the matchbox). You can put any kind of tiny gift along with the bird. Maybe a candy heart or a little chocolate or I love the ideas of writing a tiny letter and then rolling it and tying it with string (as shown).
Step TWELVE
Place the box inside the birdhouse box, push it in and gift it to your Valentine! Isn’t that just the most darling thing ever!?
This DIY Birdhouse Valentine is one of my all time favorites and will definitely become a cherished keepsake for the person that you give it to!

DIY Paper Craft Birdhouse Valentine Tutorial
I can barely handle the cuteness level of this fun DIY paper craft birdhouse matchbox Valentine, isn’t it the most darling thing ever? Made with just a few supplies, it's affordable and a fun little keepsake to give this Valentine's Day!
Materials
- Colored cardstock paper
- Craft glue
- Pompom
- Googly eyes
Tools
- Pencil
- Black Marker
- Scissors
- Ruler
Instructions
Step -1
Grab a small pompom and 2 googly eyes. Cut out a small triangle shape from orange or yellow colored cardstock (or any color you prefer). The triangle cut out will be the beak of the bird.
Step -2
Simply stick the eyes and the triangle cut out on the pompom to make the tiny pompom bird!
Step -3:
Select cardstock papers for the matchbox. Trace the template patterns on the cardstock paper and use scissors to cut them out.
Step -4:
Notice the grey lines on the template patterns? Use a ruler to trace these lines on the cut out cardstock papers. These lines are folding lines. And the dash lines are for cutting slits.
Step - 5:
Take the square cut out and cut slits along the dash lines. Make folds along the grey lines as shown in the template.
Step - 6:
Fold up the sides of the square piece and join the slit part to the side next to it. Glue and close all 4 sides to make the box.
Step - 7:
Take the birdhouse base cut out and make folds along the shown lines from the template.
Step - 8:
Fold and overlap the 2 open end rectangular parts. Apply glue to join and close the side.
Step - 9:
I’m using a colored corrugated cardboard paper to make the roof. Trace the pattern for the roof on any kind of paper selected for the roof and cut it out using scissors. Cut a small heart shape and a small square piece from stationary paper. Write down a quote on the small paper cut out.
Step - 10:
Fold the roof into half and stick it on the top end of the birdhouse to complete the outer part of the matchbox birdhouse.
Step - 11:
Glue the heart cut out and the quote on the front side of the matchbox birdhouse. Place the pompom bird inside the box (inner part of the matchbox). You can put any kind of tiny gift along with the bird. Maybe write down a tiny letter, roll the letter and tie it using a string.
Step -12:
Place the box inside the birdhouse box, push it in and gift it!

Meet the author – Keri Lyn
The creative and frugal mind behind She Saved for over 12 years now, Keri Lyn shares her adventures in parenting along with her love for family travel, country living and brand marketing. A self-proclaimed “brand loyalist”, Keri Lyn is known for her strong and enthusiastic voice when it comes to the products and brands that she loves. She Saved has become a community for like-minded consumers who appreciate saving money, time and sanity by getting the best deals on quality products and experiences.





Hola Keri! I have everything assembled to make this DARLING project! I just can’t find the templates. Could you please tell me where to look?
Thanks so much!
Vic