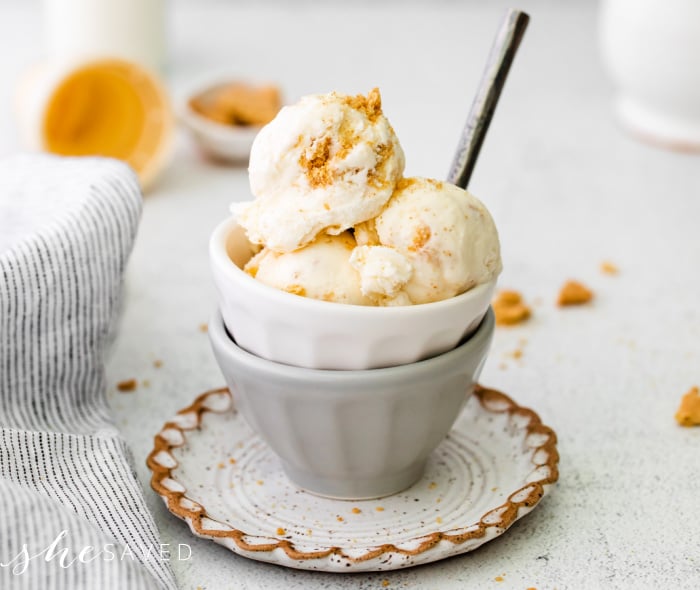
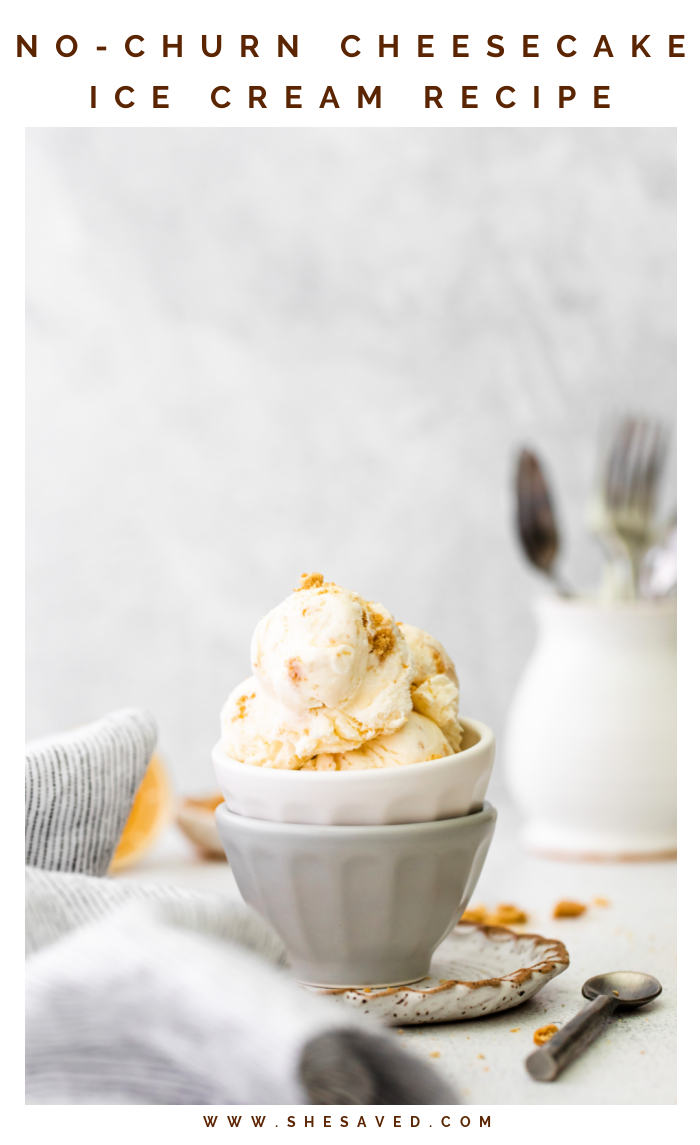
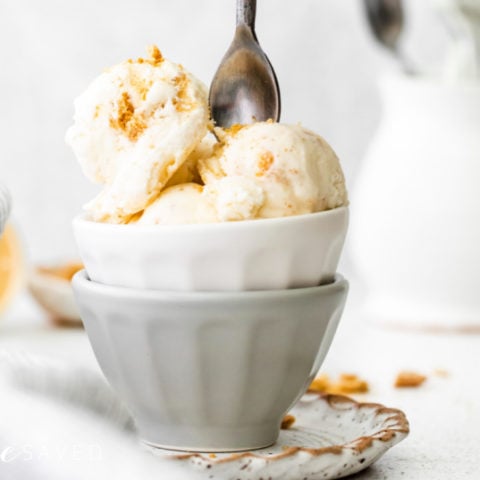
Easy No Churn Cheesecake Ice Cream Recipe
Looking for recipes to use up cream? This Easy No Churn Cheesecake Ice Cream Recipe is one of our favorites! There is no reason to let good heavy cream go back, use up your leftover cream by making delicious, yummy ice cream!
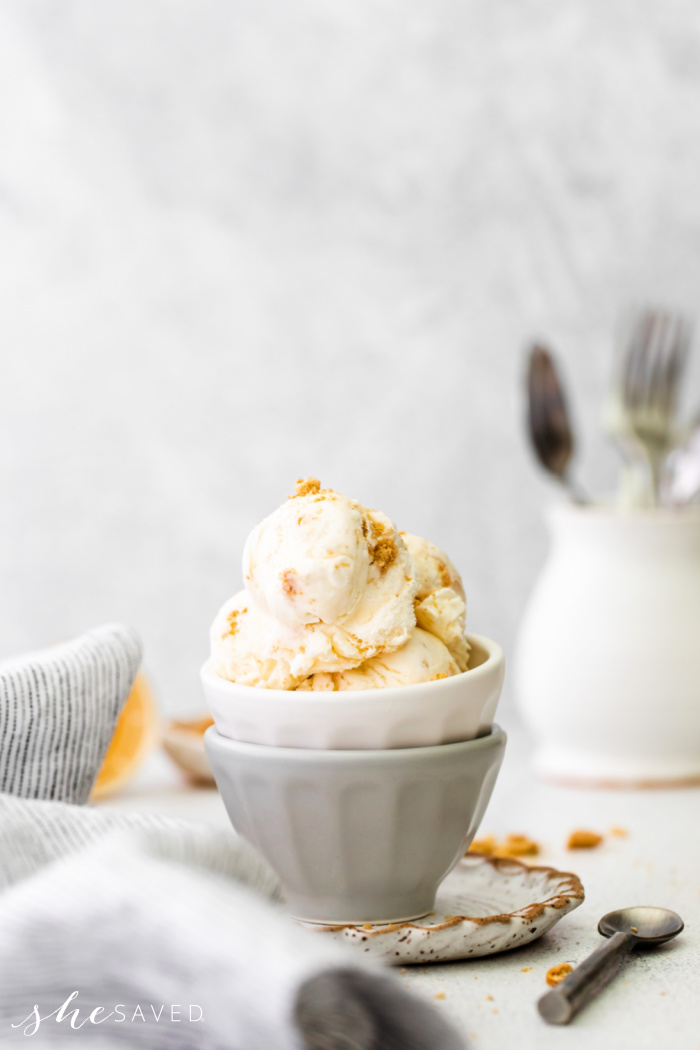
No Churn Cheesecake Ice Cream
Cheesecake fans are going to love this easy to make no-churn cheesecake ice cream recipe – it has all of the cheesecake flavor that a cheesecake lover craves and it’s so easy to make! We love no churn ice cream because we don’t need to get out the ice cream machine to make it, it only uses a few ingredients (that I try to keep on hand at all times!) and it’s one of our favorite desserts for those hot summer days!
If you’ve ever used an old fashioned ice cream maker (or even the newer fancy versions) then this no churn cheesecake ice cream recipe will blow your mind. It’s our favorite ice cream and it’s a delicious dessert for a hot day! *and much easier to make than a homemade cheesecake!
Ingredients for No-Churn Cheesecake Ice Cream Recipe
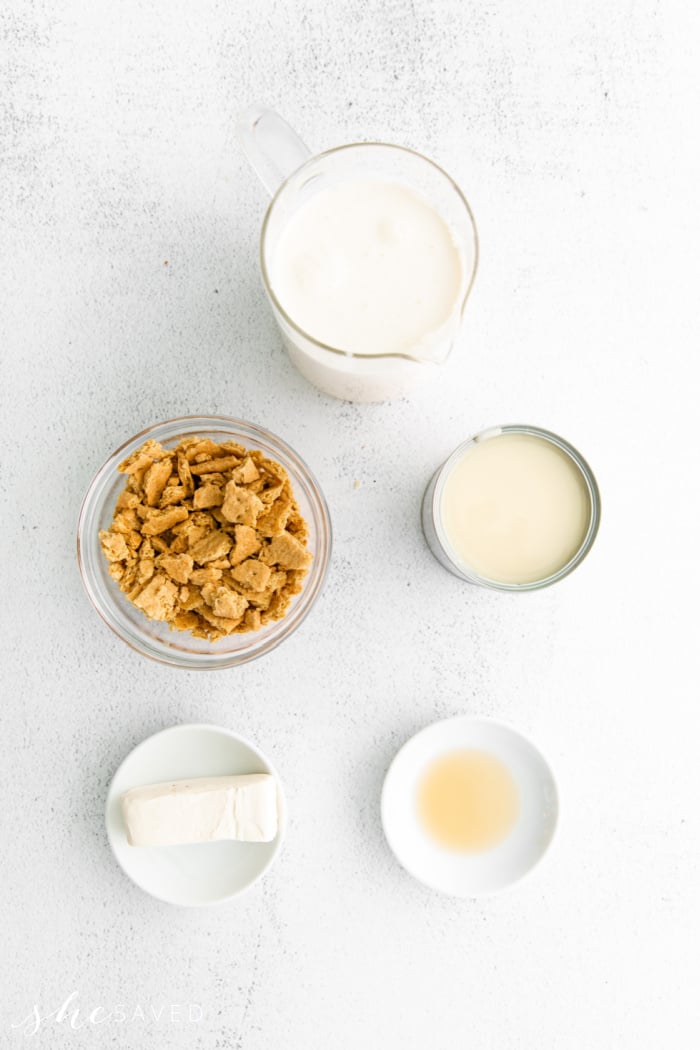
- Heavy cream
- Sweetened condensed milk
- Cream cheese, softened
- Pure vanilla extract
- Crushed graham crackers
*See the printable recipe card below for specific ingredient measurements and instructions!
How to Make No-Churn Cheesecake Ice Cream
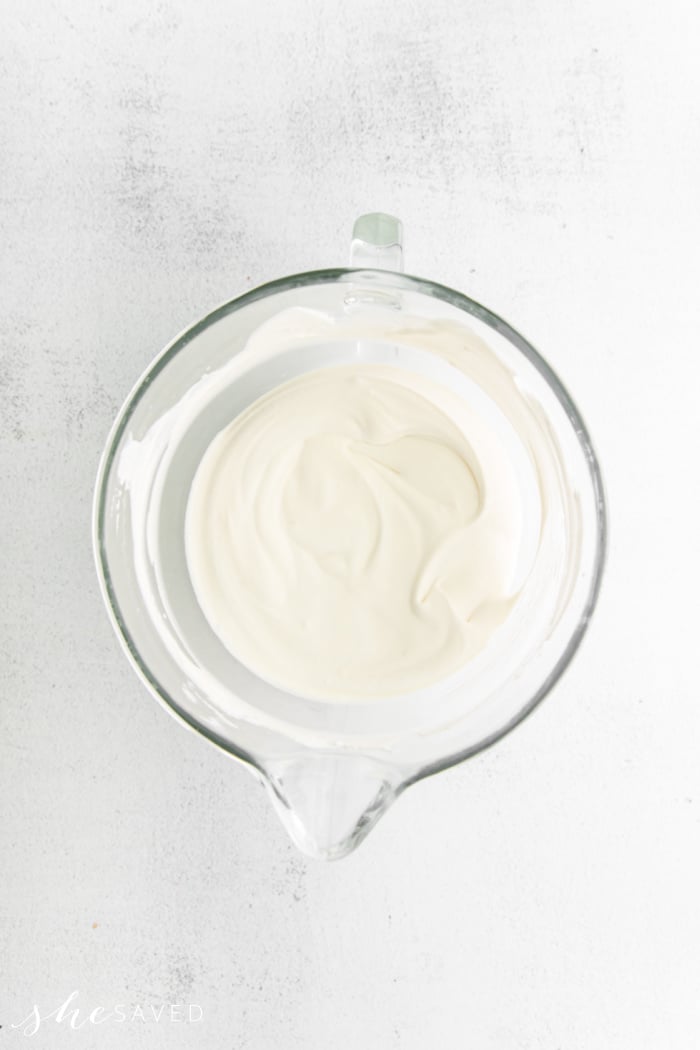
- Add the heavy cream to the bowl of a stand mixer fitted with the whisk attachment.
- Start your mixer speed on low speed and gradually work up to high speed, beating the cream cheese mixture until it becomes thick and forms stiff peaks.
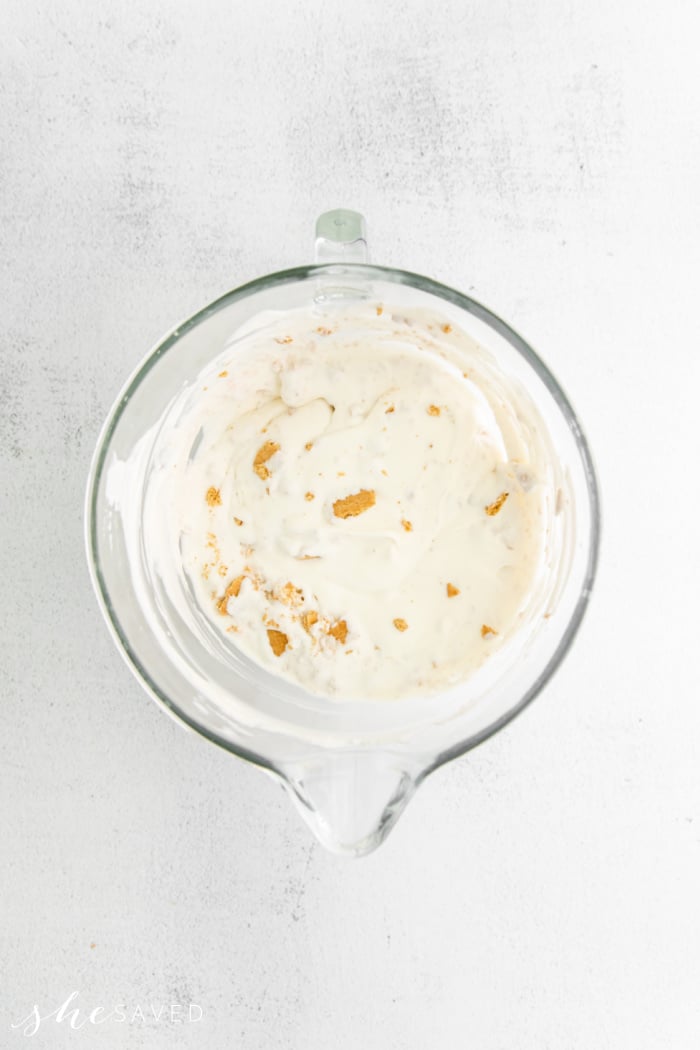
- Add the sweetened condensed milk, cream cheese, and vanilla extract and fold them into the cream gently– you don’t want to deflate the whipped cream so the best way to do this is slowly and gently.
- Next add the graham crackers and fold them in.
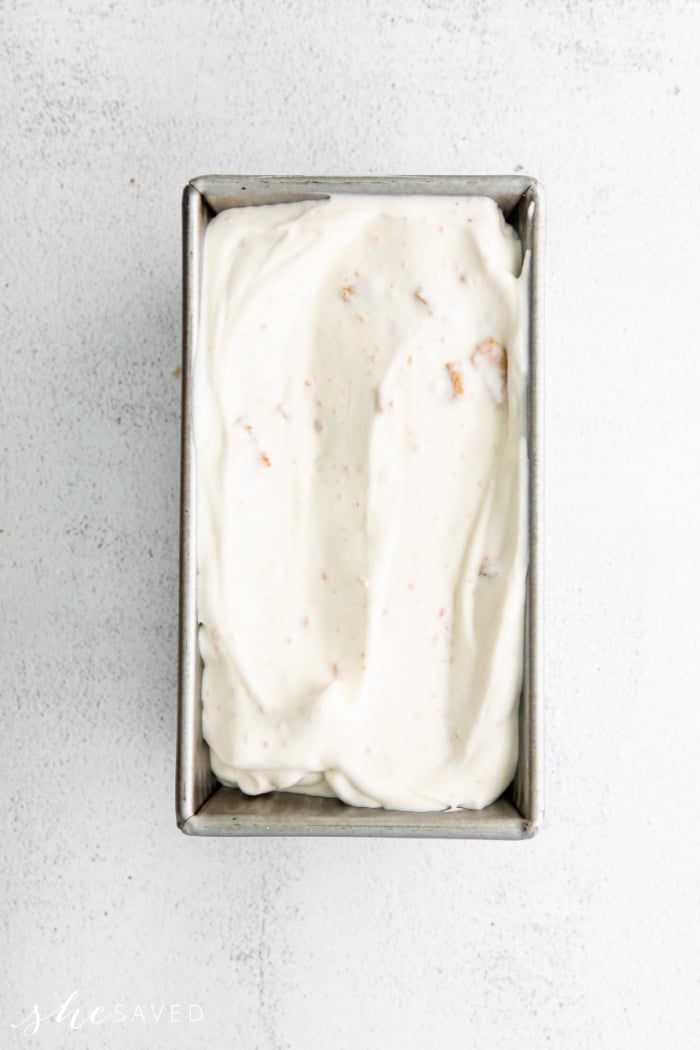
- Transfer the mixture to a loaf pan or silicone ice cream tub and wrap it tightly with plastic wrap.
- Place it in the freezer for at least 12 hours, preferably overnight.
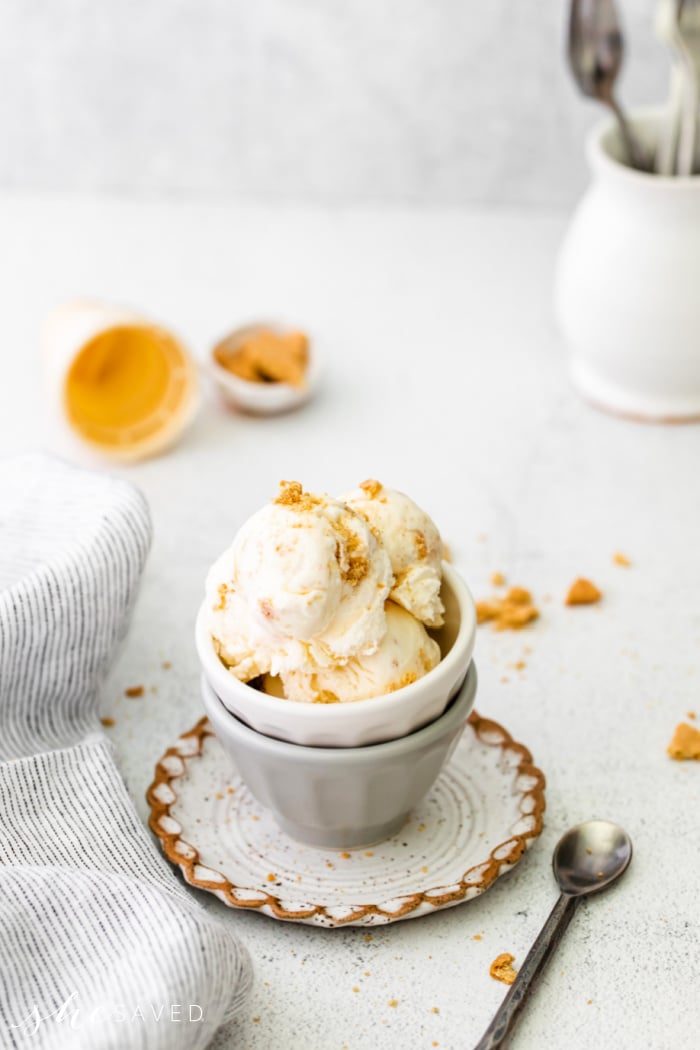
- Scoop and serve with your choice of toppings. Store wrapped in the freezer in an airtight container or freezer container for up to three weeks.
Topping Ideas for Cheesecake Ice Cream
Now that you’ve created the best homemade ice cream, let’s talk about what to put on top of the ice cream! A family favorite around here is fresh strawberries from the garden or strawberry jam or raspberry sauce. This takes your cheesecake ice cream and uses it as an ice cream base and allows you to mix it with favorite fruits to create any type of cheesecake ice cream that you like!
Other favorite ice cream toppings include: cherry pie filling, mini chocolate chips, brown sugar, crushed graham crackers – or actually place the ice cream in a graham cracker crust and make an ice cream pie!
Even better, try fresh blueberries and instantly turn your homemade ice cream into homemade blueberry cheesecake ice cream! See what I’m doing here? Fresh fruit instantly turns your no-churn ice cream recipe into whatever creation you want!
The first time you make this ice cream, you can get a feel for what everyone likes – and then the next time – challenge family members to put their own twist on things to create a little bit of a variation each time. The possibilities are endless and will create a smile with every single bite!

Recipe Notes
Prep Time: 10 minutes
Freeze Time: 12 hours
Servings: 10
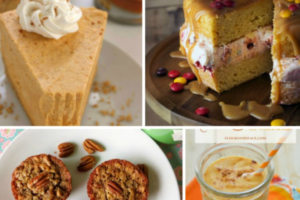
We love easy homemade recipes – especially dessert options and I’ve shared so many different ones over the years!

Here are a few of our other favorite summer treats:
No Churn Unicorn Ice Cream Recipe
Homemade Ice Cream Recipes
Blueberry Nice Cream Recipe
Peach Mango Ice Cream
No-Churn Chocolate Brownie Fudge IceCream
Print this Homemade No Churn Cheesecake Ice Cream Recipe
Easy No Churn Cheesecake Ice Cream Recipe
Easy to make and so delicious, this no-churn homemade cheesecake ice cream recipe will be your new summer favorite. With just a few ingredients (and no fancy ice cream machine needed!) you will be able to make this delicious ice cream treat that everyone will love!
Ingredients
- 2 cups heavy cream
- 1 can (14 ounces) sweetened condensed milk
- 2 ounces cream cheese, softened
- 1 teaspoon pure vanilla extract
- ½ cup crushed graham crackers
Instructions
Add the heavy cream to the bowl of a stand mixer fitted with the whisk attachment.
Start your mixer speed on low speed and gradually work up to high speed, beating the cream cheese mixture until it becomes thick and forms stiff peaks.
Add the sweetened condensed milk, cream cheese, and vanilla extract and fold them into the cream gently-- you don’t want to deflate the whipped cream so the best way to do this is slowly and gently.
Next add the graham crackers and fold them in.
Transfer the mixture to a loaf pan or silicone ice cream tub and wrap it tightly with plastic wrap.
Place it in the freezer for at least 12 hours, preferably overnight.
Scoop and serve with your choice of toppings. Store wrapped in the freezer in an airtight container or freezer container for up to three weeks.
Nutrition Information:
Yield: 10 Serving Size: 1Amount Per Serving:Calories: 213Total Fat: 20gSaturated Fat: 12gTrans Fat: 1gUnsaturated Fat: 6gCholesterol: 61mgSodium: 55mgCarbohydrates: 7gFiber: 0gSugar: 5gProtein: 2g
*just an estimate

Meet the author – Keri Lyn
The creative and frugal mind behind She Saved for over 12 years now, Keri Lyn shares her adventures in parenting along with her love for family travel, country living and brand marketing. A self-proclaimed “brand loyalist”, Keri Lyn is known for her strong and enthusiastic voice when it comes to the products and brands that she loves. She Saved has become a community for like-minded consumers who appreciate saving money, time and sanity by getting the best deals on quality products and experiences.


Thanks For Sharing this amazing recipe. My family loved it. I will be sharing this recipe with my friends. Hope the will like it.
I’m confused. “Add the heavy cream to the bowl of a stand mixer fitted with the whisk attachment.
Start your mixer speed on low speed and gradually work up to high speed, beating the cream cheese mixture until it becomes thick and forms stiff peaks.
Add the sweetened condensed milk, cream cheese, and vanilla extract and fold them into the cream gently.”
When do you actually add the cream cheese?