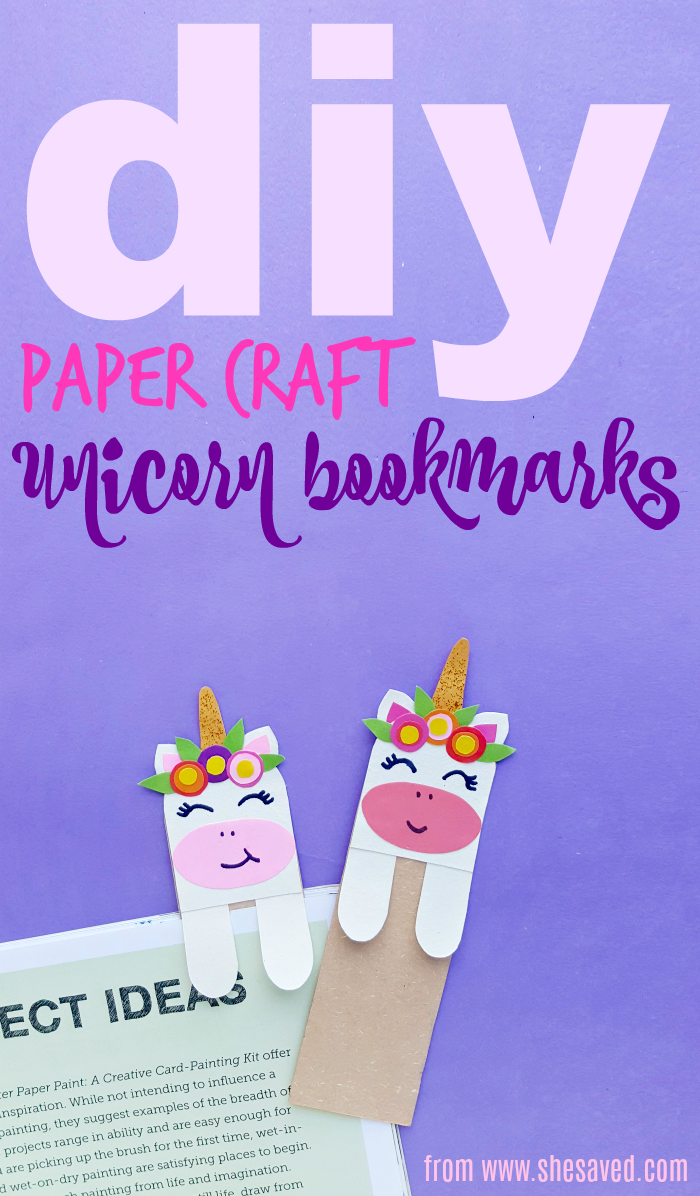
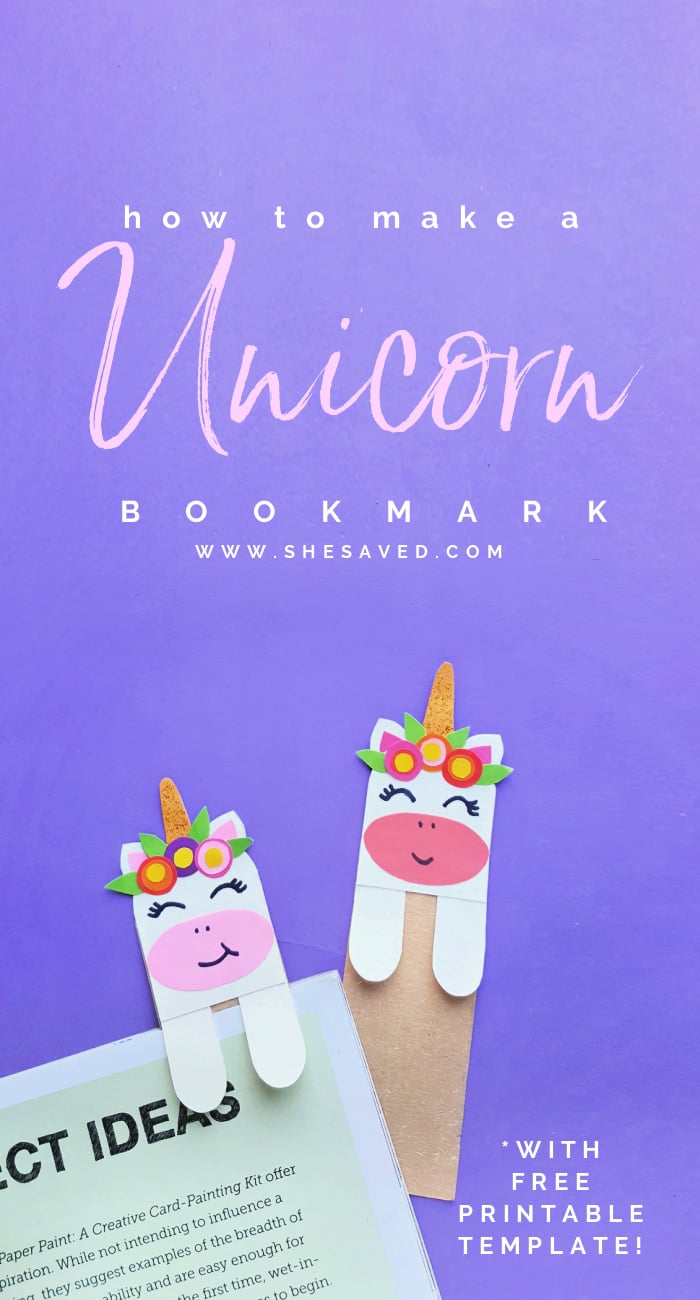
DIY Unicorn Bookmark (with FREE printable template)
This fun paper craft project features a FREE DIY Printable Unicorn bookmark that you can make from a template! So much fun and a great craft activity that also makes a super cute gift. This would be fun to make as a class project and also a really cute Valentine’s Day card or gift idea!
DIY Unicorn Bookmark (with FREE printable template)
My favorite thing about homemade gift ideas and paper crafts is that they are inexpensive and turn out being special keepsakes that you can give from the heart. I have so many wonderful saved paper crafts that my daughter has made me over the years and I cherish them. This unicorn bookmark is not exception!
List of Supplies for this Unicorn Bookmark Paper Craft Activity
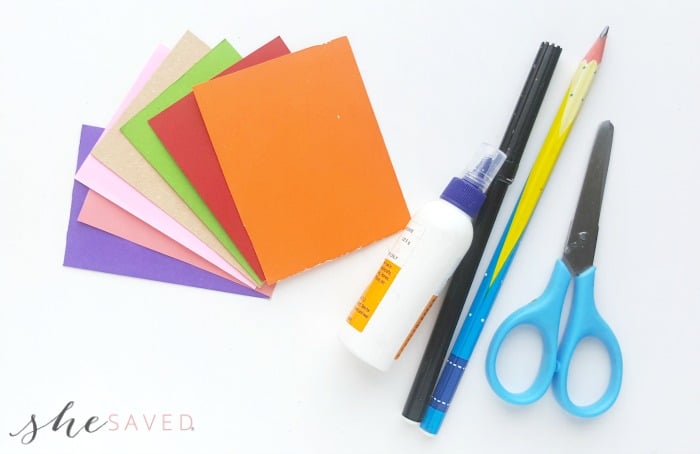
- Colored craft papers
- Cardstock paper
- Pencil
- Black marker pen or sharpie
- Scissors
- Craft glue
Print out the FREE Unicorn Bookmark Template sheet here
How to Make these darling Unicorn Bookmarks
Step ONE:
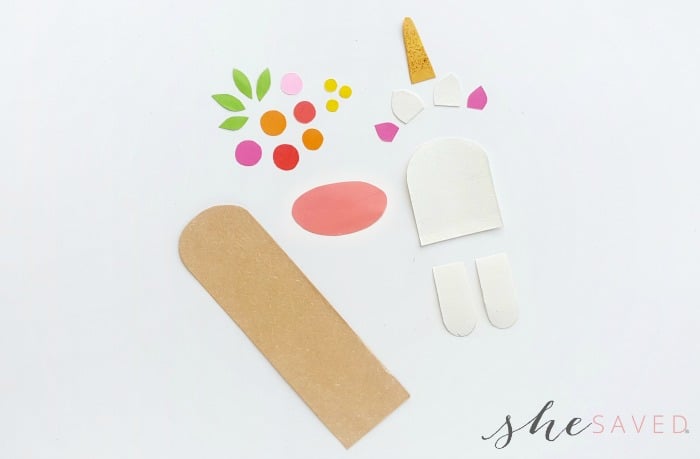
Select different colored crafts papers. Also select cardstock paper for the base of the bookmark.
Prepare the patterns from the provided FREE Unicorn Bookmark Template by printing and cutting them out.
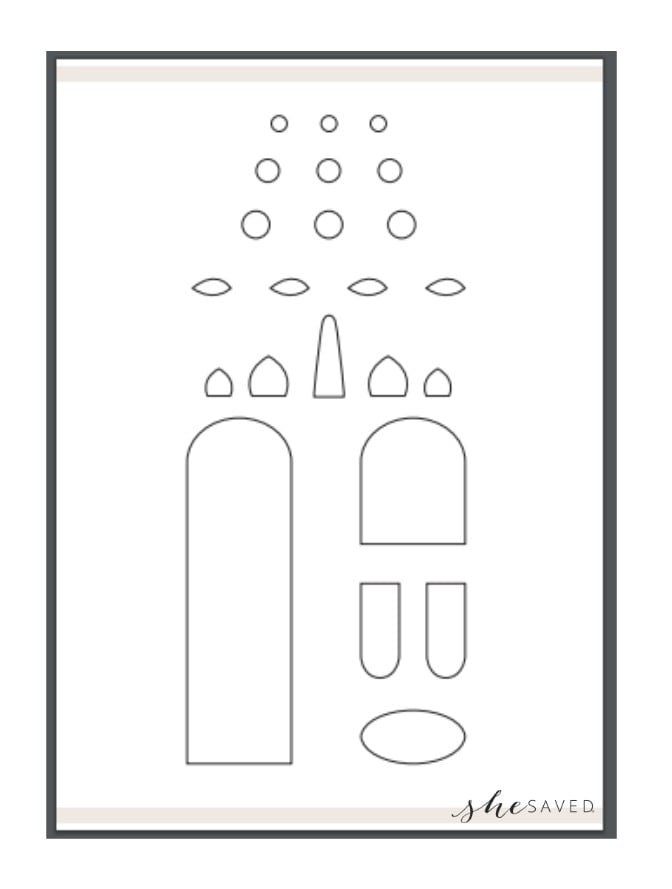
Trace the base pattern on the cardstock paper. Trace the rest of the patterns on the selected colored crafts papers. Next cuut out the traced patterns nicely.
Step TWO:
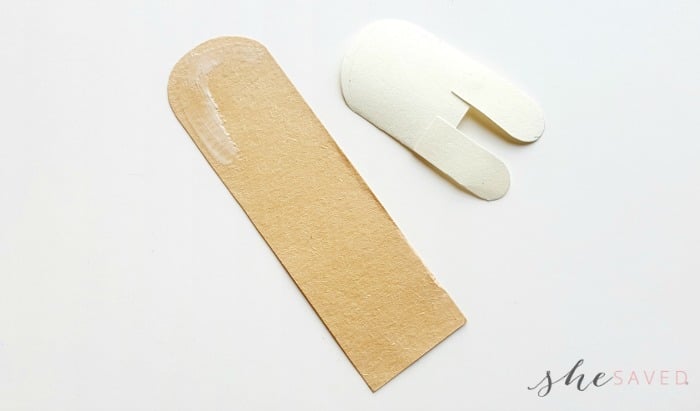
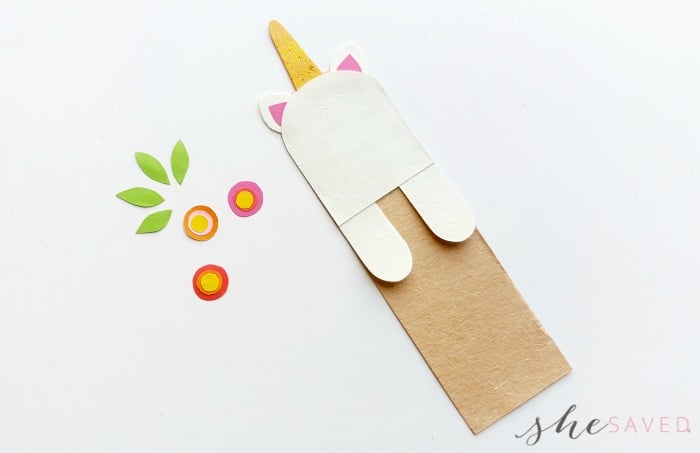
Take the head cut out and attach the 2 hoof cut outs on the bottom side it by overlapping about a cm along the straight ends of all 3 patterns. The curved ends of the hoof cut outs should be pointing outside of the head pattern.
Step THREE:
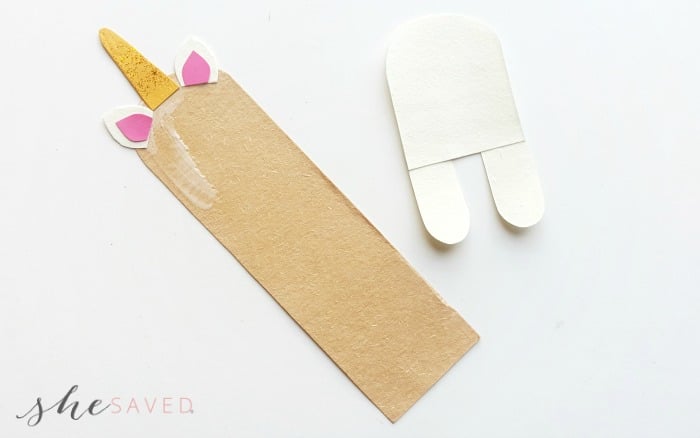
Grab the ear and horn cut outs. Attach them along the top end of the bookmark base. As you see, the ear has 2 parts, inner and outer. Stick the inner parts inside the outer parts so that the pink is on the inside.
Step FOUR:
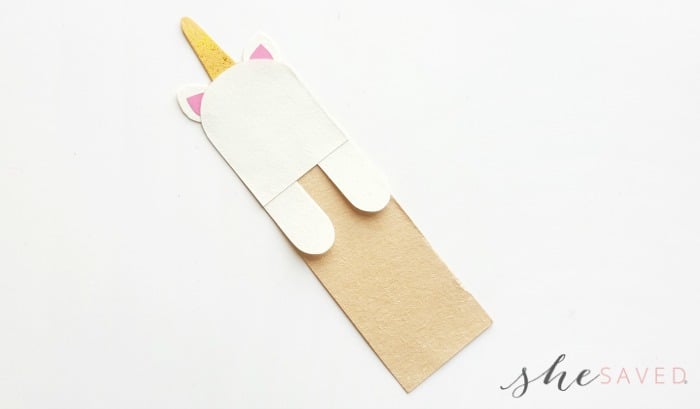
Now attach the head and hoof joint part on the bookmark base by matching the top ends of both pieces (head and bookmark base) so that the bookmark base is behind and the hooves hang over so they can “hug” the pages of a book.
Step FIVE:
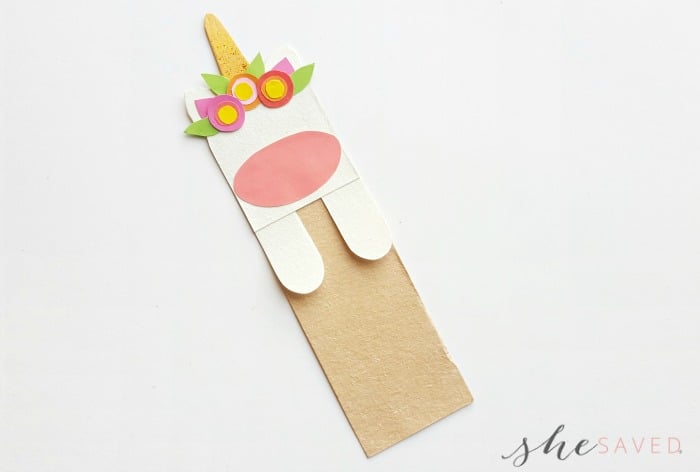
Grab the other cut out patterns and prepare the flowers by joining the round cut outs. Glue the small round cut outs on the large ones to make the flowers.
Step SIX:
Glue the flowers and the leaves on the top side of the bookmark. Arrange and glue the flowers nicely. Also attach the oval shaped cut out on the bottom side of the head part, this will be the front side of the unicorn head.
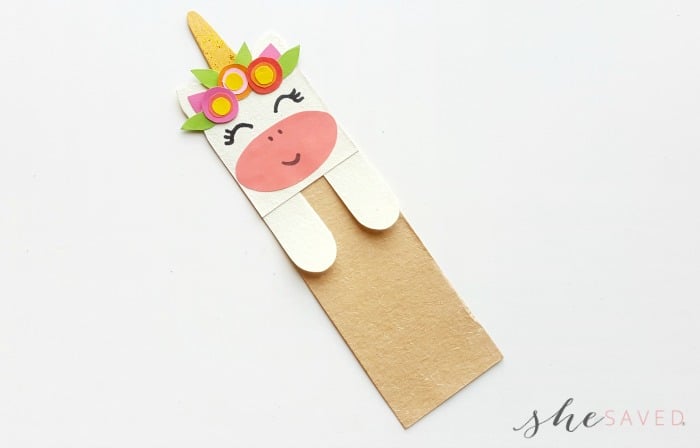
Step SEVEN:
Use a fine point marker (I prefer black sharpies) to draw the eyes, nose and lip of the unicorn. As you see your unicorn bookmark come to life, doesn’t it just make you smile?

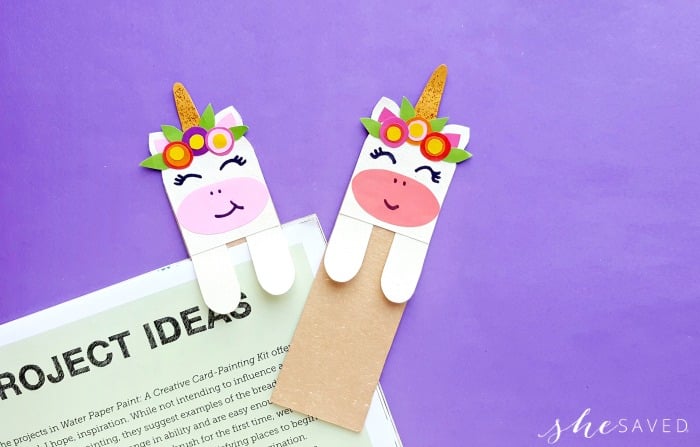
Aren’t these the cutest diy unicorn bookmarks ever!? So much fun and there are so many different ways you can share these with friends and I love that you can even tuck these into a card to send across the miles!
Plus I love that they will always have a little unicorn to hug their books and save their place. It’s uni-perfect because who doesn’t love a little unicorn hug!?
Looking for more fun unicorn craft and recipe ideas? Here are a few of our favorites:
- FREE printable Unicorn Calendar Pages
- Paper Quilled Unicorn Craft
- Unicorn Horn Treats
- Easy Unicorn Pancakes
Print the Tutorial for the Unicorn Bookmark Craft Activity

DIY Unicorn Bookmark (with FREE printable template)
Use our free printable template to make this fun DIY Unicorn Bookmark paper craft activity - a fun gift idea, great for Valentine's Day and also just a great book hugger bookmark! We love paper craft projects because they are inexpensive and fun for all ages and we think you'll love this tutorial which will show you how to make a Unicorn bookmark easy and inexpensively!
Materials
- Colored craft papers
- Cardstock paper
- Pencil
- Black marker pen or sharpie
- Craft glue
- Print out the FREE Unicorn Bookmark Template sheet
Tools
- Scissors
Instructions
Select different colored crafts papers. Also select cardstock paper for the base of the bookmark. Prepare the patterns from the provided FREE Unicorn Bookmark Template by printing and cutting them out.
Trace the base pattern on the cardstock paper. Trace the rest of the patterns on the selected colored crafts papers. Next cut out the traced patterns nicely.
Take the head cut out and attach the 2 hoof cut outs on the bottom side it by overlapping about a cm along the straight ends of all 3 patterns. The curved ends of the hoof cut outs should be pointing outside of the head pattern.
Grab the ear and horn cut outs. Attach them along the top end of the bookmark base. As you see, the ear has 2 parts, inner and outer. Stick the inner parts inside the outer parts so that the pink is on the inside.
Now attach the head and hoof joint part on the bookmark base by matching the top ends of both pieces (head and bookmark base) so that the bookmark base is behind and the hooves hang over so they can “hug” the pages of a book.
Grab the other cut out patterns and prepare the flowers by joining the round cut outs. Glue the small round cut outs on the large ones to make the flowers.
Glue the flowers and the leaves on the top side of the bookmark. Arrange and glue the flowers nicely. Also attach the oval shaped cut out on the bottom side of the head part, this will be the front side of the unicorn head.
Use a fine point marker (I prefer black sharpies) to draw the eyes, nose and lip of the unicorn.

Meet the author – Keri Lyn
The creative and frugal mind behind She Saved for over 12 years now, Keri Lyn shares her adventures in parenting along with her love for family travel, country living and brand marketing. A self-proclaimed “brand loyalist”, Keri Lyn is known for her strong and enthusiastic voice when it comes to the products and brands that she loves. She Saved has become a community for like-minded consumers who appreciate saving money, time and sanity by getting the best deals on quality products and experiences.