DIY Edible Pudding Finger Paint for Kids
When you create this DIY edible pudding finger paint you can combine eating and play into a fun activity!
DIY Edible Pudding Finger Paint for Kids
Making your own edible finger paint is not only a cinch, but it is quite budget friendly as well. Take a peek below at how we did it so you can give it a try too!
Here is what you will need to make edible pudding finger paint:
- 2 cups of 2% milk
- 1 ½ teaspoons of vanilla extract
- 1 tablespoon of butter
- ½ cup of sugar
- 3 tablespoons of cornstarch
- Assorted food colorings (my favorite is this Wilton set of 8 colors)
- Small bowls, spoons
Directions for making edible finger paint:
1. Pour the milk into a saucepan and heat on low.
2. Add in your sugar, stirring well as you do.
3. While the mixture heats, in another bowl stir the egg yolks and cornstarch. Once it is mixed well, pour the mixture into the heating saucepan.
4. Raise the heat and bring the mixture to a boil. You will notice that at this time, it will start to thicken.
5. Once the mixture is thickened, remove it from heat and add your butter. Mix well.
6. Before the mixture cools, add the vanilla. Give the mixture a final stir.
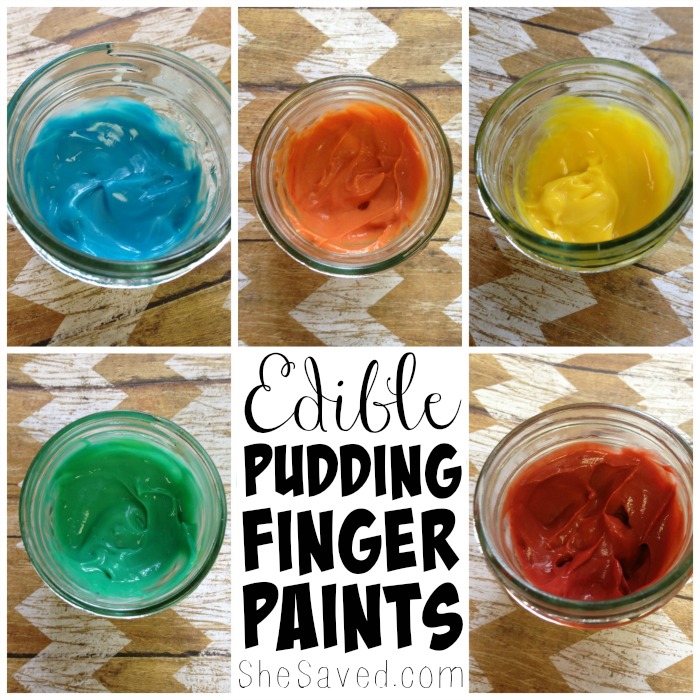
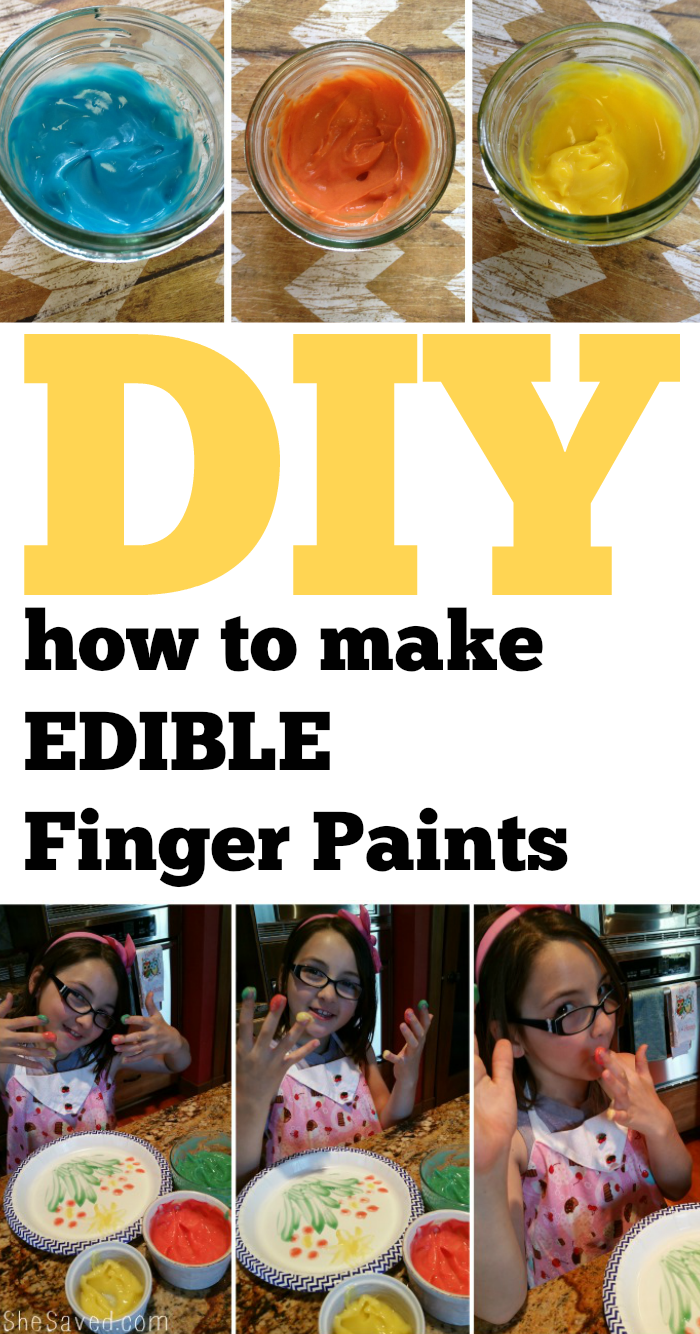
7. Divide the pudding into separate dishes. Add a drop or two of food coloring to each dish and stir well. The white mixture will now take the color of the food coloring you added. Don’t forget you can always mix primary colors to create secondary colors as well. For example, mix blue and red to get purple.
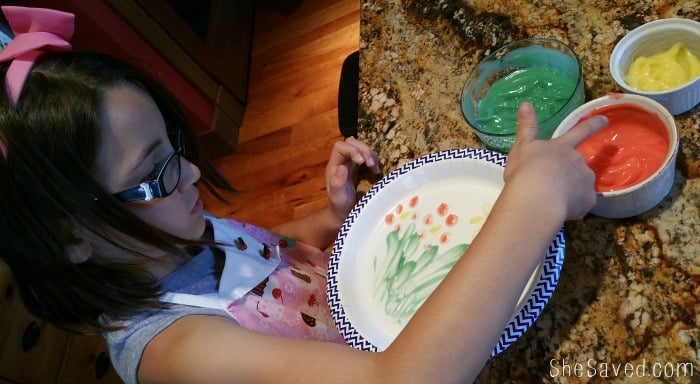
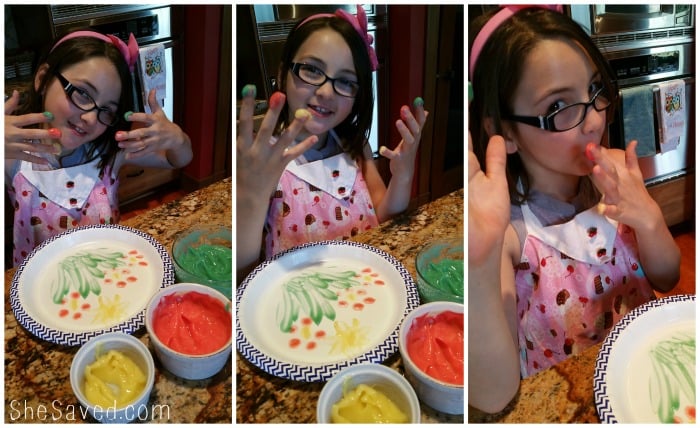
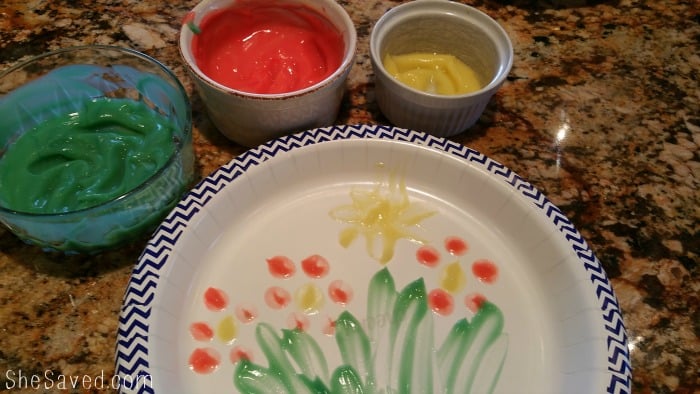
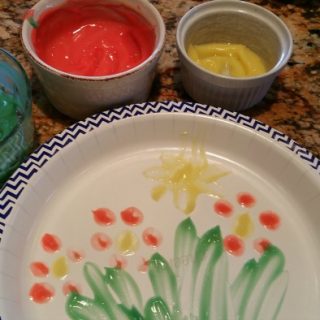
You can now use your colorful pudding as finger paint. It works great on white paper, poster board, and especially on white dishes or place mats.
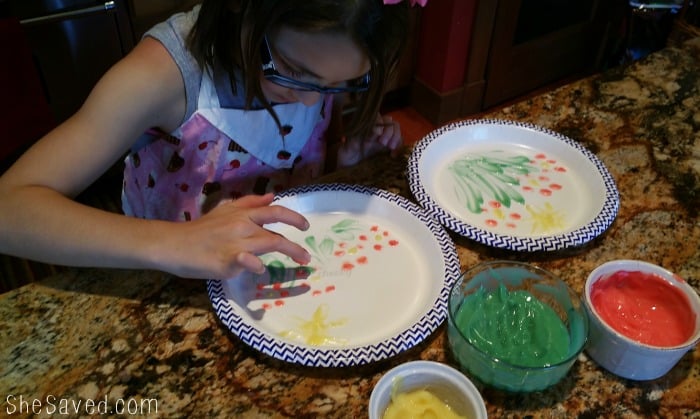
We like to use paper plates as they provide the perfect palate and they are so easy to dispose of when the kids are finished with their masterpieces!
Best of all? There is no worry if kids lick their fingers, as this paint is 100% edible and tasty!
Short on time? Here is a quick and easy way to make edible finger paint, if you are in a hurry:
You can always use an instant vanilla pudding (or, even pre-made pudding packs!) and separate it out and add food coloring.
The end result will be about the same and the creative process will be just as fun!
Give this edible pudding finger paint a try in your home. The kids are sure to love it!
If you have nice weather, this is also a fun one to take outside on the lawn and let them get artistic! When things get messy, as they might – just bring out the hose or declare BATH TIME!! …and have some fun washing them down 🙂
If you are looking for more fun activity ideas for kids, make sure to check out our DIY Yarn Garland craft, it’s another one that is super simple but will keep the kids happy and entertained for hours!
Print the instructions for making edible finger paints!
DIY Edible Pudding Finger Paint for Kids
This DIY Edible Pudding Finger Paint for Kids recipe is such a fun way to have a fun art activity that the kids will enjoy and mom won't have to worry about icky ingredients!
Materials
- 2 cups of 2% milk
- 1 ½ teaspoons of vanilla extract
- 1 tablespoon of butter
- ½ cup of sugar
- 3 tablespoons of cornstarch
- Assorted food colorings (my favorite is this Wilton set of 8 colors)
- Small bowls, spoons
Instructions
1. Pour the milk into a saucepan and heat on low.
2. Add in your sugar, stirring well as you do.
3. While the mixture heats, in another bowl stir the egg yolks and cornstarch. Once it is mixed well, pour the mixture into the heating saucepan.
4. Raise the heat and bring the mixture to a boil. You will notice that at this time, it will start to thicken.
5. Once the mixture is thickened, remove it from heat and add your butter. Mix well.
6. Before the mixture cools, add the vanilla. Give the mixture a final stir.
7. Divide the pudding into separate dishes. Add a drop or two of food coloring to each dish and stir well. The white mixture will now take the color of the food coloring you added. Don’t forget you can always mix primary colors to create secondary colors as well. For example, mix blue and red to get purple.

Meet the author – Keri Lyn
The creative and frugal mind behind She Saved for over 12 years now, Keri Lyn shares her adventures in parenting along with her love for family travel, country living and brand marketing. A self-proclaimed “brand loyalist”, Keri Lyn is known for her strong and enthusiastic voice when it comes to the products and brands that she loves. She Saved has become a community for like-minded consumers who appreciate saving money, time and sanity by getting the best deals on quality products and experiences.