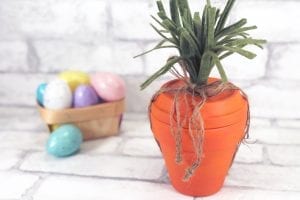
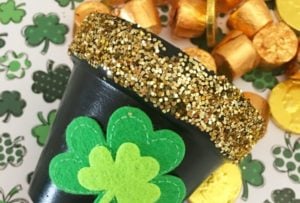
Arts and Crafts | Easter Ideas | Fun Stuff to do with the Kids | Homemade Gift Ideas | She Shared | She's Crafty Terra Cotta Pot Carrot Craft for Easter!
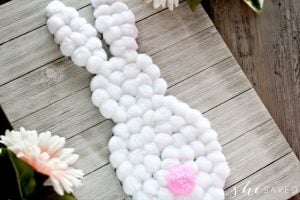
DIY | Easter Ideas | Fun Stuff to do with the Kids | Home Decor Ideas | Homemade Gift Ideas | She's Crafty | She's Creative EASY DIY Easter Bunny Wall Hanging
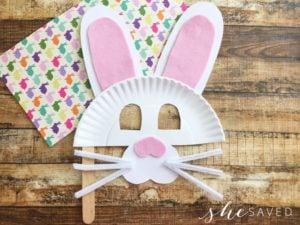
Easter Ideas | Fun Stuff to do with the Kids | She's Crafty Preschool Activity: Easter Bunny Paper Plate Mask Craft
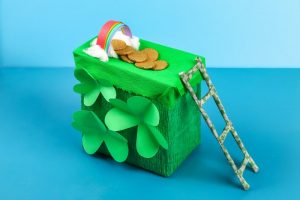
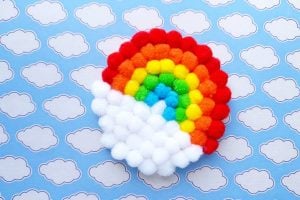
Art & Project Ideas for Kids | Arts and Crafts | Classroom Party Ideas | Fun Stuff to do with the Kids | She's Crafty | She's Creative DIY Pompom Rainbow Craft
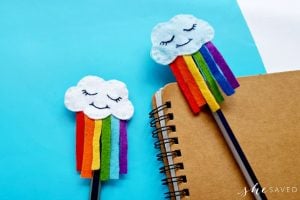
Birthday Party Ideas | Fun Stuff to do with the Kids | Homemade Gift Idea | She's Crafty | She's Creative Cute DIY Felt Rainbow Cloud Pen Topper Craft
Birthday Party Ideas | Fun Stuff to do with the Kids | Homemade Gift Idea | She's Crafty | She's Creative | Valentines Day Ideas DIY Unicorn Bookmark (with FREE printable template)
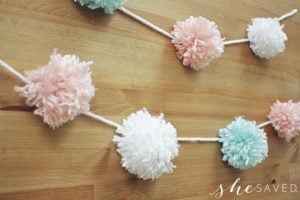
Birthday Party Ideas | DIY | Fun Stuff to do with the Kids | She's Crafty | She's Creative Yarn Pom Pom Garland Craft
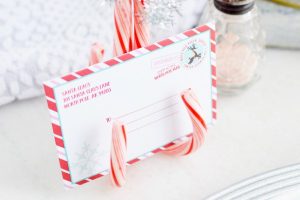
Christmas Party Ideas & Recipes | Featured Craft | She's Crafty | She's Creative DIY Candy Cane Place Card Holders
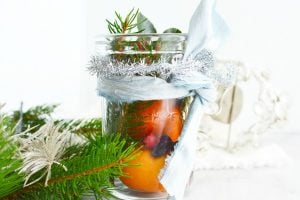
Christmas Party Ideas & Recipes | Featured Craft | Homemade Gift Idea | Homemade Gift Ideas | She's Crafty | She's Creative DIY Gift Idea: Homemade Simmering Potpourri Jar
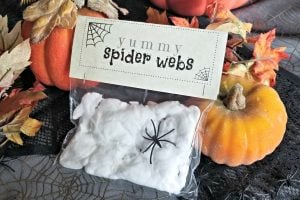
Classroom Party Ideas | FREE Printable | Fun Stuff to do with the Kids | Halloween Crafts & Recipes | She Shared | She's Crafty | She's Creative Halloween Party Idea: Yummy Spider Webs Treat + FREE Printable