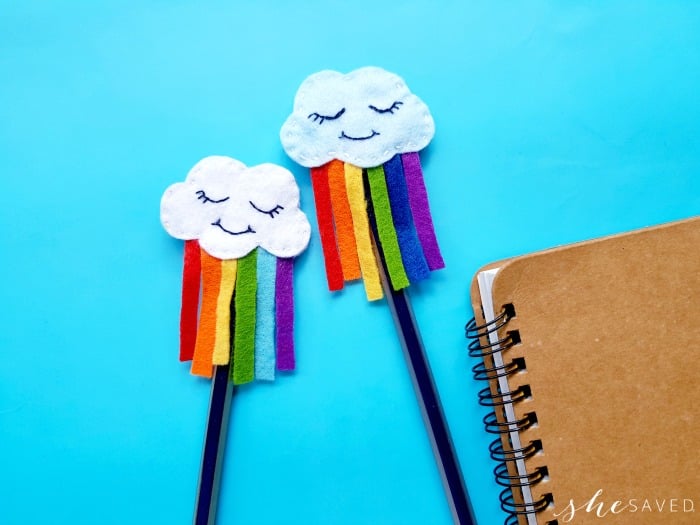
Cute DIY Felt Rainbow Cloud Pen Topper Craft
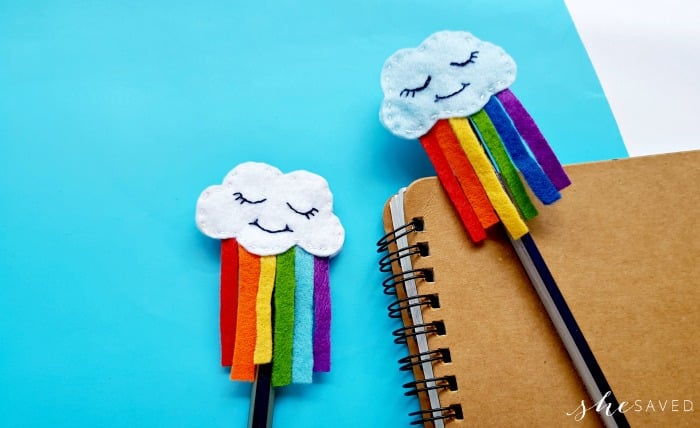
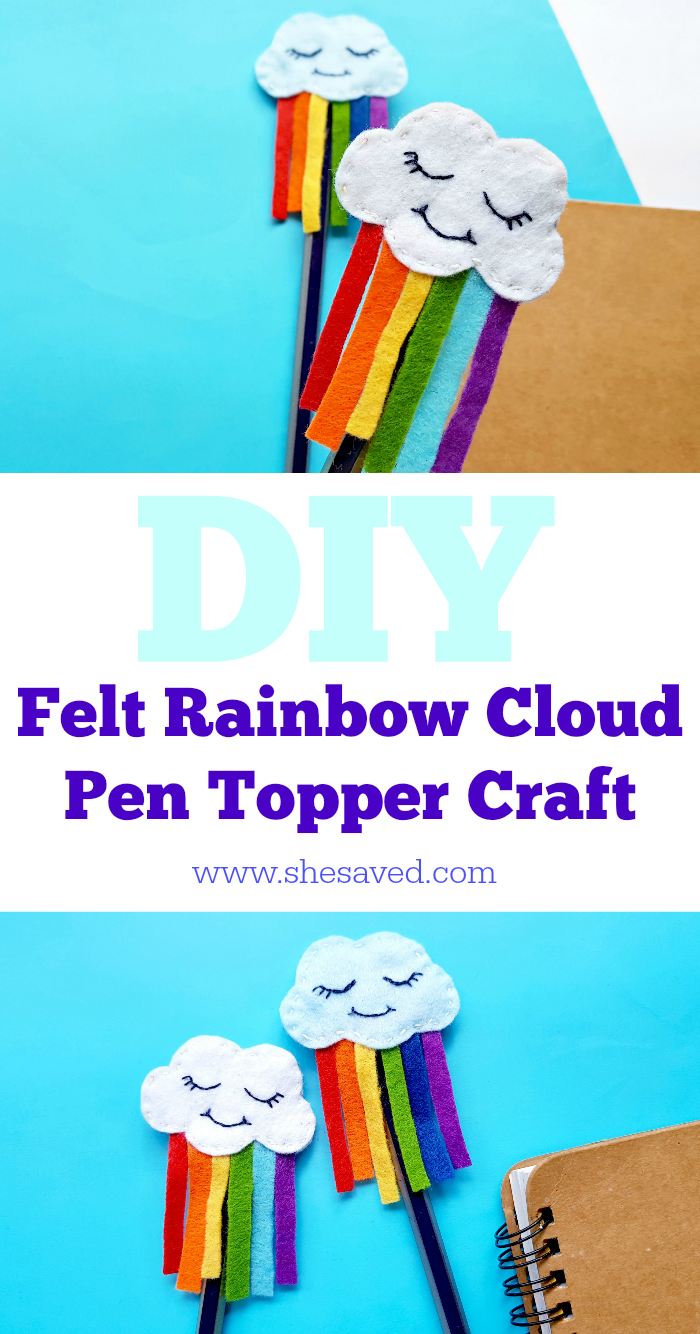
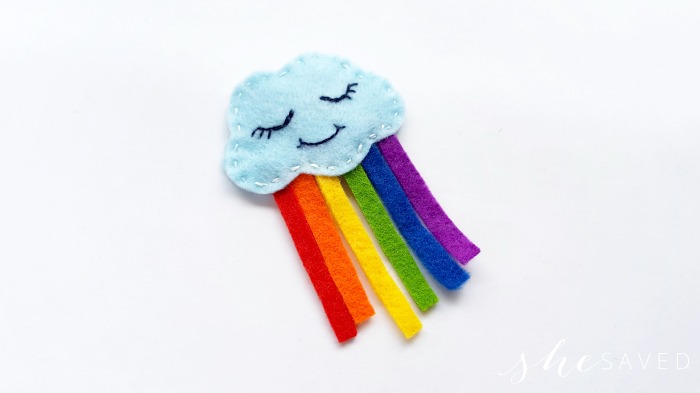
How cute is this fun DIY Felt Rainbow Cloud Pen Topper Craft? I think it’s just darling and my daughter loves to make crafts like this for herself and her friends.
Cute DIY Felt Rainbow Cloud Pen Topper Craft
This is a good project for kids because you probably already have the materials around the house to make this with and if you don’t, the supplies are inexpensive and minimal.
This would also be a fun homemade gift idea and I’m a huge fan of kids spending time creating things to give as gifts.
Supplies for Felt Rainbow Pen Topper Craft:
- Colorful felt fabrics
- Pencil or fabric marker
- Scissors
- Needle and thread
Make sure to print the FREE Cloud template
Instructions for making this Felt Rainbow Pen Topper Craft:
Obviously you can make several of these rainbow cloud pen toppers at once, so if you are going to do that then you will want to cut out several of our clouds and fabric pieces in advance. This is such a fun and easy craft and would be great as a group activity.
Step one:
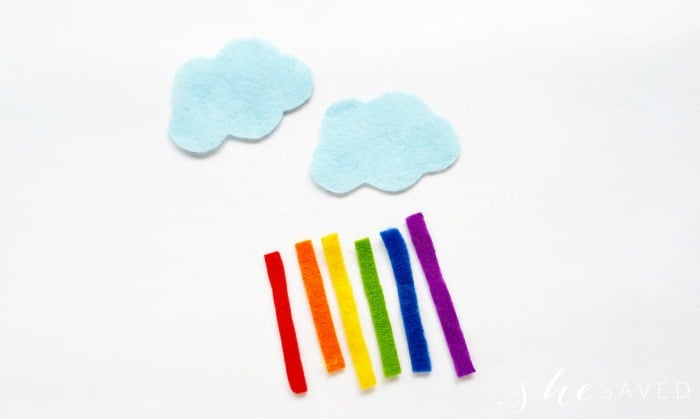
The provided template includes 3 different sizes for the cloud and the pen holding pocket (the square shape). You may select any size of your choice and then trace them on the selected felt fabrics. You can adjust the width of the square according to the pencil size but keep the height as same as the template for each set of clouds. Trace thin strips from different colored felt fabrics for the rainbow. The width and length of the rainbow colored strips would depend on your choice.
Step two:
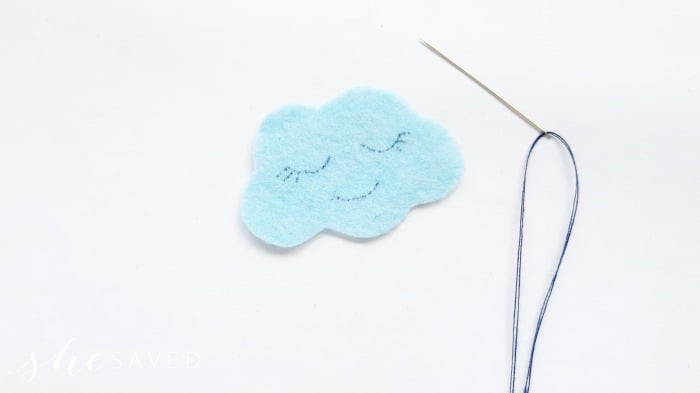
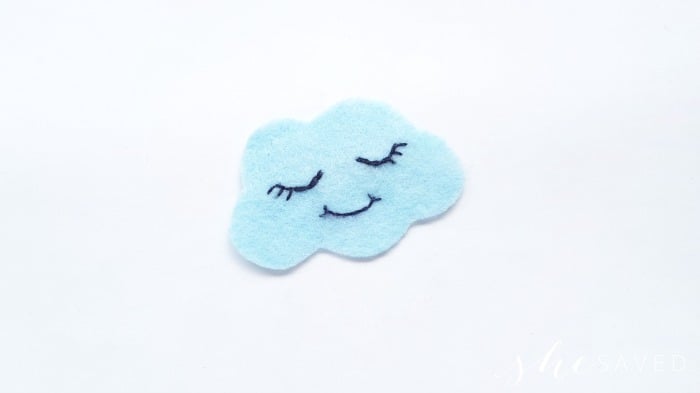
Take any one of the felt cloud cutouts and trace eyes and a smiley face on it using a black maker pen. Keep it neat and simple.
Step three:
Prepare a needle with black thread. Stitch the traced smiley face with the black thread. I did back stitch to trace the smiley face
on the felt cloud cutout. Once the stitching is complete draw the thread to the back side and tie a knot. Cut off extra thread.
Step four:
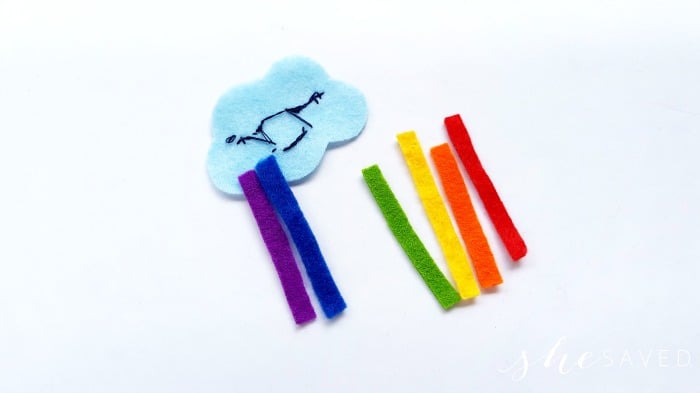
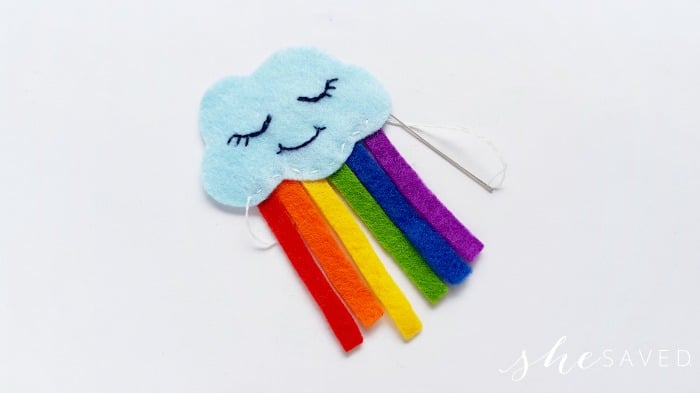
Place the stitched cloud felt on a flat surface with its wrong side facing up. Grab the rainbow felt strips and place them a
long the bottom side of the cloud by overlapping a cm of any one sides with the bottom side of the cloud.
Step five:
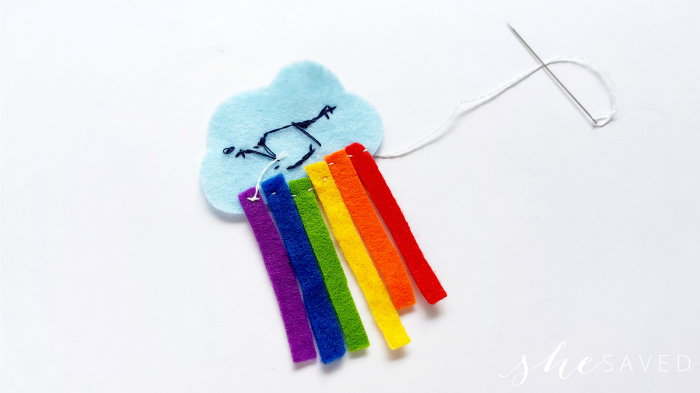
Prepare needle with white or matching thread (with the cloud). Simply do running stitch along the rainbow felt strips to attach them with the cloud.
Step six:
Done stitching? Keep the needle and thread attached to the cloud.
Step seven:
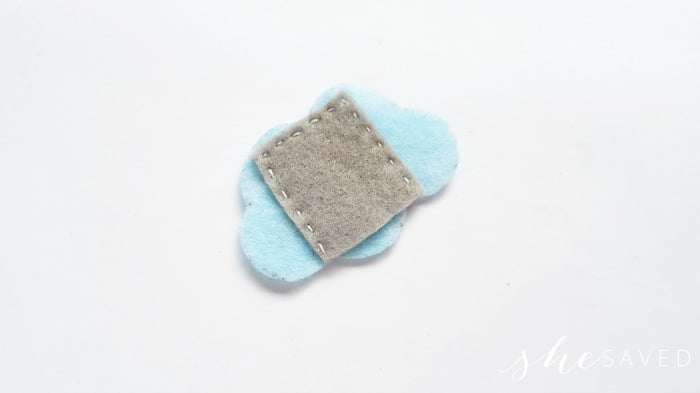
Grab the other cloud cutout and the square shaped felt cutout. Place the square right on the middle of the cloud, making sure that the square felt fits inside the cloud nicely. Stitch along the top and the 2 sides of the square with the cloud. Keep the bottom side open.
Step eight:
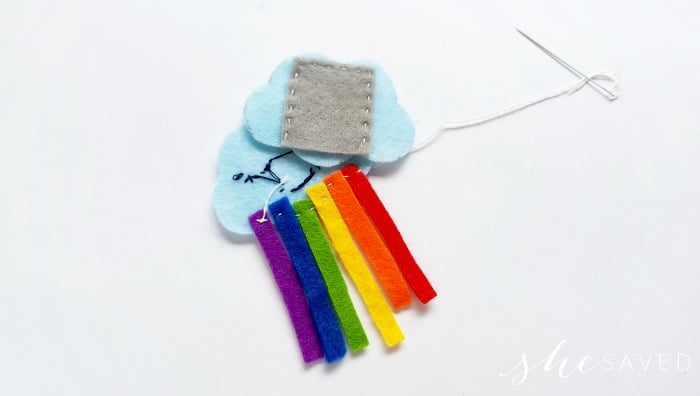
Grab the rainbow strips attached cloud piece and place it on a flat surface with its wrong side facing up. Now take the picket (square) attached cloud piece and place it on the top of the rainbow cloud, but this time keep the pocket side faced up.
Step nine:
Stitch around the sides of the both cloud pieces to join them together. Once the stitching is complete tie knot and draw the needle between the cloud felts. Draw the needle out again and cut off extra thread.
I’m always looking for fun stuff to do with the kids, and this is one of those projects that is not only fun to make, the finished product is darling and so fun to keep or give as a gift!
This fun DIY Rainbow craft would also be a fun one to pair with a reading time story about rainbows!

Meet the author – Keri Lyn
The creative and frugal mind behind She Saved for over 12 years now, Keri Lyn shares her adventures in parenting along with her love for family travel, country living and brand marketing. A self-proclaimed “brand loyalist”, Keri Lyn is known for her strong and enthusiastic voice when it comes to the products and brands that she loves. She Saved has become a community for like-minded consumers who appreciate saving money, time and sanity by getting the best deals on quality products and experiences.

