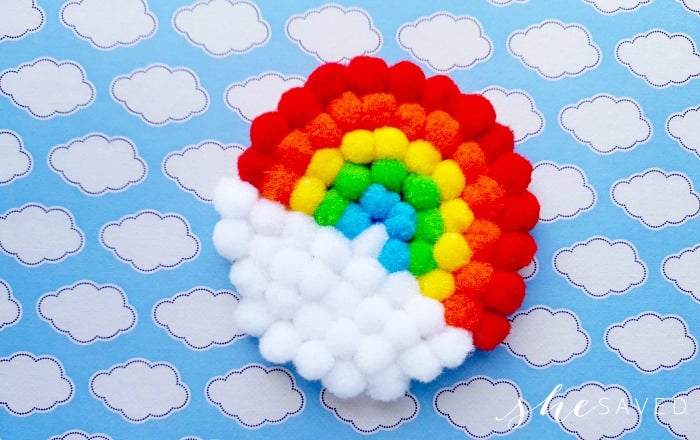
DIY Pompom Rainbow Craft
A fun and easy craft idea for kids, this darling DIY Pompom Rainbow Craft is perfect or all occasions!
DIY Pom Pom Rainbow Craft
I have a tween who LOVES to craft and I’ve found that it’s been a fun way for the two of us to connect. We are always on the lookout for craft supplies and believe it or not, we find quite a few at thrift stores and garage sales.
This fun pom pom rainbow craft is one that uses very little supplies and the finished result is so darling!
This might be a fun one to make for Valentine’s Day.
*Also – fun side note. Anyone else confused on how to spell Pom Pom???
A pom–pom or pom pom– also spelled pom-pon, pompom or pompon – is a decorative ball or tuft of fibrous material. The term may refer to large tufts used by cheerleaders, or a small, tighter ball attached to the top of a hat, also known as a bobble or toorie.
Yea. So there’s that. I incorporated a few of those different spellings into my post here, just to be fair.
Now back to our Pom-Pom Craft.
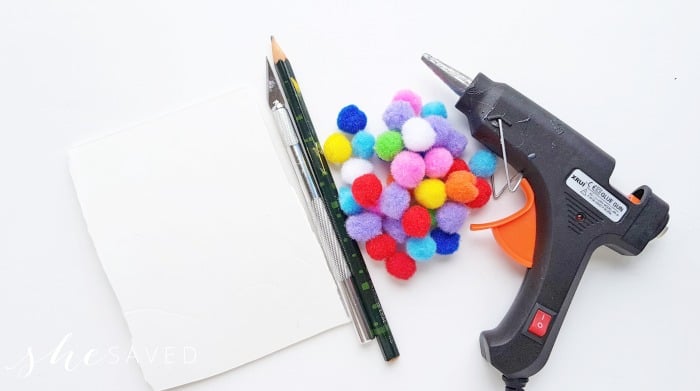
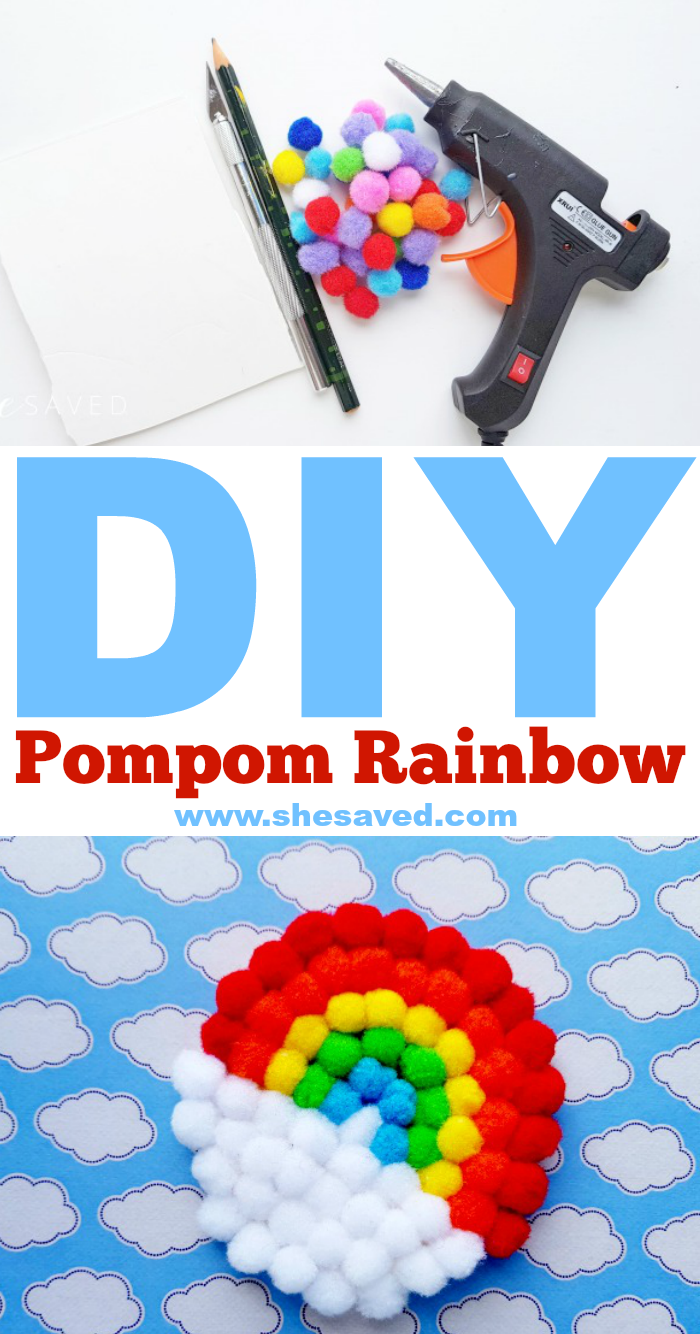
Pom Pom Craft Supplies
- Colorful pompoms
- Craft foam sheet
- X-acto knife or scissors
- Pencil
- Hot glue gun
How to make a Pom Pom Rainbow
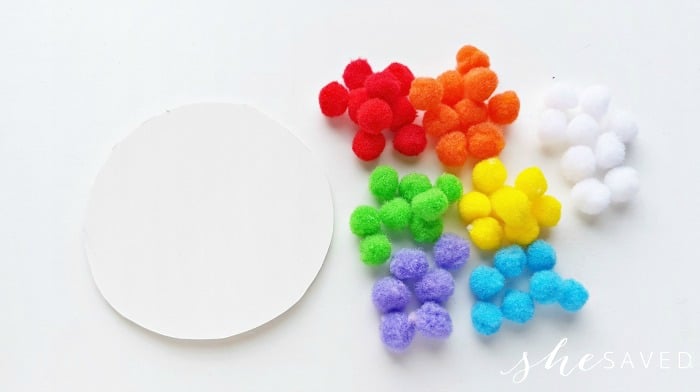
Step ONE:
Trace a round shape on the craft foam sheet (any size of your choice). Cut out the traced round shape from the craft foam sheet. Collect pompoms for the rainbow craft. I’m using the rainbow color scheme and using white pompoms for the cloud.
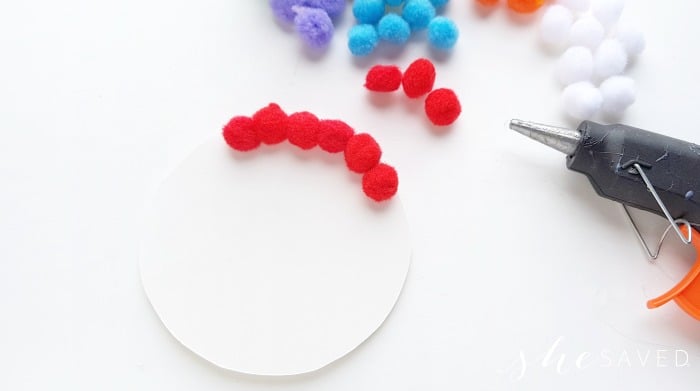
Step TWO:
Prepare the hot glue gun and start gluing the pompoms from the outer edge of the round cutout foam sheet. Cover about half of the foam sheet with the rainbow pattern and the other half with the pompom cloud pattern.
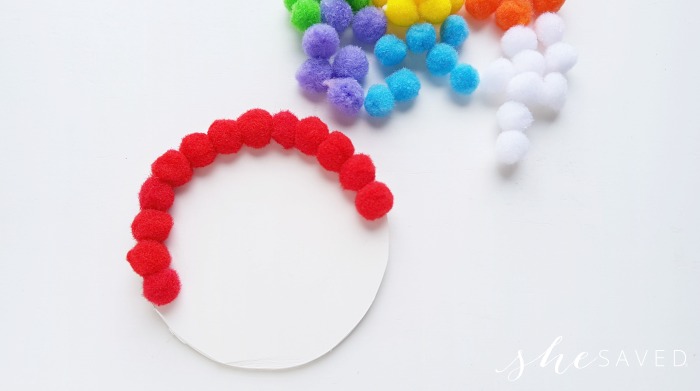
Step THREE
Keep gluing the pompom around the outer edge until a ‘U’ shape is forms. Use 1 color for 1 line.
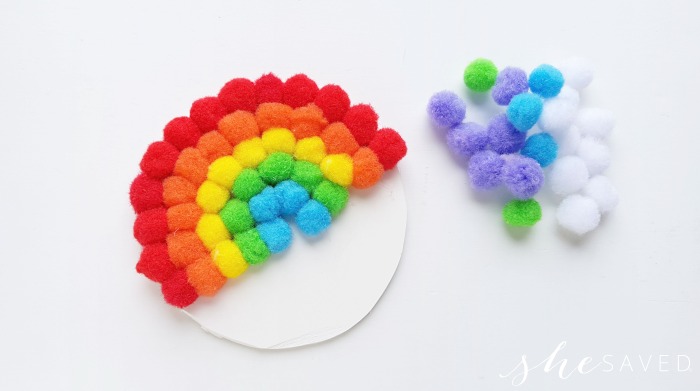
Step FOUR
Now grab the next color and attach the pompoms inside the first pompom rainbow layer. Continue to glue the pompoms until reaching the center of the round foam sheet.
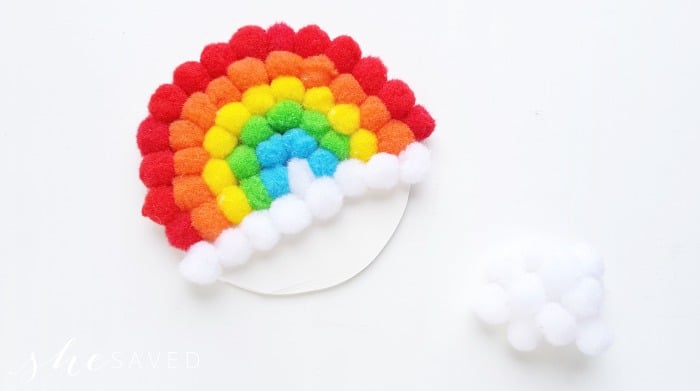
Step FIVE
Done creating the rainbow pattern and grab the white pompoms for the cloud pattern.
Step SIX
Cover the rest of the space of the foam sheet with the white pompoms.

Done!
You can create different patterns using pompoms as well. We LOVE pom pom crafts so as I mentioned above, we try to keep an eye out for them when we are thrifting because there are so many fun things you can do with them!
Check out our tutorial on how to make pom pom animals and we’ve also got a fun tutorial on how to make your own pom poms and pom pom garland!
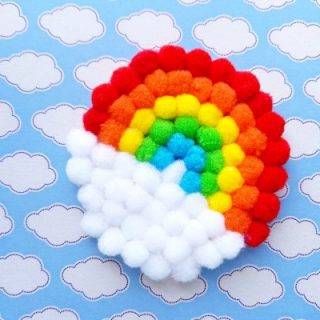
DIY Pompom Rainbow Craft
SO easy and so much fun, this DIY Rainbow Pom Pom craft will be a hit with crafters of all ages!
Materials
- Colorful pompoms
- Craft foam sheet
Tools
- X-acto knife or scissors
- Pencil
- Hot glue gun
Instructions
- Trace a round shape on the craft foam sheet (any size of your choice). Cut out the traced round shape from the craft foam sheet. Collect pompoms for the rainbow craft. I’m using the rainbow color scheme and using white pompoms for the cloud.
- Prepare the hot glue gun and start gluing the pompoms from the outer edge of the round cutout foam sheet. Cover about half of the foam sheet with the rainbow pattern and the other half with the pompom cloud pattern.
- Keep gluing the pompom around the outer edge until a ‘U’ shape is forms. Use 1 color for 1 line.
- Now grab the next color and attach the pompoms inside the first pompom rainbow layer. Continue to glue the pompoms until reaching the center of the round foam sheet.
- Done creating the rainbow pattern and grab the white pompoms for the cloud pattern.
- Cover the rest of the space of the foam sheet with the white pompoms.
Done!
You can create different patterns using pompoms as well.

Meet the author – Keri Lyn
The creative and frugal mind behind She Saved for over 12 years now, Keri Lyn shares her adventures in parenting along with her love for family travel, country living and brand marketing. A self-proclaimed “brand loyalist”, Keri Lyn is known for her strong and enthusiastic voice when it comes to the products and brands that she loves. She Saved has become a community for like-minded consumers who appreciate saving money, time and sanity by getting the best deals on quality products and experiences.