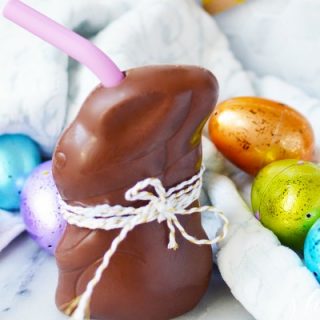
Chocolate Bunny Milk
Sometimes the simplest treats are also the cutest! Isn’t this little Easter Bunny Milk treat so adorable?
I love the idea of serving these to little ones. And the best part of all is that they take minutes to assemble and depending on which size chocolate bunnies you select, very affordable.
Chocolate Bunny Milk
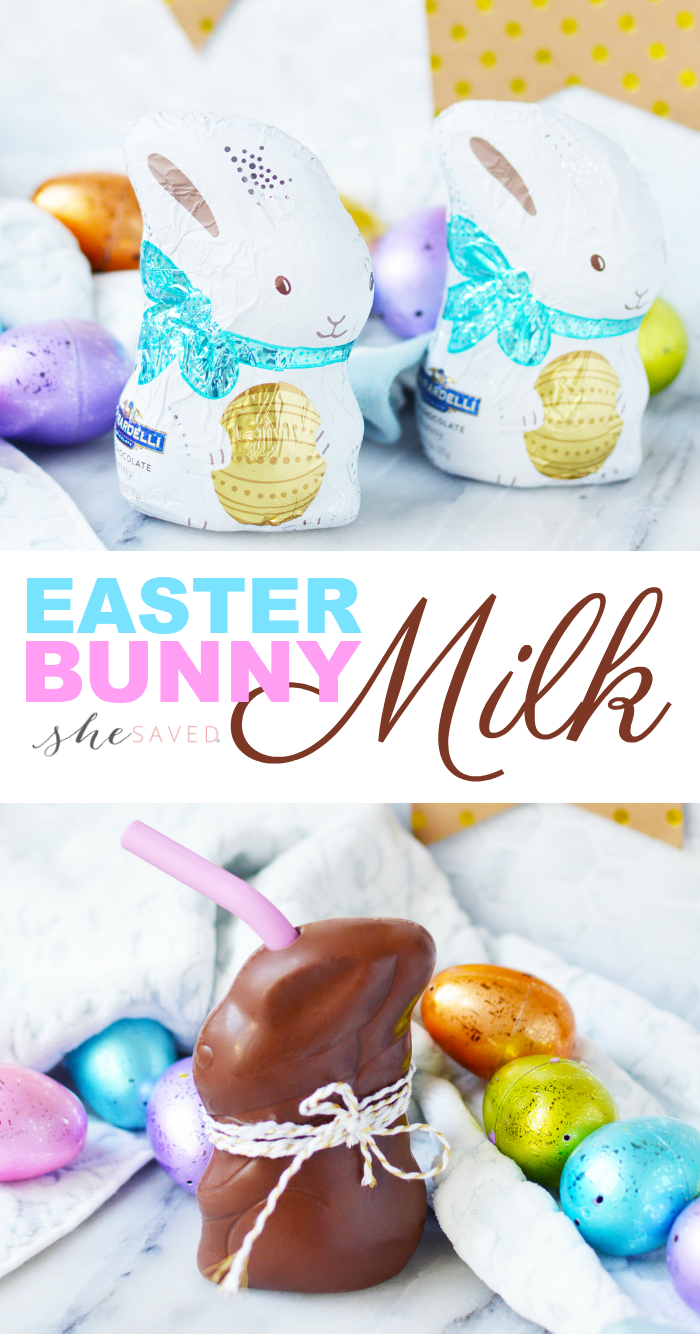
When you make these milk filled chocolate bunnies, select hollowed chocolate Easter bunnies that seem to have a thicker wall.
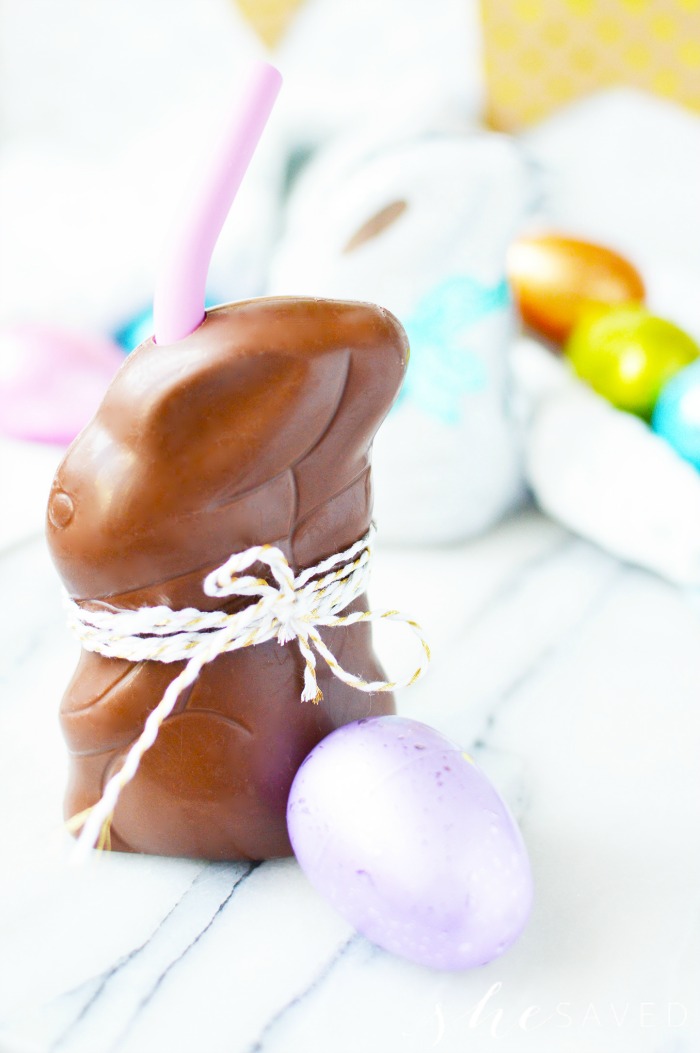
I prefer the Ghirardelli bunnies, as shown, because they are high quality and they do seem to hold liquid well. When purchasing your chocolate bunnies, you should also make sure that they are made in such a way that they are able to stand on their own.
And for this fun milk bunny a flat and stable base it important!
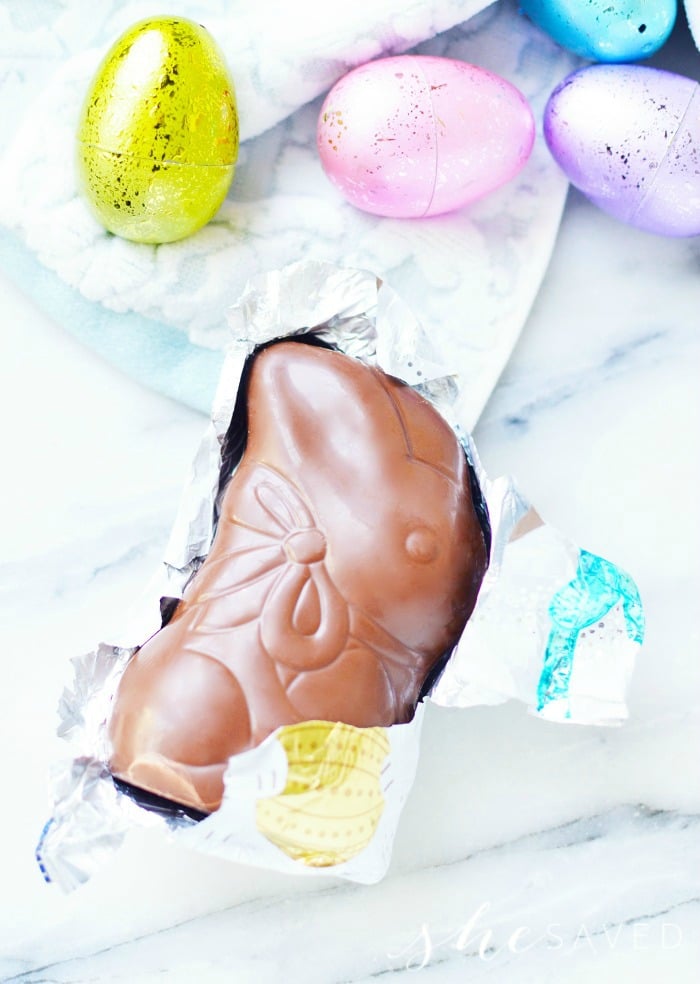
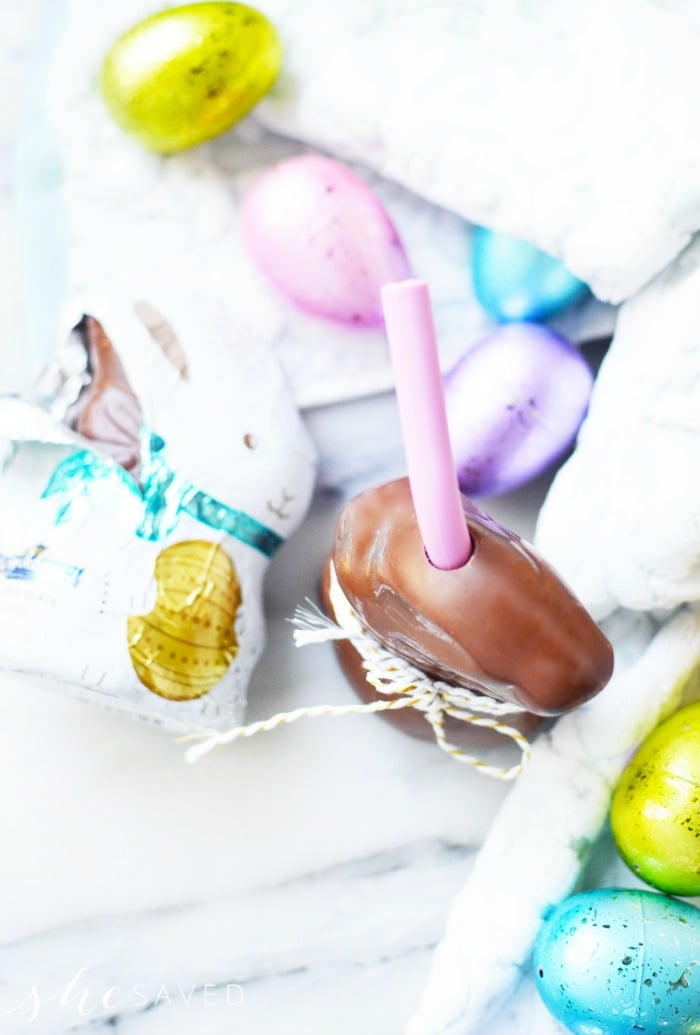
Plan for one chocolate bunny per person. It will be easiest to drill the hole if the bunnies are cold (if they are too warm the sides might crack and push in while you are holding it and trying to make the hole) so aim to chill them for at least a half hour in the fridge.
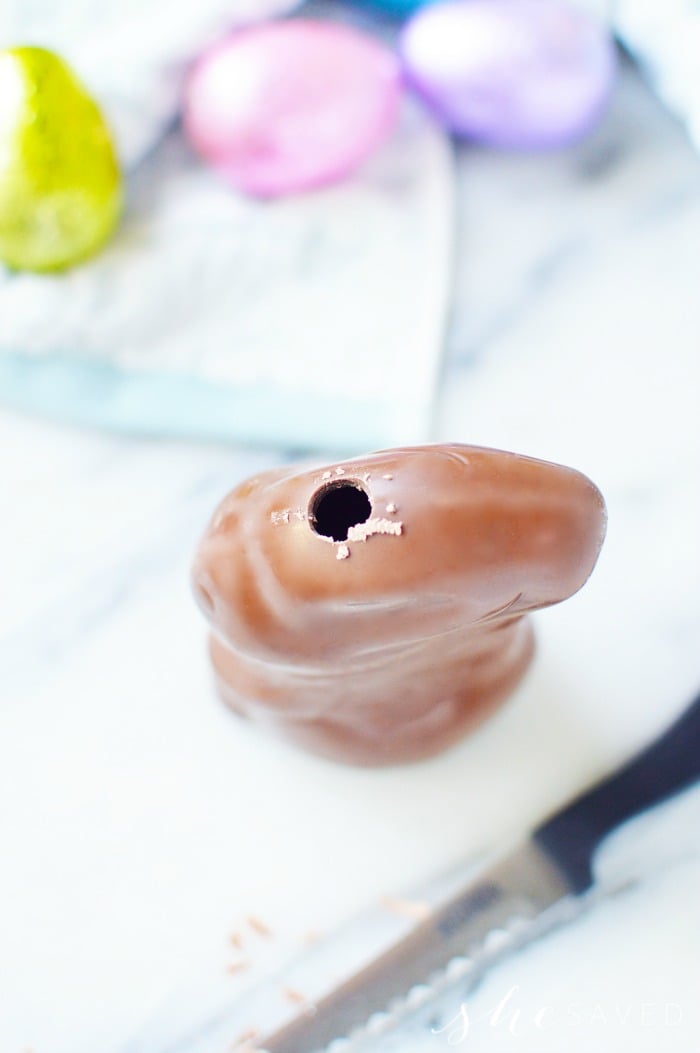
There are many different hollow chocolate bunnies out there, so the different shapes might benefit from placing the hole in different spots so the milk is less likely to spill out.
Use a sharp tipped knife and twist in a complete circle, just like you’re drilling, down into the bunny.
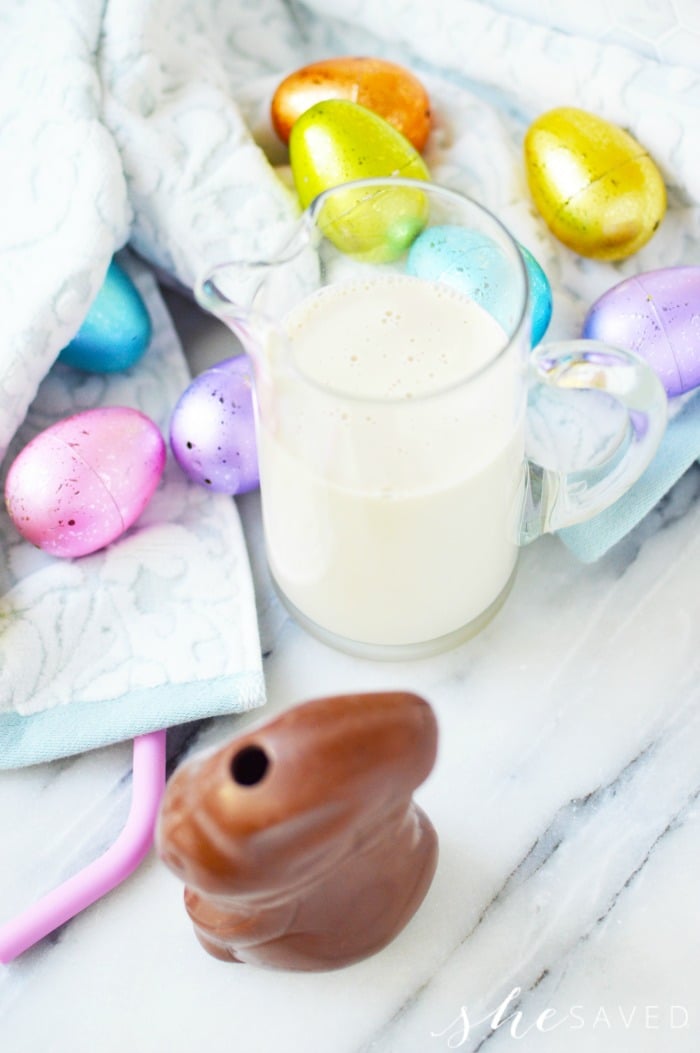
Use a tiny funnel to steady hand to fill each bunny with the milk of your choice.
Then place the bunnies on a plate or tray and return to the fridge until ready to serve. These can be made up to 1 day in advance.
A Pretty Addition to your Easter Table
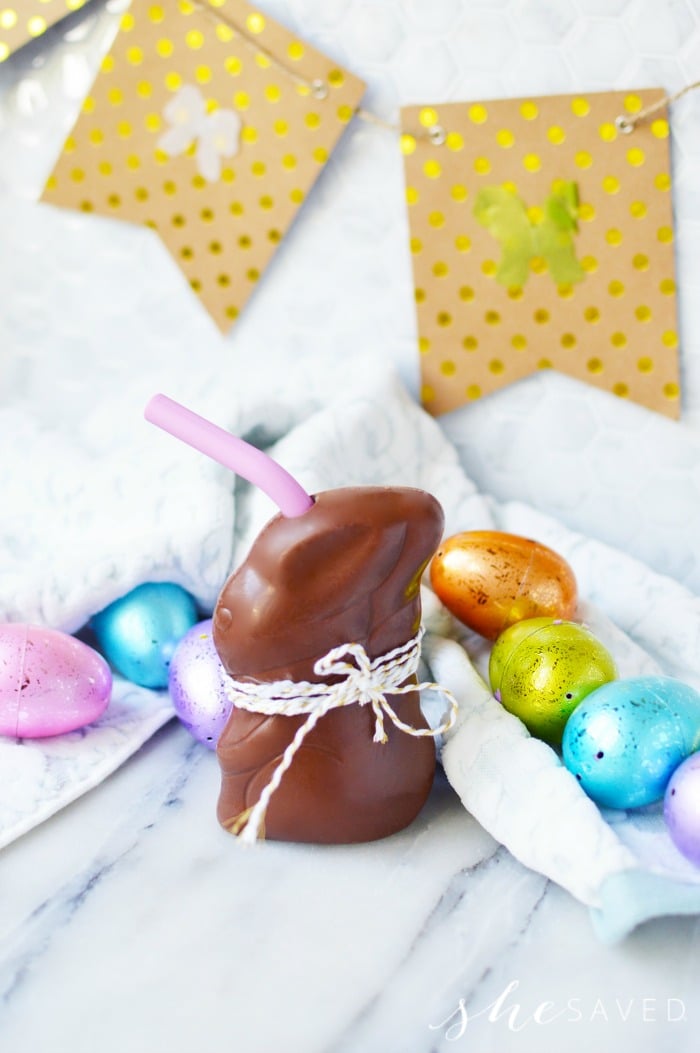
These would be darling for an Easter themed tea party or even for Easter brunch.
Use a cute little bow or craft string to tie a bow around the bunny necks. If you are using these little bunnies for place settings, you could even tie each guest’s name on a little tag attached to the string and set it at their plate.

To add to the festive Easter table, use foil Easter eggs and other Easter decorations to really make your table setting pop.
Depending on the age of your guests, you can select different sized chocolate bunnies. The smaller ones are perfect for tiny hands.
If you are serving adults, definitely go for the larger sized Easter bunnies and serve a Kahlua and Cream type drink in them.
The key is keeping them in the fridge to stay cool so that they don’t melt quickly when you go to serve them.
Looking for other fun Easter party ideas? I recently shared a fun DIY Easter Bunny Tea Towel craft that would also make a fun party favor and this adorable DIY Easter Bunny wall hanging would also be a cute addition to you Easter decor.
Easter Magic
I love the magic of the holidays. Easter is one of my favorites because along with celebrating the resurrection, we are also celebrating the coming of spring and the joy of being together as a family.
I’m the first to admit that I tend to stretch the holidays out as much as I can and that’s because I enjoy the festivities so much. Check out my Easter Bunny Magic tips, for different ways I have added to the magic.
Of course, dyeing eggs is top on my list and I’ve shared two of our favorite techniques recently. My favorite it this tried and tested easy way to dye Easter eggs. And recently, we discovered how to tie dye Easter eggs.
They turn out really unique and it’s such an easy process, making it perfect for parties and gatherings.
Easter Treat: Chocolate Bunny Milk
Sometimes the simplest treats are also the cutest! Isn’t this little Easter Bunny Milk treat so adorable? I love the idea of serving these to little ones. And the best part of all is that they take minutes to assemble and depending on which size chocolate bunnies you select, very affordable.
Materials
- Chocolate Bunny
- Milk
- Straw
Tools
- Sharp Knife
Instructions
Plan for one chocolate bunny per person. It will be easiest to drill the hole if the bunnies are cold (if they are too warm the sides might crack and push in while you are holding it and trying to make the hole) so aim to chill them for at least a half hour in the fridge.
There are many different hollow chocolate bunnies out there, so the different shapes might benefit from placing the hole in different spots so the milk is less likely to spill out.
Use a sharp tipped knife and twist in a complete circle, just like you’re drilling, down into the bunny.
Use a tiny funnel to steady hand to fill each bunny with the milk of your choice. Then place the bunnies on a plate or tray and return to the fridge until ready to serve.
These can be made up to 1 day in advance.

Meet the author – Keri Lyn
The creative and frugal mind behind She Saved for over 12 years now, Keri Lyn shares her adventures in parenting along with her love for family travel, country living and brand marketing. A self-proclaimed “brand loyalist”, Keri Lyn is known for her strong and enthusiastic voice when it comes to the products and brands that she loves. She Saved has become a community for like-minded consumers who appreciate saving money, time and sanity by getting the best deals on quality products and experiences.
What a cute treat!
I did something like this last year, but I cut the entire head off. I like the idea of just making a hole for the straw with a knife. Pinned and will be featuring this on tonight’s MM party.