DIY Christmas Craft: Felt Nativity Ornament
DIY Christmas Craft: Felt Nativity Ornament
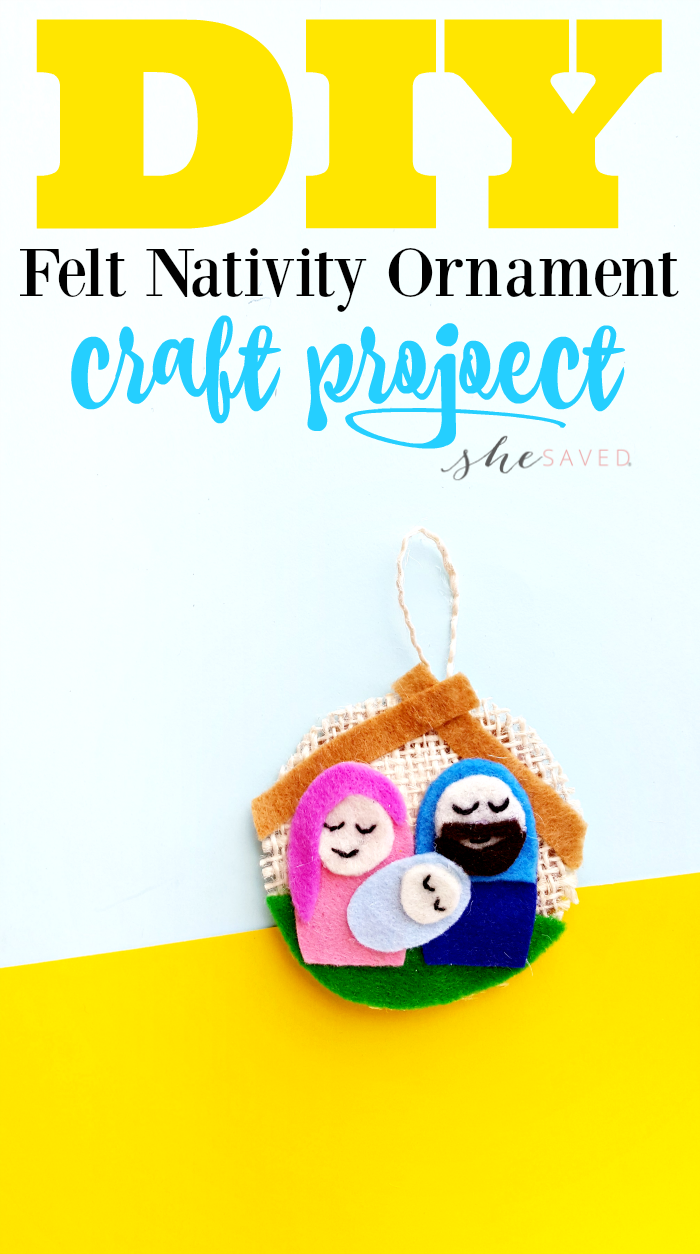
One of my favorite things about this time of year are the wonderful DIY Christmas craft projects that we enjoy, and I especially love the nativity themed ones, what a wonderful way to enjoy time with the kids while celebrating the meaning of the season with this sweet Felt Nativity Ornament craft project. This would be a great activity for a Sunday school classroom and a great keepsake to hang on the tree for years to come.
We’ve shared quite a few of our DIY projects lately on the blog, and we’ve really been into paper quilling. We recently shared our Quilled Nativity craft here, so make sure to check that out along with our other DIY and Paper Quilling projects here.
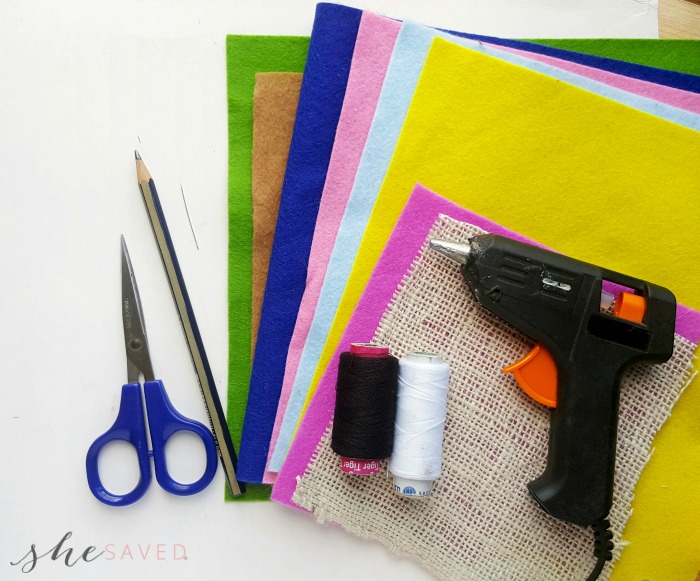
List of Supplies:
- Felt fabric
- Needle and thread
- Pencil or pen – for tracing the template
- Scissors
- Hot glue gun
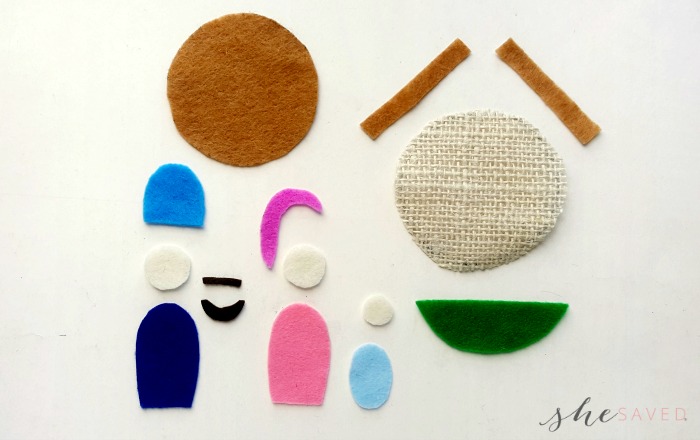
Step 1:
Prepare the template patterns by printing and cutting them out nicely. Select felt fabrics for the ornament; you can use scrap felt fabrics for this craft as well! The template includes 2 big round shapes (the ornament base), 1 semi circular shape (ground or bottom side of the scene) and 2 strips (the roof). Baby Jesus – 1 oval and 1 circle, Mary – 1 circle, 1 arch shape (clothe), 1 cane pattern (scarf), Joseph – 1 circle, 1 small arch (bottom part of clothe), 1 big arch (clothe), beard and moustache pattern.
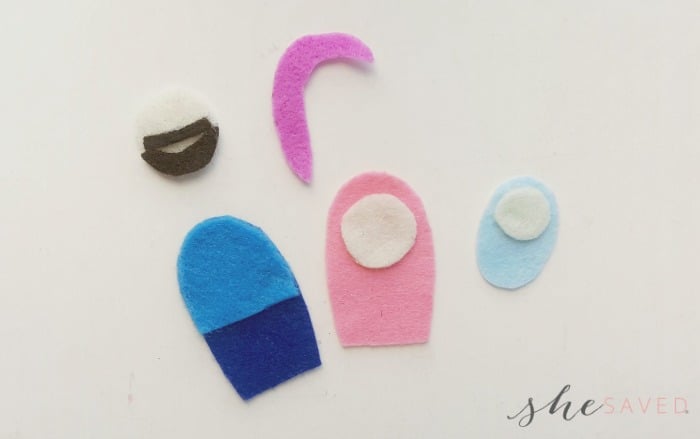
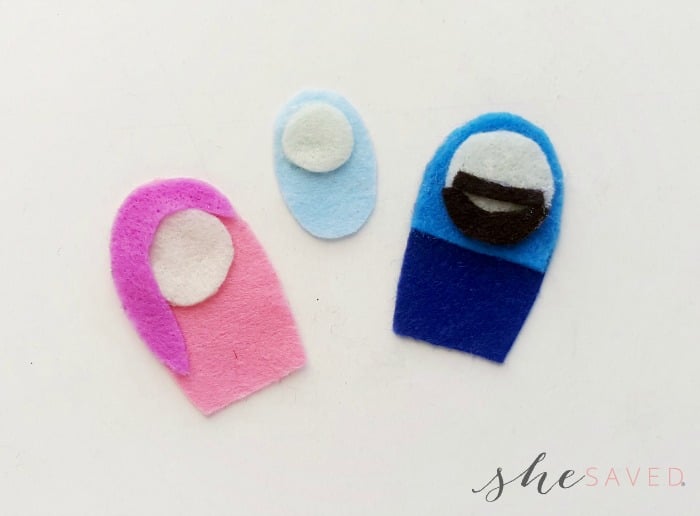
Step 2:
Grab the cut outs to create the baby Jesus, Mary and Joseph. Glue the circle cut outs on the clothe cut outs for baby Jesus and Mary dolls; for Joseph doll, glue the small arch cut out on the top end of the big arch cut out. Attach the beard and the moustache cut outs on the circle cut out for the Joseph doll.
Step 3:
Attach the scarf pattern of Mary and the head pattern of Joseph.
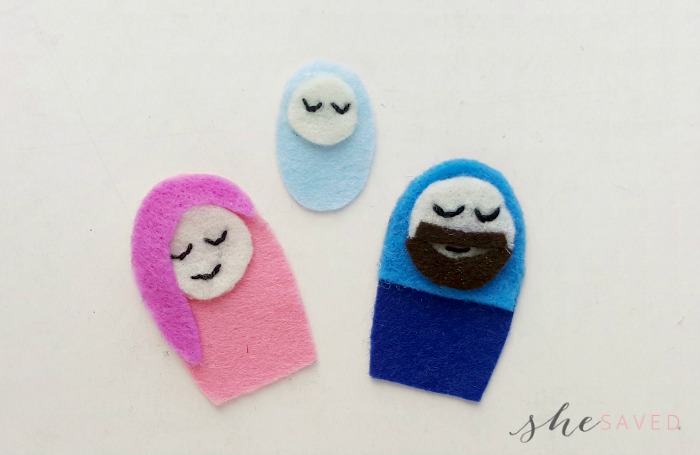
Step 4:
Prepare needle with black thread. Use a black marker pen to draw the eyes and lips of baby Jesus, Mary and Joseph. Do back stitch long the traced pattern.
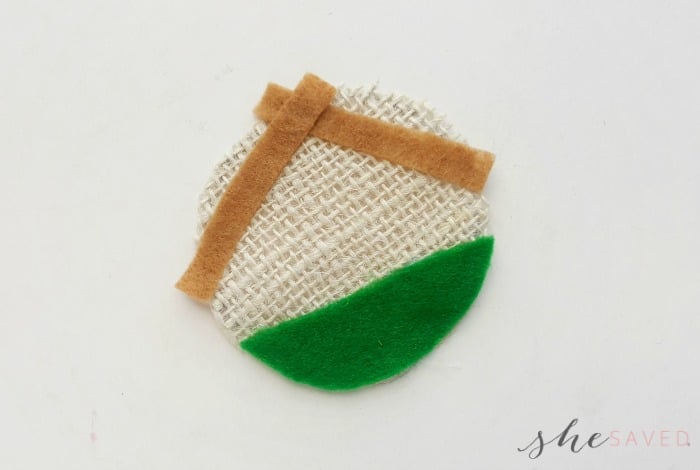
Step 5:
Take the front part of the ornament base and attach the semi circular cut out on the bottom side of it; make sure to match the curved ends of the semi circular cut out and the base. Attach the 2 strips on the opposite side of the semi circular part to create the roof.
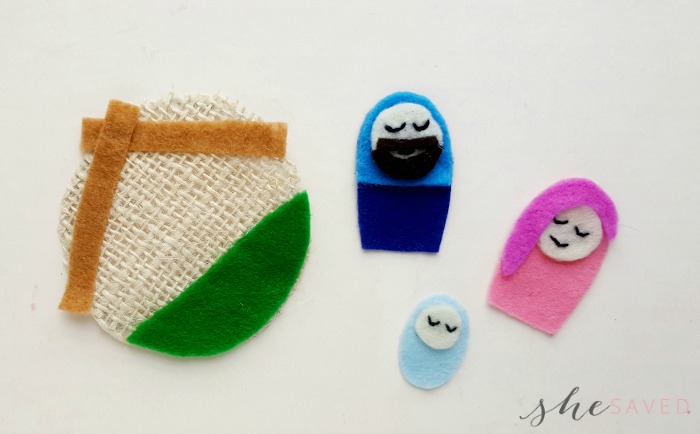
Step 6:
Now that you have all items ready to go, it’s time to join them together!
Step 7:
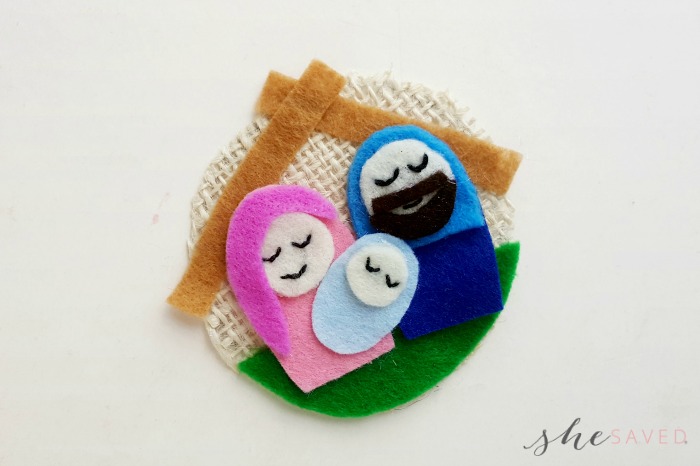
Prepare the hot glue gun and attach Mary, Joseph and baby Jesus dolls on their places (on the front base).
Step 8:
Take the back part of the ornament base. Cut a small piece of burlap string and fold it into half. Use hot glue to stick the open ends of the burlap string loop with the back base of the ornament.
Step 9:
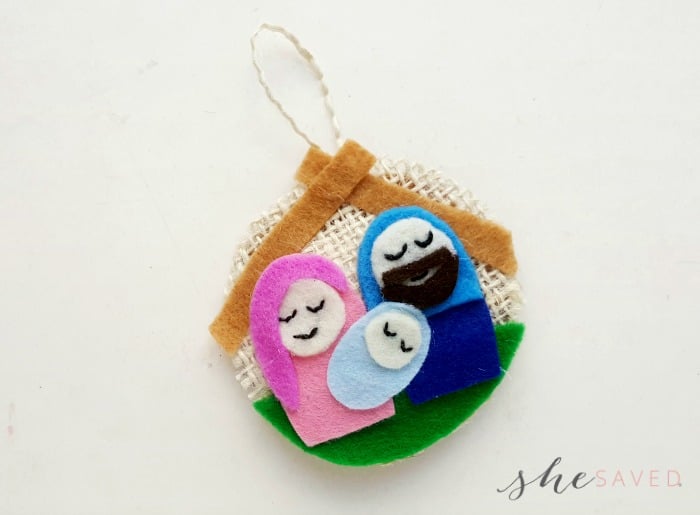
Now simply place the nativity scene felt base on the top of the back base. Apply hot glue around the sides to join both pieces together and complete the ornament.
Done! How sweet is this? Have your little ones sign their name and the year on the back of their ornament, for a wonderful keepsake nativity ornament to be enjoyed for years to come.


Meet the author – Keri Lyn
The creative and frugal mind behind She Saved for over 12 years now, Keri Lyn shares her adventures in parenting along with her love for family travel, country living and brand marketing. A self-proclaimed “brand loyalist”, Keri Lyn is known for her strong and enthusiastic voice when it comes to the products and brands that she loves. She Saved has become a community for like-minded consumers who appreciate saving money, time and sanity by getting the best deals on quality products and experiences.


That is so cute!
Thank you!! xo
Very pretty! Great ornament or gift decoration. Visiting from Share Your Style party.
This ornament is too sweet. I can see my kids making their versions of this!