Paper Quilling Christmas Craft: Quilled Nativity
Paper Quilling Christmas Craft: Quilled Nativity
I love Christmas crafts, especially ones like this quilled nativity scene that not only are fun to make, but have special meaning and help us to celebrate the Christmas season and the reason behind it. This would be a lovely craft for a Sunday school classroom and also makes a neat gift idea.
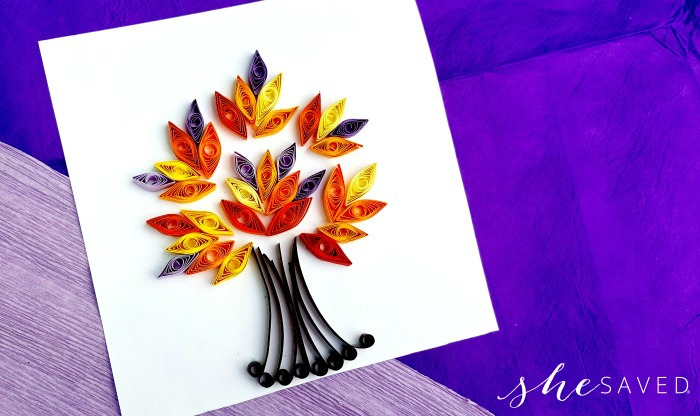
We’ve shared quite a few of our DIY projects lately on the blog, and we’ve really been into paper quilling, so make sure to check out our other DIY and Paper Quilling projects here.
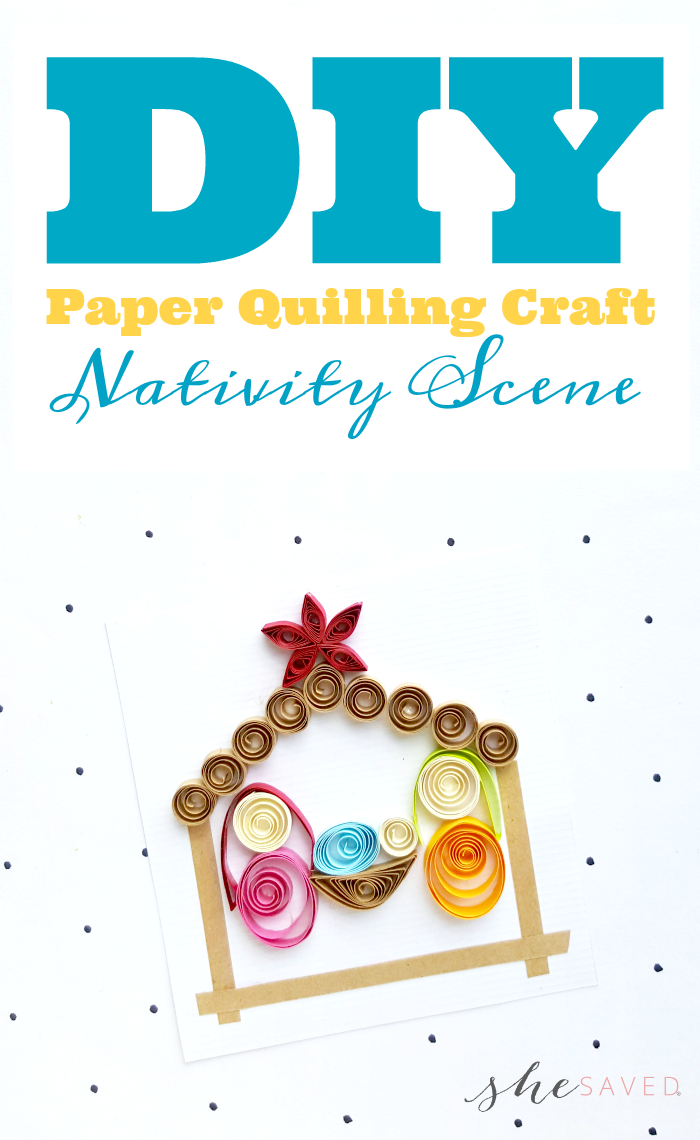
This quilled Nativity scene is so sweet and our favorite thing about paper quilling is that it’s easy and affordable with very few supplies needed!
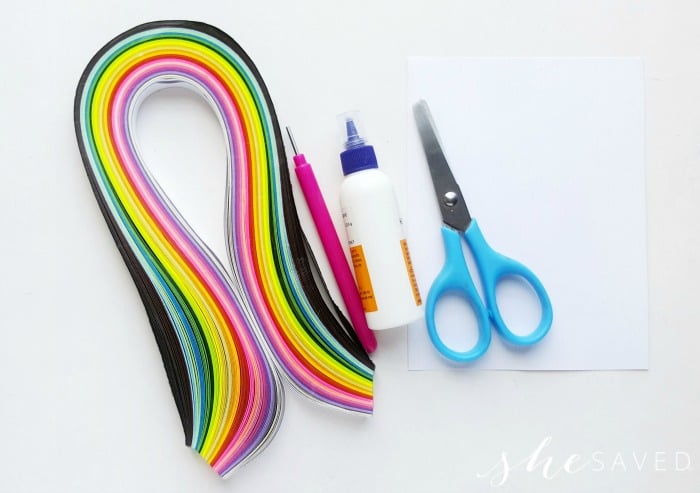
List of Supplies:
- Thick stationary paper –
- Quilling strips – colors of your choice
- Slotted quilling tool
- Scissors
- Craft glue or glue stick
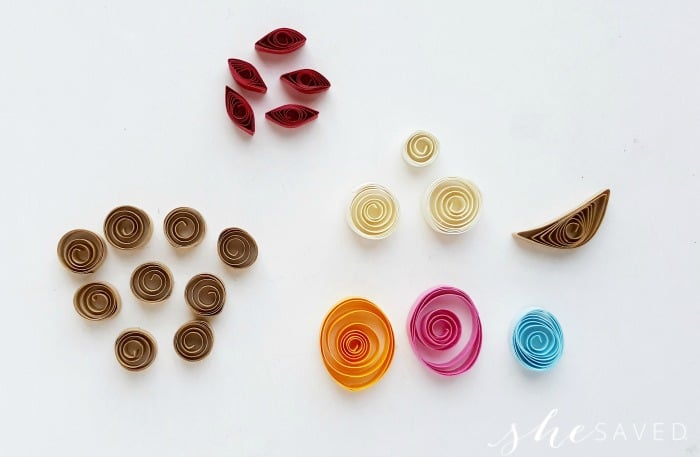
Steps ONE and TWO:
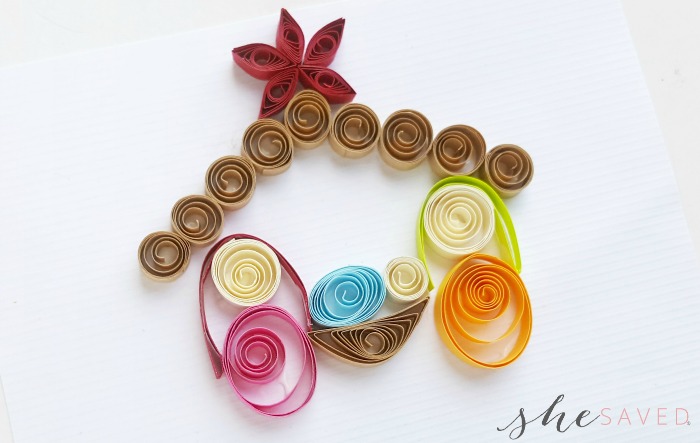
For this craft we need to make 3 kinds of shapes – loose coil (both round and oval), lens shape and half moon shape. Make 9 loose coils using 6 inches brown strips for the roof. Make 5 lens shapes using 6 inches long red strips for the star. Use 6 inches off white strip (or any other color you prefer for the faces of Mary, Joseph and Baby Jesus) to create 2 loose coils of the same size and 1 loose coil of relatively smaller size. Make 2 loose coils from 10 inches long strips (clothes of Joseph and Mary) and 1 loose coil (Baby Jesus clothe) from 6 inches long strip. Last but not least, make a half moon shape from a 10 inches strip for the manger.
Step THREE:
Prepare a piece of white stationary paper for the art.
Step FOUR:
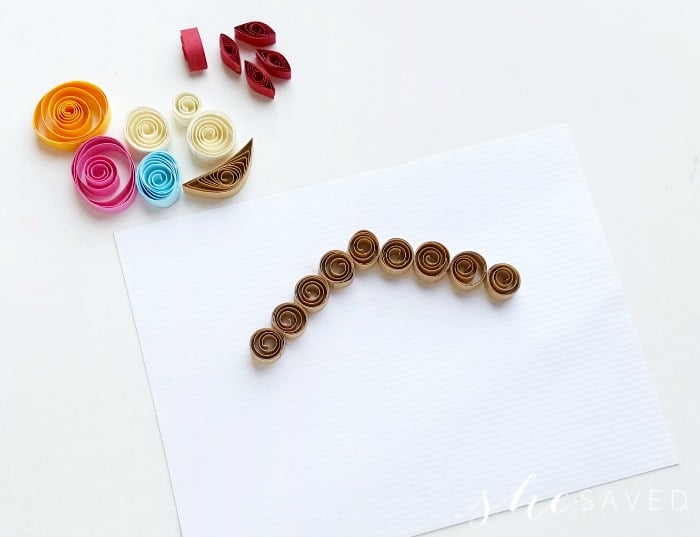
Glue the 9 loose coils prepared for the roof on the stationary paper and create the roof pattern.
Step FIVE:
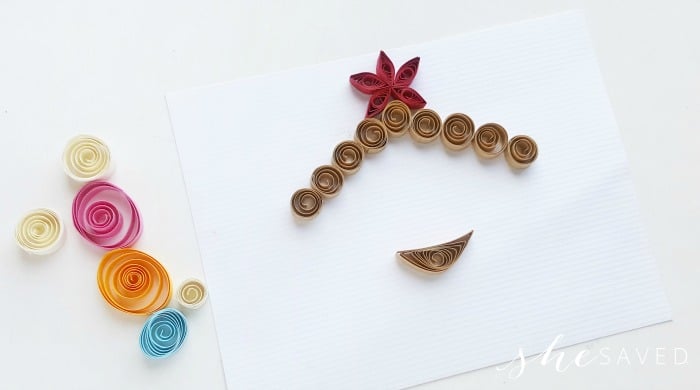
Arrange the 5 lens shapes on the top end of the roof pattern to create the 5 point star.
Step SIX:
Place and glue the half moon shape under the roof (near the ground of the scene), right below the star.
Step SEVEN:
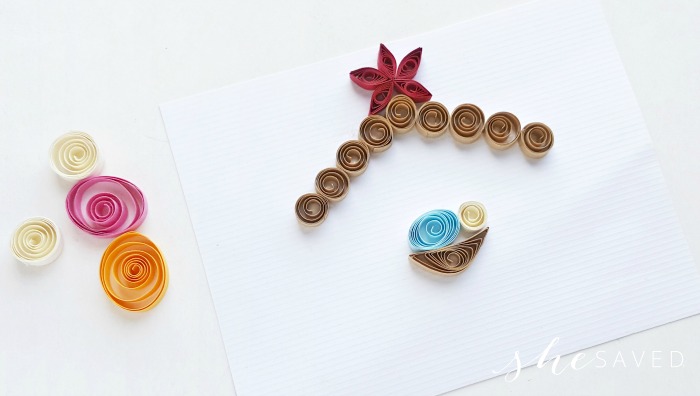
Glue the loose coils (Baby Jesus clothe and head) adjacent to the half moon shape to make Baby Jesus quilled art.
Step EIGHT:
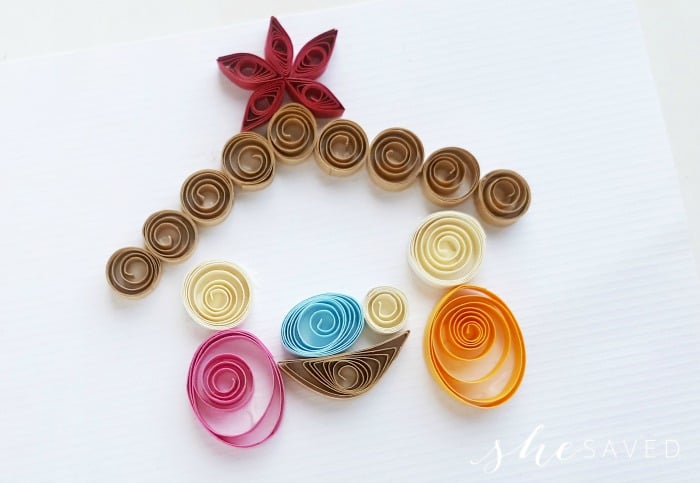
One by one glue the clothes and head shapes quilled for Mary and Joseph on 2 sides of the quilled manger (or baby Jesus).
Step NINE:
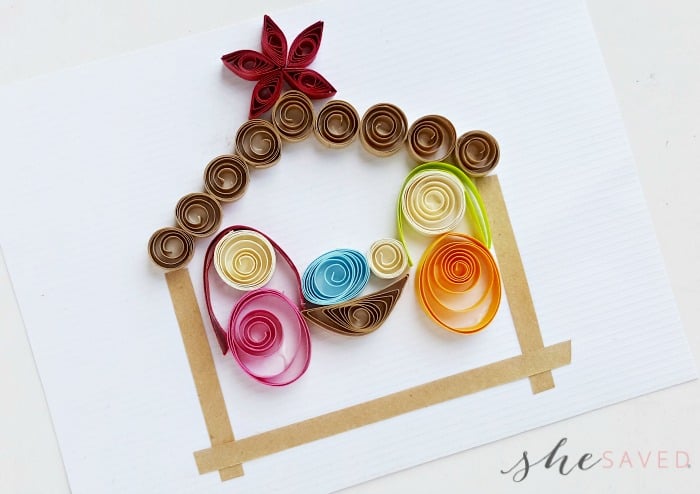
Take 2 strips (6 inches long) and fold them into half. Place them over the heads of Mary and Joseph and glue them.
Step TEN:
Though this step is optional but you can also add 3 strips on both sides and along the bottom side of the scene. You can also use quilled shapes instead of strips.
Allow the glue to dry and you are done with your paper quilled nativity scene! This is a wonderful little project that can be done in classrooms, sunday school … and it also makes for a wonderful keepsake card! We love to frame our paper quilled projects, so maybe consider that as well. This will be a sweet craft that you will enjoy giving as a gift and/or bringing out each year during the holiday season.

Meet the author – Keri Lyn
The creative and frugal mind behind She Saved for over 12 years now, Keri Lyn shares her adventures in parenting along with her love for family travel, country living and brand marketing. A self-proclaimed “brand loyalist”, Keri Lyn is known for her strong and enthusiastic voice when it comes to the products and brands that she loves. She Saved has become a community for like-minded consumers who appreciate saving money, time and sanity by getting the best deals on quality products and experiences.