No Sew Unicorn Pouch Craft Felt Project
No Sew Unicorn Pouch Craft Felt Project
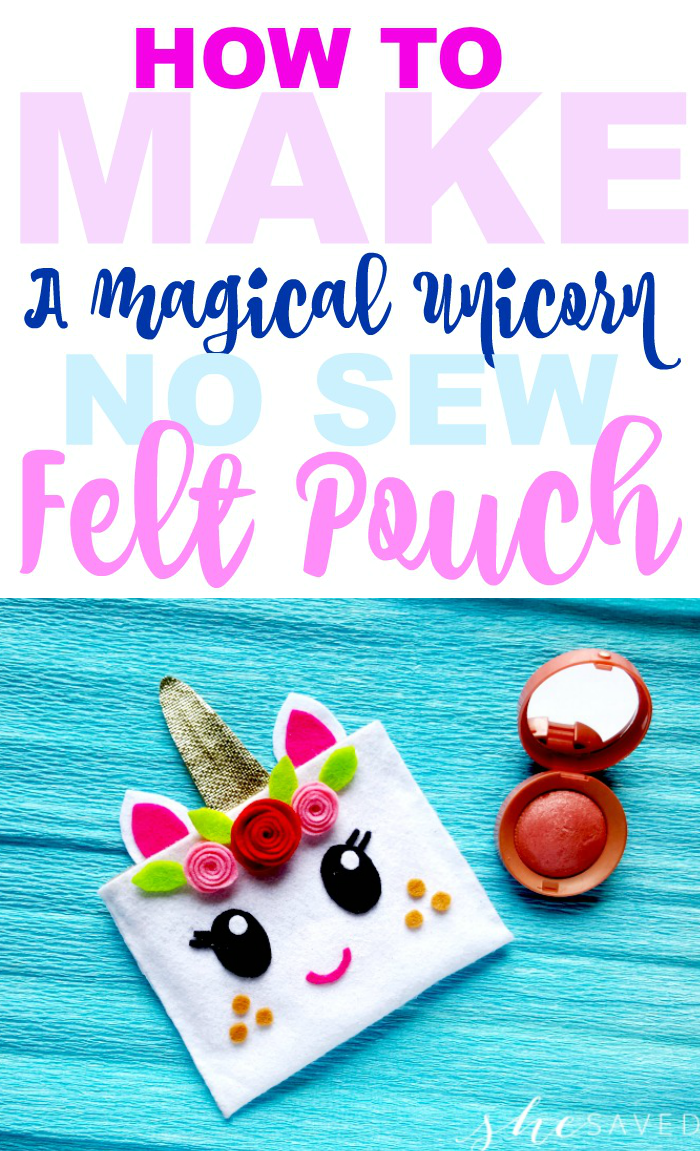
We are all about unicorns these days and if you have a unicorn lover or a unicorn birthday party in your future, this no sew felt project is perfect!
This unicorn pouch felt craft will not only make for a fun activity, it’s darling!
It’s perfect for all ages and you could even pair this no sew felt product with some fun party favors like glittery lip glosses and/or candy since party goers will have their pouch to put goodies in!
My daughter is kind of in charge of the crafts around here these days.
She is 10 years old and I’m getting the biggest kick out of the things she makes.
This one is perfect for those just getting started with crafts because there is no sewing needed, although you will want to help with the glue gun OR you could use fabric glue instead.
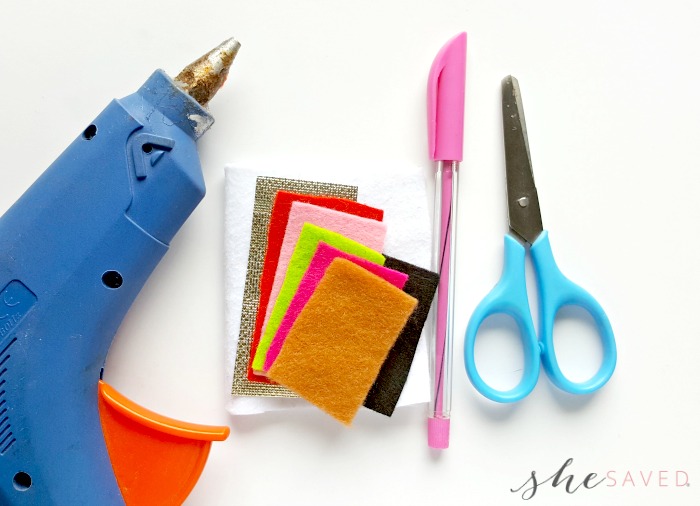
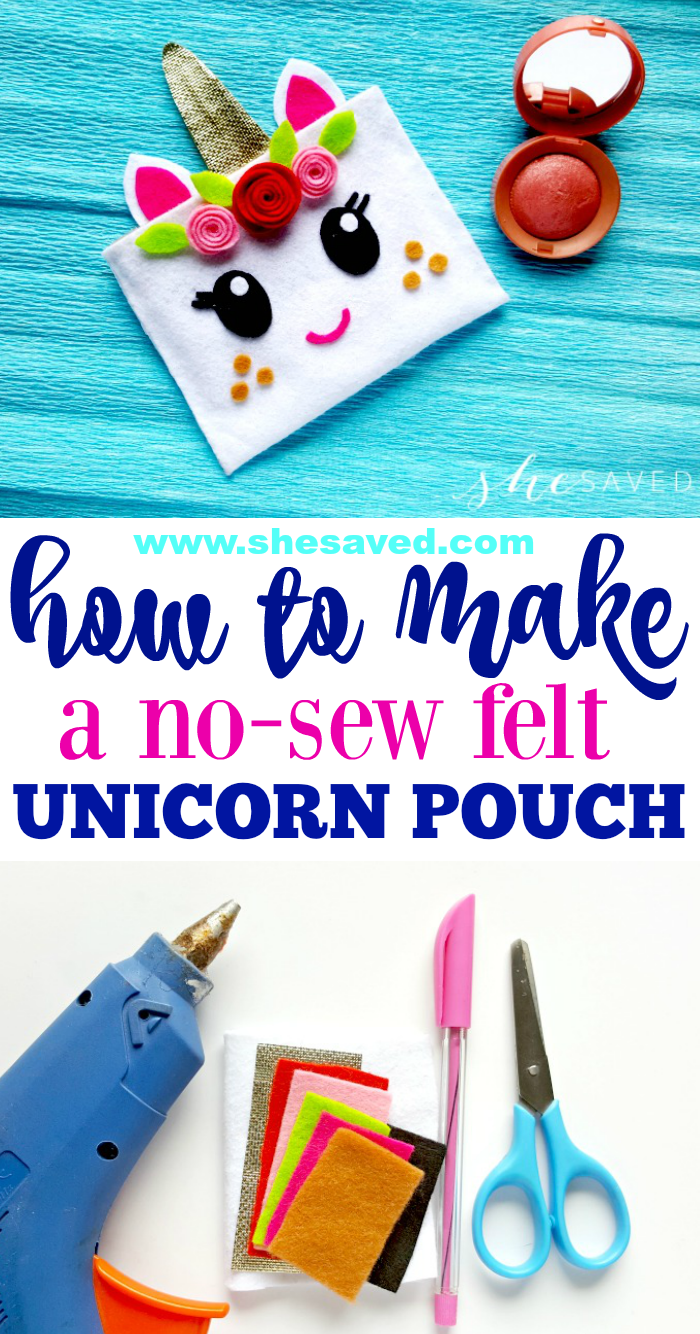
List of Supplies for making this unicorn craft project:
- Felt fabrics– colors of your choice
- Golden colored fabric
- Scissors (fabric scissors work best)
- Hot glue gun (or fabric glue) *we love this little mini glue gun
- Hook-and-loop fasteners
- Pencil – to trace the template
- Unicorn and Flower Parts Template
Instructions for making the Unicorn Pouch
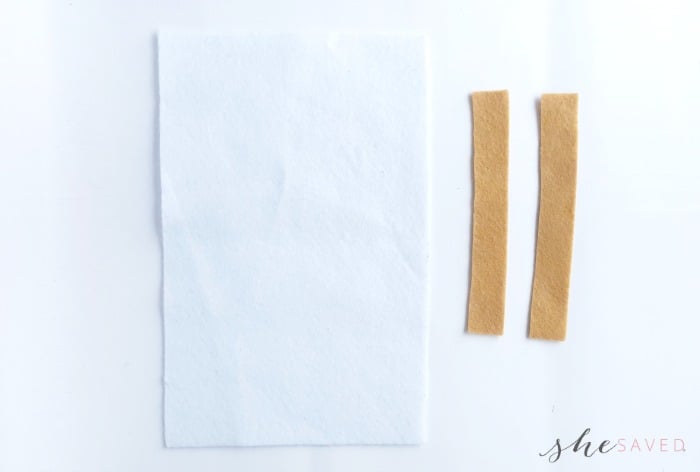
Step (1)
Cut the main felt fabric for the pouch according to your required size (mine was 6inches x 10inches). Cut 2 felt fabric strips of 1 cm width and the length same as the width of the felt cut out for the pouch.
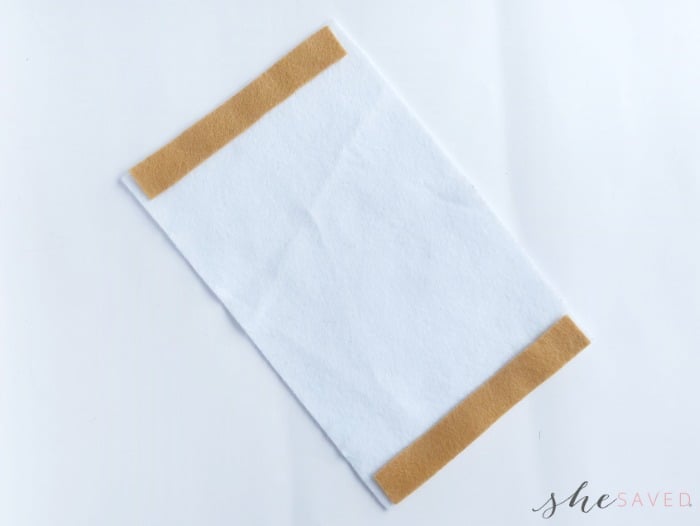
Step (2)
Prepare the hot glue gun and attach the 2 felt strips along the 2 width ends of the main felt piece. For any one strips glue the 2 sides only, keep a loop in the middle.
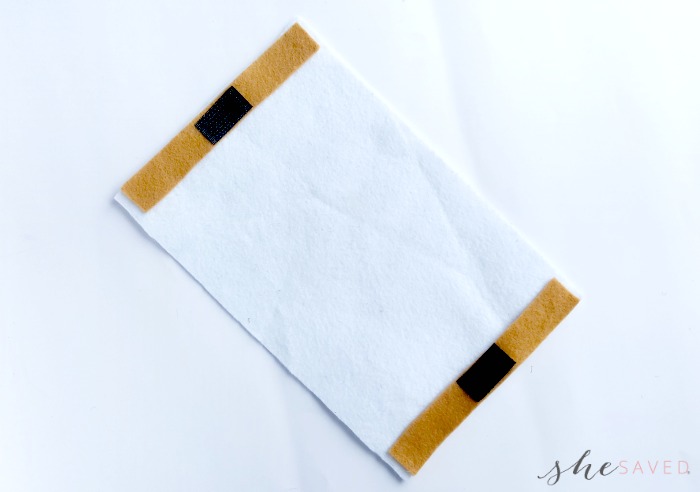
Step (3)
Glue hook-and-loop fasteners on the middle of the 2 attached felt strips on both ends.
Print the Unicorn Template
Step (4)
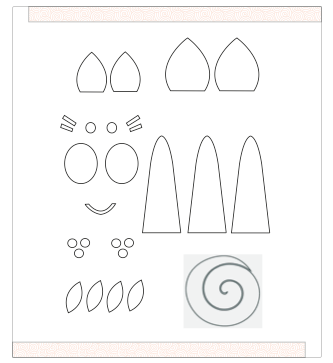
Prepare the patterns from the provided FREE unicorn and flower parts template (shown above) by printing them here and cutting them out.
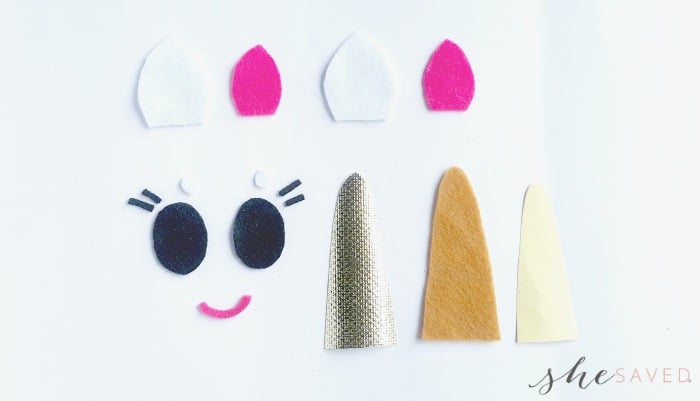
Trace the patterns on the selected felt fabrics and cut them out. Make sure to use fabric scissors for best results. Depending on the age of the children doing this project, assist them as needed.
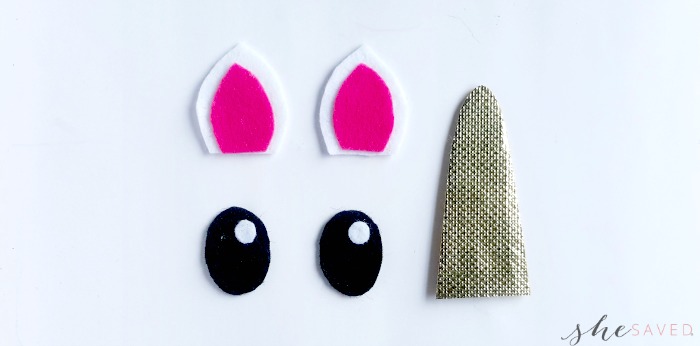
The unicorn and flower parts template includes –inner ear parts, outer ear parts, eyes, lip, blush/ freckle, horn, flower spiral and leaf. For the horn part you’ll need 3 materials for the 3 horn patterns- felt, cardstock and golden fabric. *get creative and use what you have on hand if you don’t want to purchase materials.
Step (5)
Glue the inner parts on the outer ear parts; glue the cardstock horn pattern on the felt horn pattern and then glue the golden horn pattern on the cardstock horn pattern. Glue the 2 small white circles on the 2 large black circles (these are the eyes).
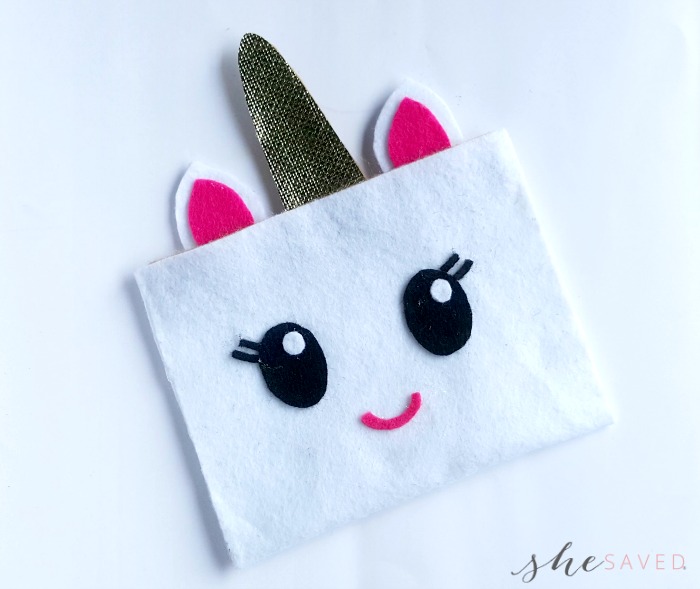
Step (6)
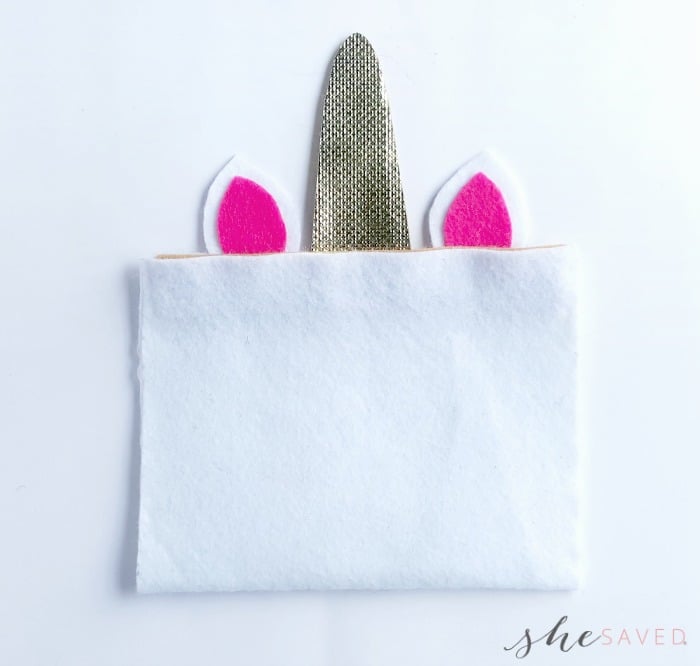
Fold the main felt piece into half lengthwise and glue the 2 open sides (not the top) of the using the hot glue gun.
*If you use fabric glue, drying time will obviously be slower and might be a little messier, but again – adjust the craft to the age and skill level that you are working with.
Note that one of the side strips is glued on 2 sides only. That side of the pouch with the looped strip will be the back side of the pouch. Now glue the ears and the horn with the main piece, pushing at least 1 cm of their bottom ends inside the looped strips. Use hot glue gun to attach the ears and the horn and also don’t forget to close the loop by gluing the entire strips with the main fabric.
Glueing on Parts
Step (7)
Now glue the eyes, lashes and lip on the front side of the pouch.
Make Rolled Flowers with Felt
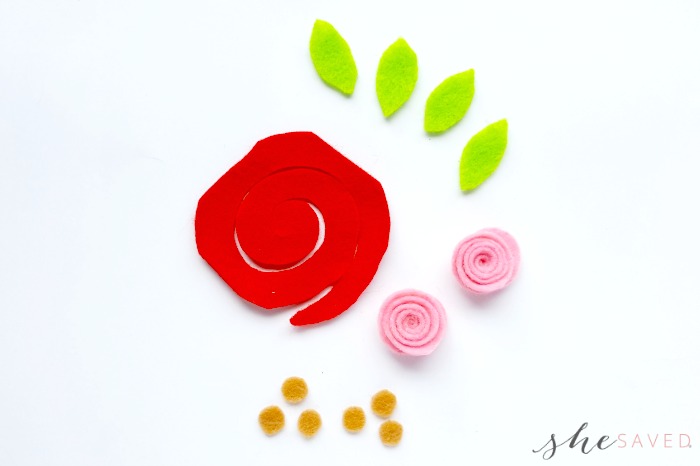
Step (8)
Prepare the items for decorations; the 3 spirals, 4 leaves and blush/ freckles. Make rolled flowers using the spiral patterns.
Step (9) (10)
Now attach the prepared items one by one on the pouch, along the top end of the pouch.
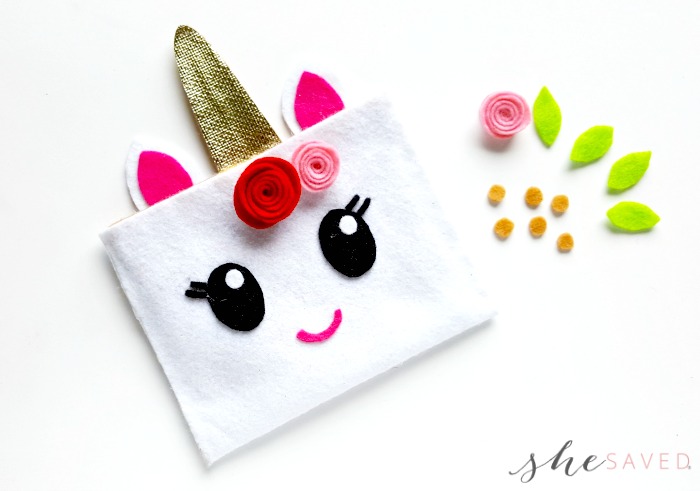
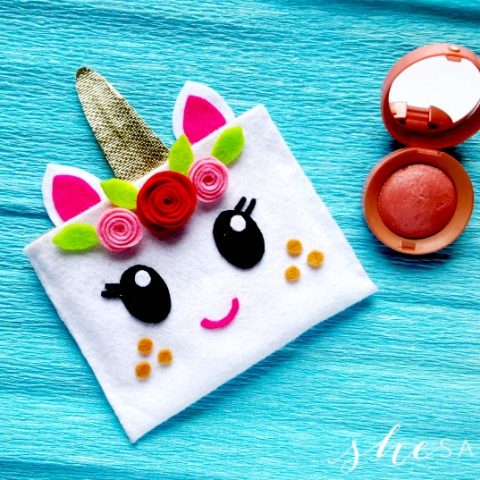
Done!
Mix and match different colored felt fabrics for more variation. Isn’t this little felt unicorn pouch the cutest?
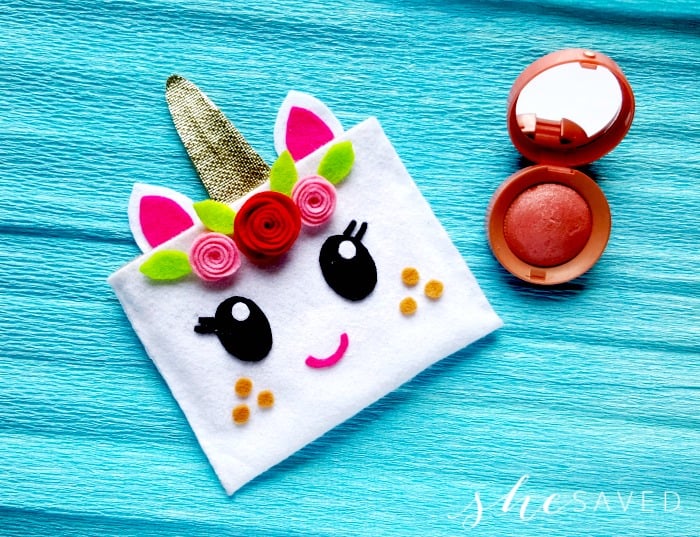
You can adjust the pouch size to your liking or needs. Make it bigger if you would like it to be a pencil case, or make it smaller to hold a gift card…SO many fun variations and you should be able to use the same template no matter what size that you make your pouch.
If you love crafts, make sure to check out our other DIY and craft ideas! We love these easy t-shirt bracelets and this fun pom pom rainbow craft – but make sure to check out all of our other fun craft ideas!
Print the instructions for this unicorn pouch craft project
Unicorn Pouch Craft - A No Sew Project
This darling little unicorn craft project is so much fun and because it's a no sew craft, it's great for kids! Use our free printable template and follow our instructions to make this unicorn pouch craft which makes a great homemade gift idea and is perfect for unicorn lovers!
Materials
- Felt fabrics– colors of your choice
- Golden colored fabric
- Hook-and-loop fasteners
- Template
Tools
- Scissors
- Hot Glue Gun or Fabric Glue
- Pencil – to trace the template
Instructions
Step (1)
Cut the main felt fabric for the pouch according to your required size (mine was 6inches x 10inches). Cut 2 felt fabric strips of 1 cm width and the length same as the width of the felt cut out for the pouch.
Step (2)
Prepare the hot glue gun and attach the 2 felt strips along the 2 width ends of the main felt piece. For any one strips glue the 2 sides only, keep a loop in the middle.
Step (3)
Glue hook-and-loop fasteners on the middle of the 2 attached felt strips on both ends.
Step (4)
Prepare the patterns from the template by printing and cutting them out. Trace the patterns on the selected felt fabrics and cut them out nicely. The template includes –inner ear parts, outer ear parts, eyes, lip, blush/ freckle, horn, flower spiral and leaf. For the horn part you’ll need 3 materials for the 3 horn patterns- felt, cardstock and golden fabric.
Step (5)
Glue the inner parts on the outer ear parts; Glue the cardstock horn pattern on the felt horn pattern and then glue the golden horn pattern on the cardstock horn pattern. Glue the 2 small white circles on the 2 large black circles (these are the eyes).
Step (6)
Fold the main felt piece into half lengthwise and glue the 2 open sides (not the top) of the using the hot glue gun. Remember that one of the side strips is glued on 2 sides only? That side of the pouch with the looped strip will be the back side of the pouch. Now glue the ears and the horn with the main piece, pushing at least 1 cm of their bottom ends inside the looped strips. Use hot glue gun to attach the ears and the horn and also don’t forget to close the loop by gluing the entire strips with the main fabric.
Step (7)
Now glue the eyes, lashes and lip on the front side of the pouch.
Step (8)
Prepare the items for decorations; the 3 spirals, 4 leaves and blush/ freckles. Make rolled flowers using the spiral patterns.
Step (9) (10)
Now attach the prepared items one by one on the pouch, along the top end of the pouch.
Done! Mix and match different colored felt fabrics for more variation.

Meet the author – Keri Lyn
The creative and frugal mind behind She Saved for over 12 years now, Keri Lyn shares her adventures in parenting along with her love for family travel, country living and brand marketing. A self-proclaimed “brand loyalist”, Keri Lyn is known for her strong and enthusiastic voice when it comes to the products and brands that she loves. She Saved has become a community for like-minded consumers who appreciate saving money, time and sanity by getting the best deals on quality products and experiences.


Super cute! Great kids birthday party activity. Visiting from Inspiration Monday.
Super cute! I love to see kids crafting. My daughter would love this. Thanks for sharing at Merry Monday. Hope to see you at the party next week!
This is a fun idea to keep the kids busy this summer and having fun. I’ll be featuring this in my 21 Kids Summer Fun Ideas this Sunday at Merry Monday at 6 pm PST. Hope to see you at the party!