10 Snow Science Experiments
Got Snow?
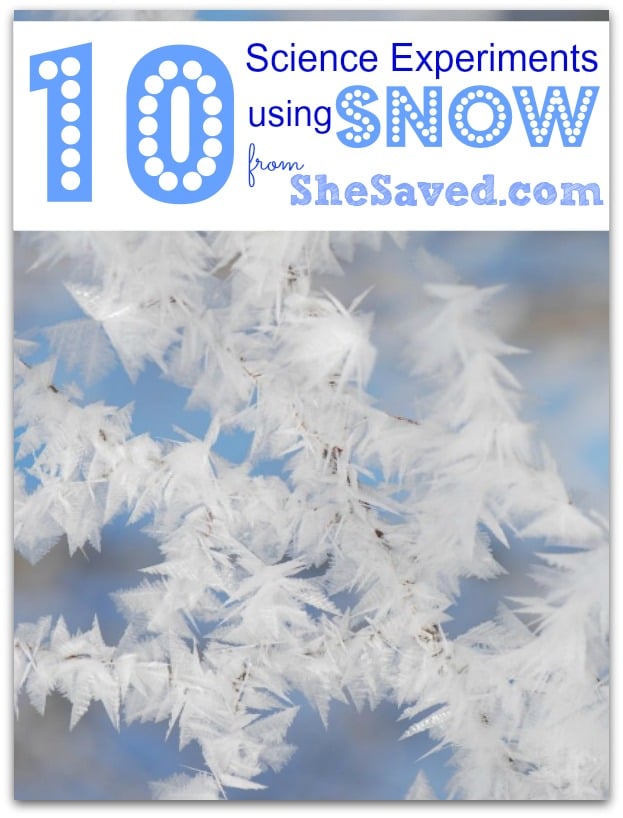
When you are surrounded by piles of snow this winter, use it to your educational advantage! Look at the snow as a way to teach your child some fun lessons!
Take a peek below at these 10 snow science experiments. These experiments are a fun and frugal way to teach some fun science lessons using a resource courtesy of Mother Nature! Here is how you can get started:
1. Make your own snow candy.
One of our favorite snow science activities! You can make your own candy when you mix 1/2 cup brown sugar, 1 cup maple syrup, and 2 tablespoons of butter. Take the mixture and pour it directly onto a clean, frozen patch of snow. The mixture will instantly harden and create maple flavored hard candies. This lesson covers how liquids can change to solids when faced with frigid temps.
2. How clean is snow?
Take a cup of snow and melt it in the microwave. Note how the solid turns to a liquid. Examine the liquid under a magnifying glass and see all of the dirt, debris, and other tiny objects that may have been hidden in the snow.
3. Solid to liquid snow.
Snow starts off as a solid but can then melt into a liquid. Take a handful of snow and let the child melt it in their hands. Or, you can heat it on a stove top of microwave. Note the transformation that the snow goes through when heat is applied. You can even turn it to a solid again by placing it in ice cube trays and freezing it.
4. Colorful snow.
Experiment with colors using snow and a few vials of food coloring. Place snow in individual bowls and add a drop of each color to each bowl. You can then mix the colors and see what various hues you can come up with. They even make snow art kits now, complete with snow markers so that you can color your snow creations! My kids always loved these types of snow science experiments!
5. Measuring fun.
Take a variety of measuring cups out into the snow. See how much snow fits into each when packed in well. This gives kids a good idea of what a cup of snow or even a quart of snow looks like when packed in.
6. Single flake magic.
Can you separate a single snowflake from a pile of snow? Try it! Use cotton swabs or toothpicks to try to pick one flake out. Examine it under a magnifying glass and discuss how millions of flakes make up a snowman.
7. Snowman science.
Speaking of snowmen, try building one. This is a wonderful time to talk about the weight of the snow and how dense it can be. You want to keep this in mind when building, since your heavier snowball will have to go on the bottom or base of the snowman. Short on snowman parts? Check out this fun Snowman Kit!
8. Compare snowball melting times.
Make 4-5 snowballs. Place each one in a bowl, and then in various locations such as the porch, freezer, refrigerator, the countertop, etc. Next you can estimate which one will melt first. Through the day, record your observations and see how close your estimations were. We also happen to love these snowball makers for making perfectly round snowballs!
9. Catch your own snowflake collection.
Go outside while it is snowing. Hold a piece of black construction paper flat so it catches the snowflakes. Take the snowflakes in and quickly examine them. Notice that no two are alike. Look at the various shapes the crystals make. Try to recreate them with a sketching.
10. Make your own snow gauge to measure snowfall.
Make your own snow gauge by taking a coffee can or metal pail and attach a 12 inch ruler to the inside of it with duct tape. Place it out in the snow to collect snowfall. You can then reference it to see what the snowfall was for the day.
See how easy it can be to do your own science experiments with snow? Give these fun and simple experiments a try! Looking for more fun activities for the kids? Here are some of my favorites:

Meet the author – Keri Lyn
The creative and frugal mind behind She Saved for over 12 years now, Keri Lyn shares her adventures in parenting along with her love for family travel, country living and brand marketing. A self-proclaimed “brand loyalist”, Keri Lyn is known for her strong and enthusiastic voice when it comes to the products and brands that she loves. She Saved has become a community for like-minded consumers who appreciate saving money, time and sanity by getting the best deals on quality products and experiences.


Great ideas! Pinning these so I can be reminded later to do these with my kids!
Perfect! Exactly what I was looking for to make use of this all this snow to do a little basic science with my home-schooled K and PreK kiddos. Simple, quick, cheap and fun! We’ll try these out all this week until the snow melts!
Yay! Let me know how it goes!