Paper Quilling Craft: Quilled Pumpkin
I’m back with another fun paper quilling craft project for you guys! Just in time for Halloween, this easy Quilled Pumpkin craft makes fun paper pumpkins that are the perfect DIY craft project for fall!
Paper Quilling Craft: Quilled Pumpkin
My daughter is so obsessed with paper quilling right now, and we’ve been sharing some of our favorite creations lately and one thing that I love about these DIY paper crafts is that just about anyone can do them with just a few supplies:
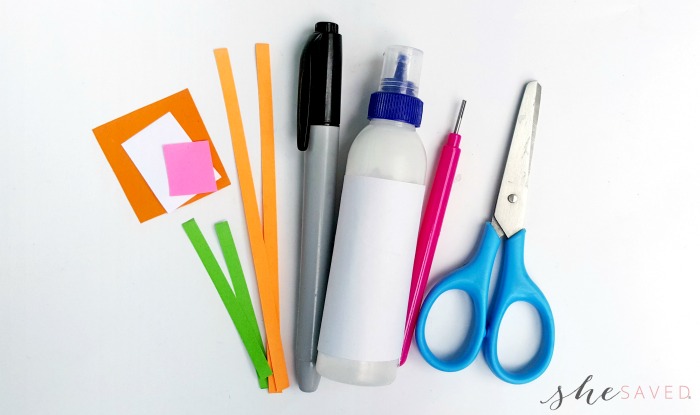
List of Supplies:
- Quilling paper strips
- Craft paper – white, pink and orange
- Black sharpie
- Craft glue
- Slotted quilling tool
- Scissors
Instructions:
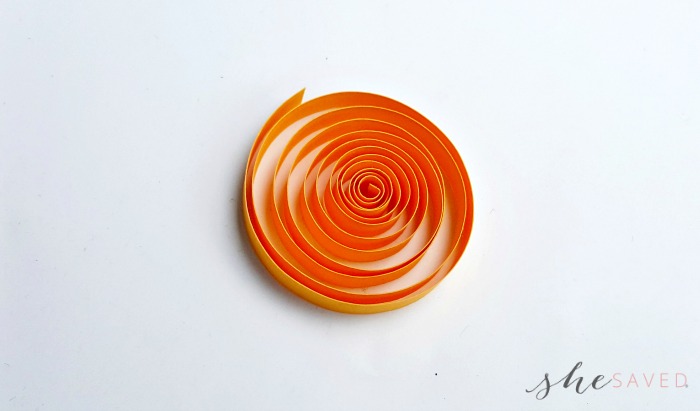
Step ONE
Take a long piece (about 20 inch) of quilling strip and use the slotted quilling tool to coil the whole strip. Take out the coil from the tool and allow the coil to loosen up.

Step TWO
Take 3 pieces of small (3 inch), green colored quilling strips. Create 3 shapes with them – one loose coil, one teardrop shape and one lens shape.
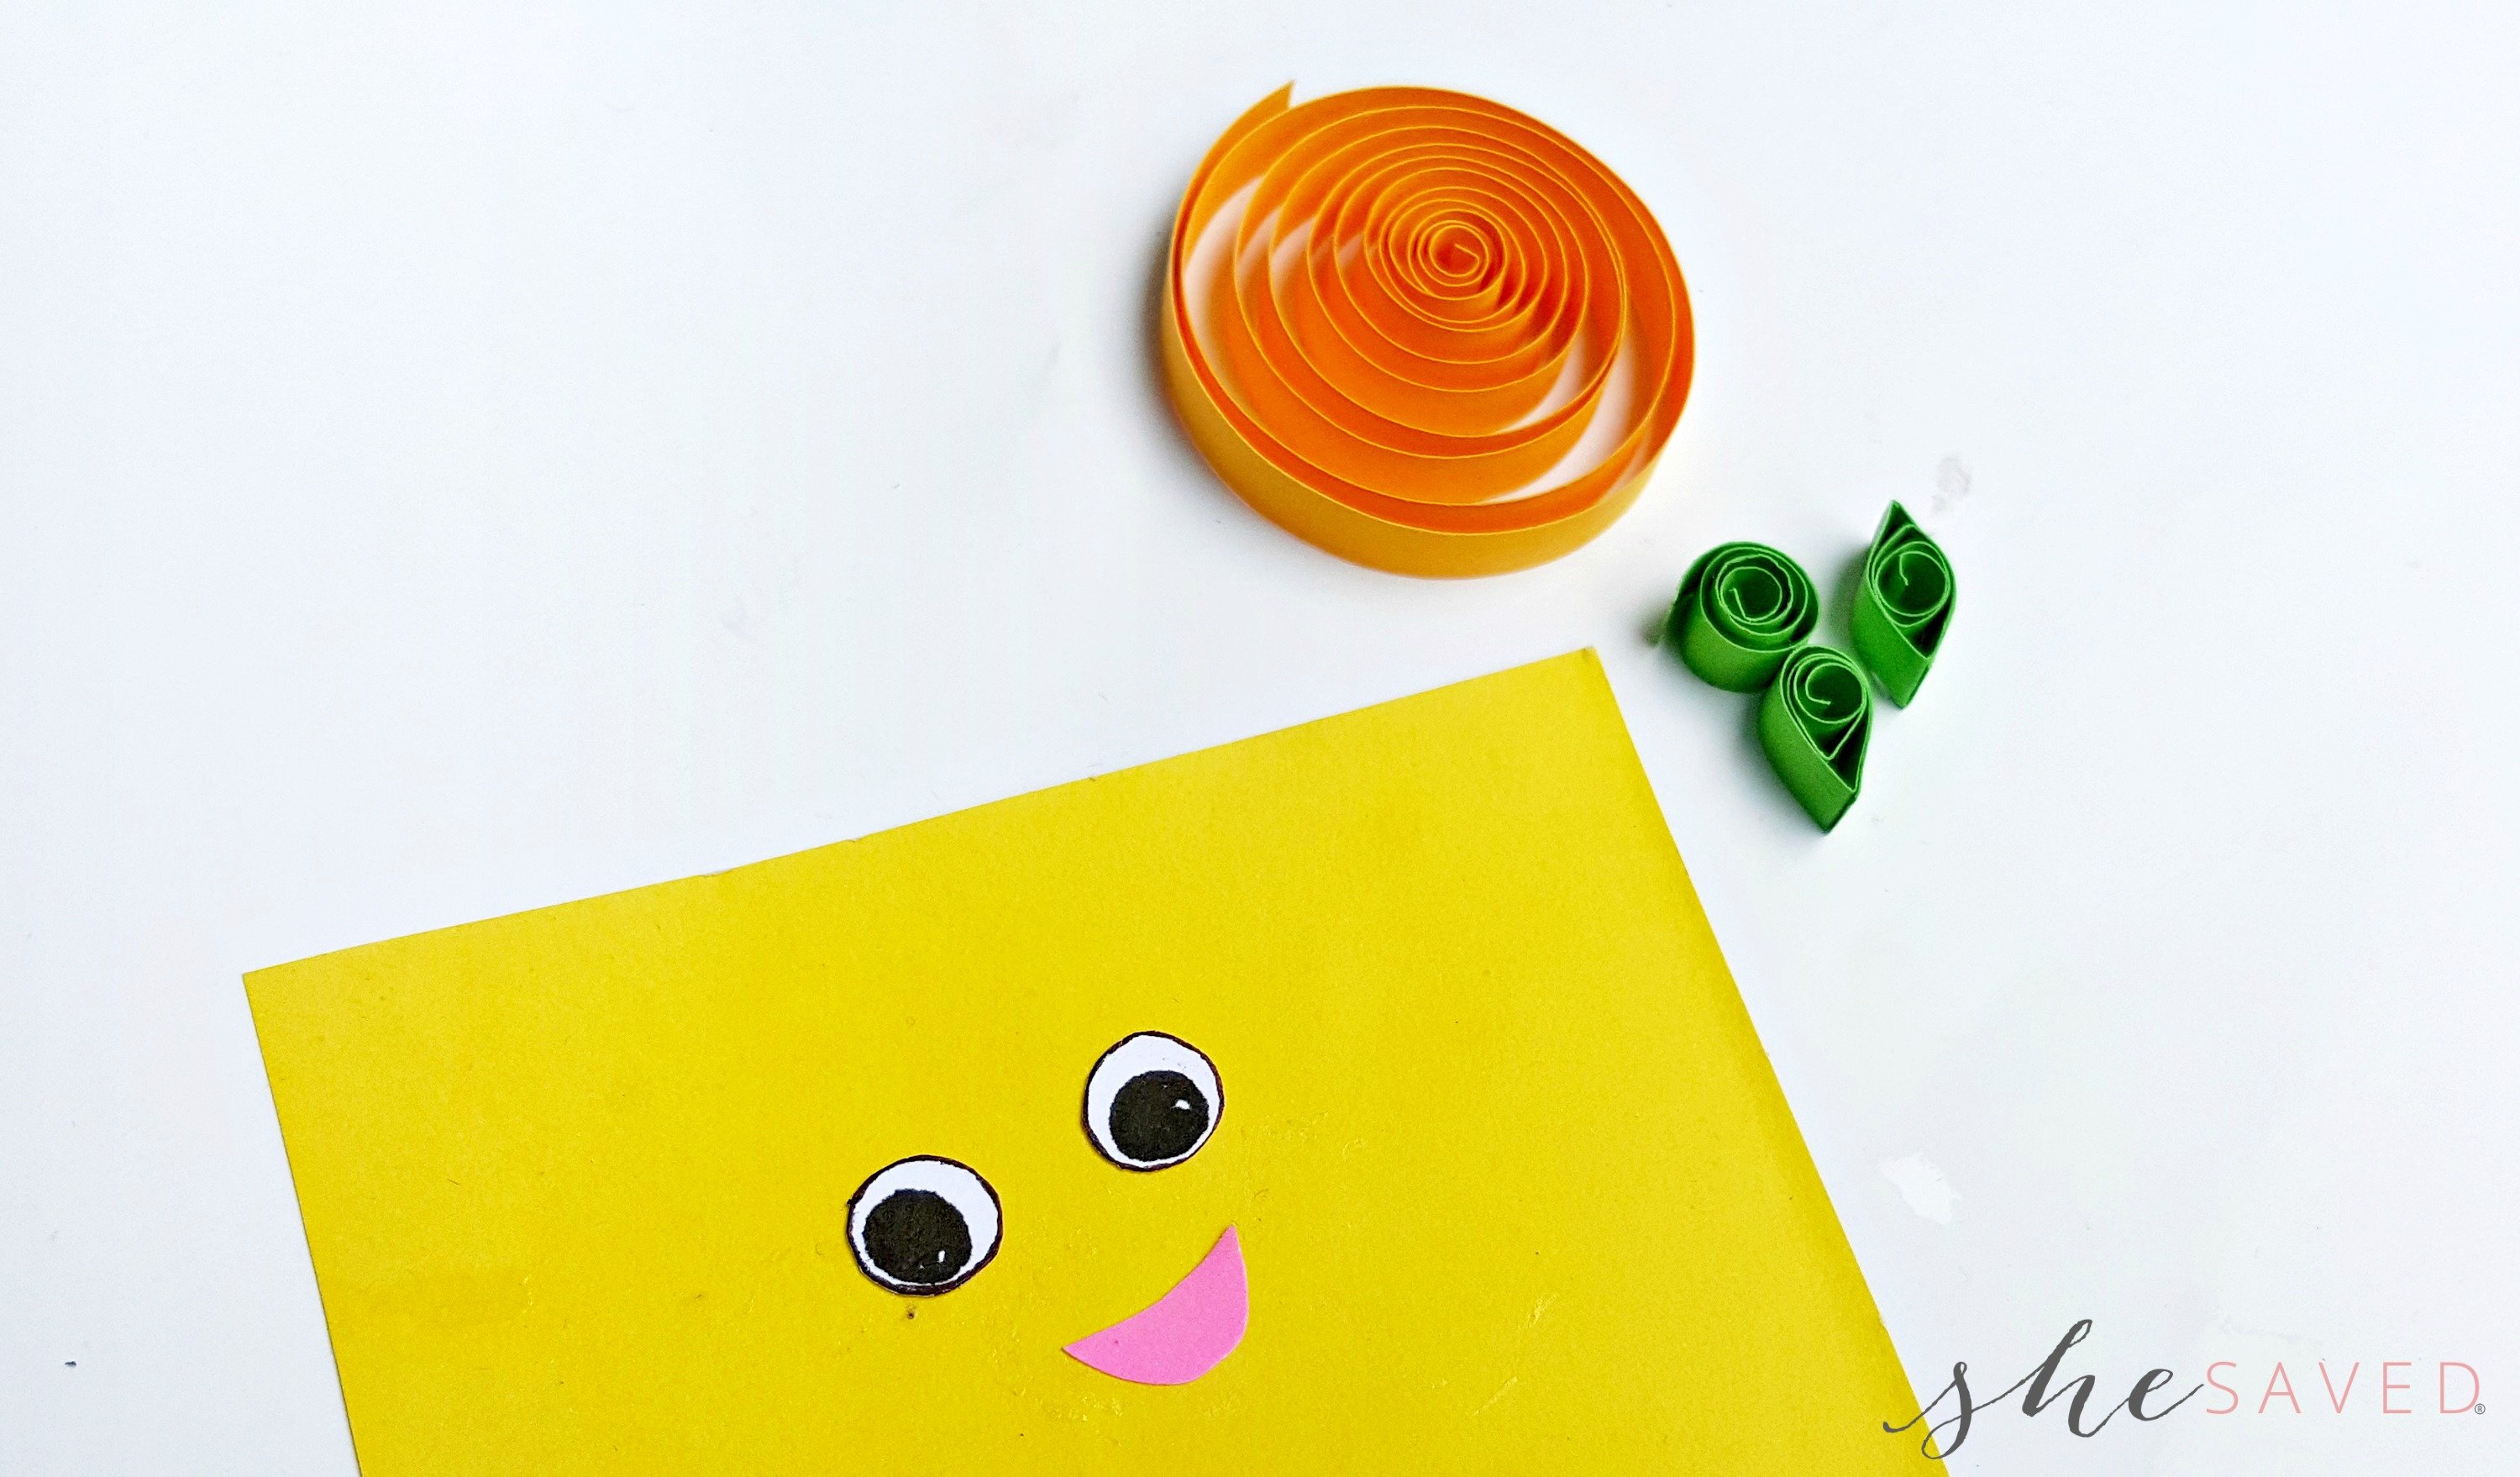
Step THREE
Cut out 2 round pieces from white craft paper and use black sharpie to draw the outlines and the eye balls; these will be the eyes of the pumpkin. Cut out the mouth pattern from a pink colored craft paper.
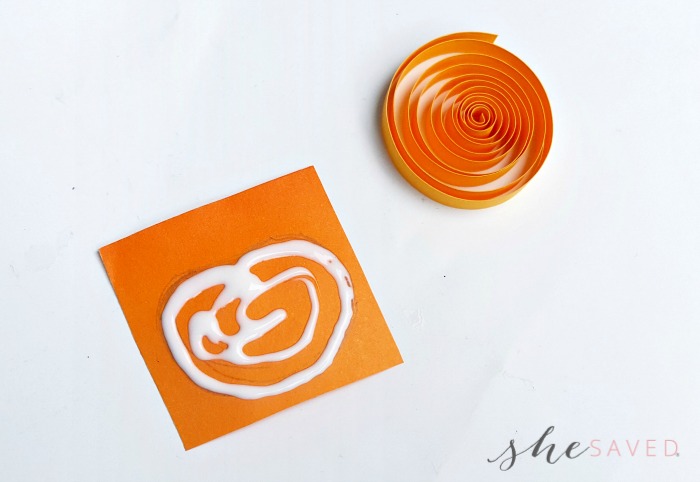
Step FOUR
Take a piece of orange colored craft paper and use craft glue to trace a pumpkin outline on it; the size of the pumpkin outline should be same as the size of the loose coil prepared in step 1.
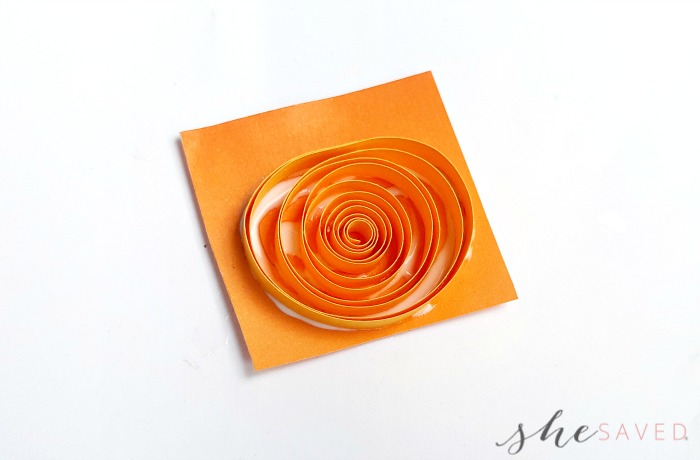
Step FIVE
Place the loose coil on the glued area of the orange craft paper. Nicely adjust the outer end of the loose coil along the outer end of the glue traced pumpkin shape.
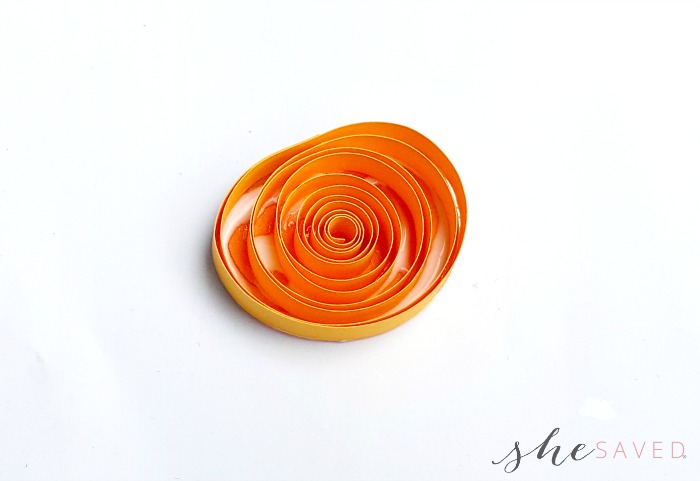
Step SIX
Carefully cut the orange craft paper all around the coils’ outer edge.
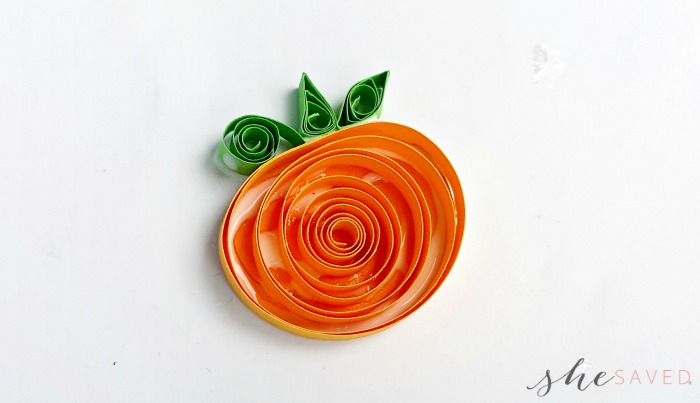
Step SEVEN
Glue the teardrop shape on the top middle part of the coiled pumpkin. Also, glue the loose coil on any one side of the teardrop shape and the lens shaped piece on the other side of it.
Step EIGHT
And finally glue the eyes and the mouth on the quilled pumpkin on their laces. These pumpkins are also really cute with google eyes, so you could also glue those on if you want.
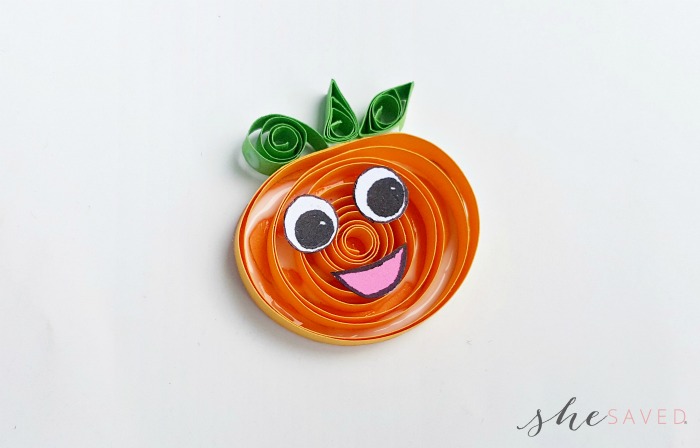
Allow the glue to dry entirely.
We’ve made these in all shapes and sizes and they are so fun! You can even make a little pumpkin patch OR glue these fun little paper quilled pumpkins onto greeting cards!
Looking for more fun paper quilled craft projects? Make sure to check out our Quilled Paper Unicorn tutorial, our Quilled Rainbow Craft and our Quilled Flower Basket project along with the Quilled Flower Frame. We love crafts and here and one thing you can count on is that we keep them pretty simple, so please check out all of our favorite DIY Craft projects!

Meet the author – Keri Lyn
The creative and frugal mind behind She Saved for over 12 years now, Keri Lyn shares her adventures in parenting along with her love for family travel, country living and brand marketing. A self-proclaimed “brand loyalist”, Keri Lyn is known for her strong and enthusiastic voice when it comes to the products and brands that she loves. She Saved has become a community for like-minded consumers who appreciate saving money, time and sanity by getting the best deals on quality products and experiences.