Paper Quilling Flower Basket Project
Have you ever made paper flowers? Learn how to make this pretty quilled paper flower basket with our easy paper quilling tutorial.
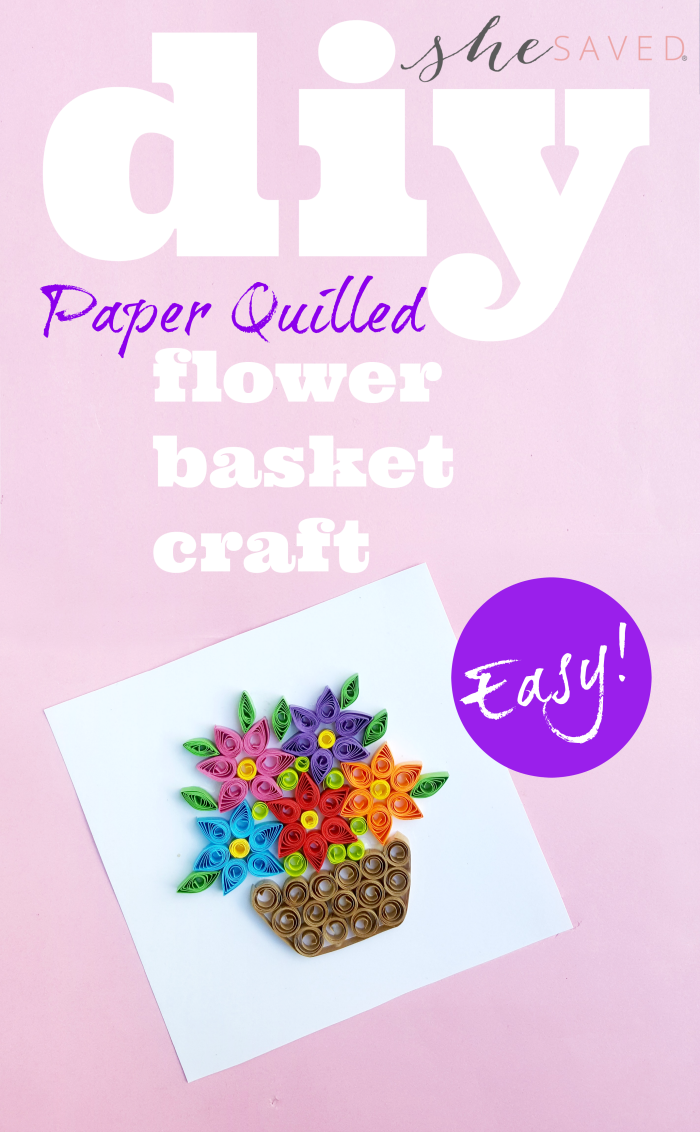
Paper Quilling Flower Basket Project
We are (still!) all about paper quilling around here! My tween is obsessed and I’m loving all of her paper quilled creations. We’ve already shared a version of these Paper Quilled Flowers when we made a Paper Quilled Frame out of them earlier this year and today we are sharing this darling Paper Quilling Flower Basket Project to show you how to make your own paper quilling flowers basket!
My daughter is currently working on a version of this project to enter into our State Fair and these quilled paper projects also make wonderful gift ideas.
I’ve got several of them that my daughter has made hanging on my office wall! Paper quilling is a blast and quilling flowers is easy and a great starting point for beginners! This quilled flowers in a basket is one of our favorite quilling designs and I think you’ll enjoy it to!
If you are looking for a project to do together with your kids OR for a great gift idea for tweens/teens then you might consider getting them a Paper Quilling Kit.
We have had so much fun with ours and we are constantly adding to our quilling supplies!
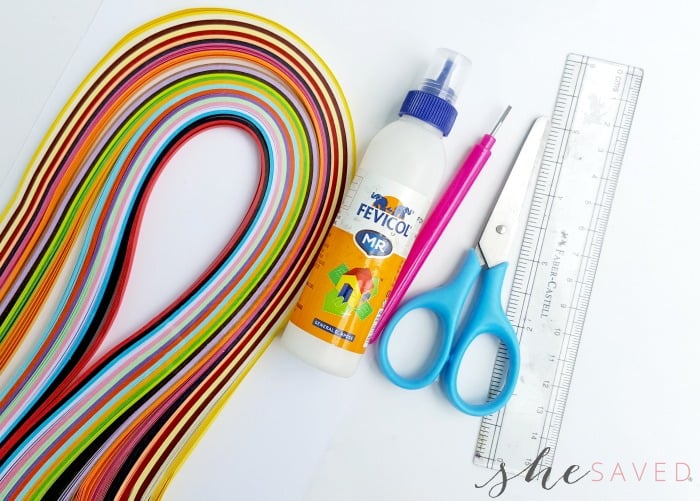
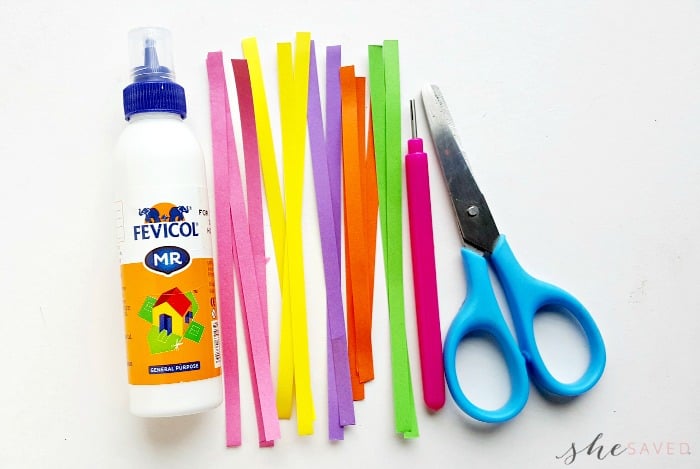
Supplies You Will Need:
- Quilling paper strips
- White stationary paper
- Craft glue
- Slotted quilling tool
- Scissors
Instructions for Paper Quilling Flower Basket:
Step ONE
Take a 10 inches long quilling strip and coil the entire piece using the slotted quilling tool.
Step TWO
Take out the coiled strip out of the tool carefully.
Step THREE
Allow the coil to loosen up a bit by itself.
Step FOUR
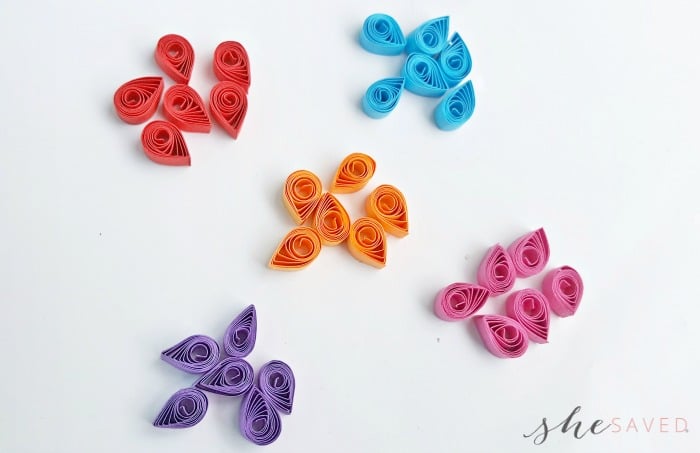
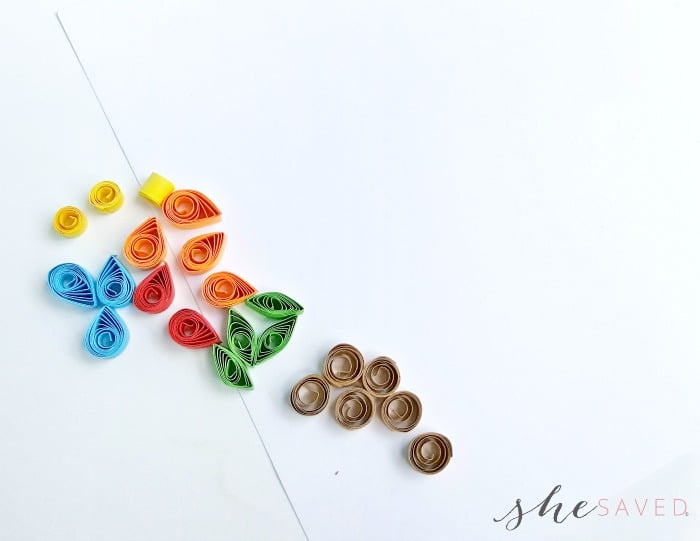
Press any one side of the loose coil to form a teardrop shape. Glue the open end of the strip to secure the shape.
Step FIVE
Similarly create more teardrop shapes. For each flower we’ll be using 6 teardrop shapes.
Step SIX
Now take a green colored quilling strip and create a loose coil with it.
Step SEVEN
Press any one side of the loose coil.
Step EIGHT
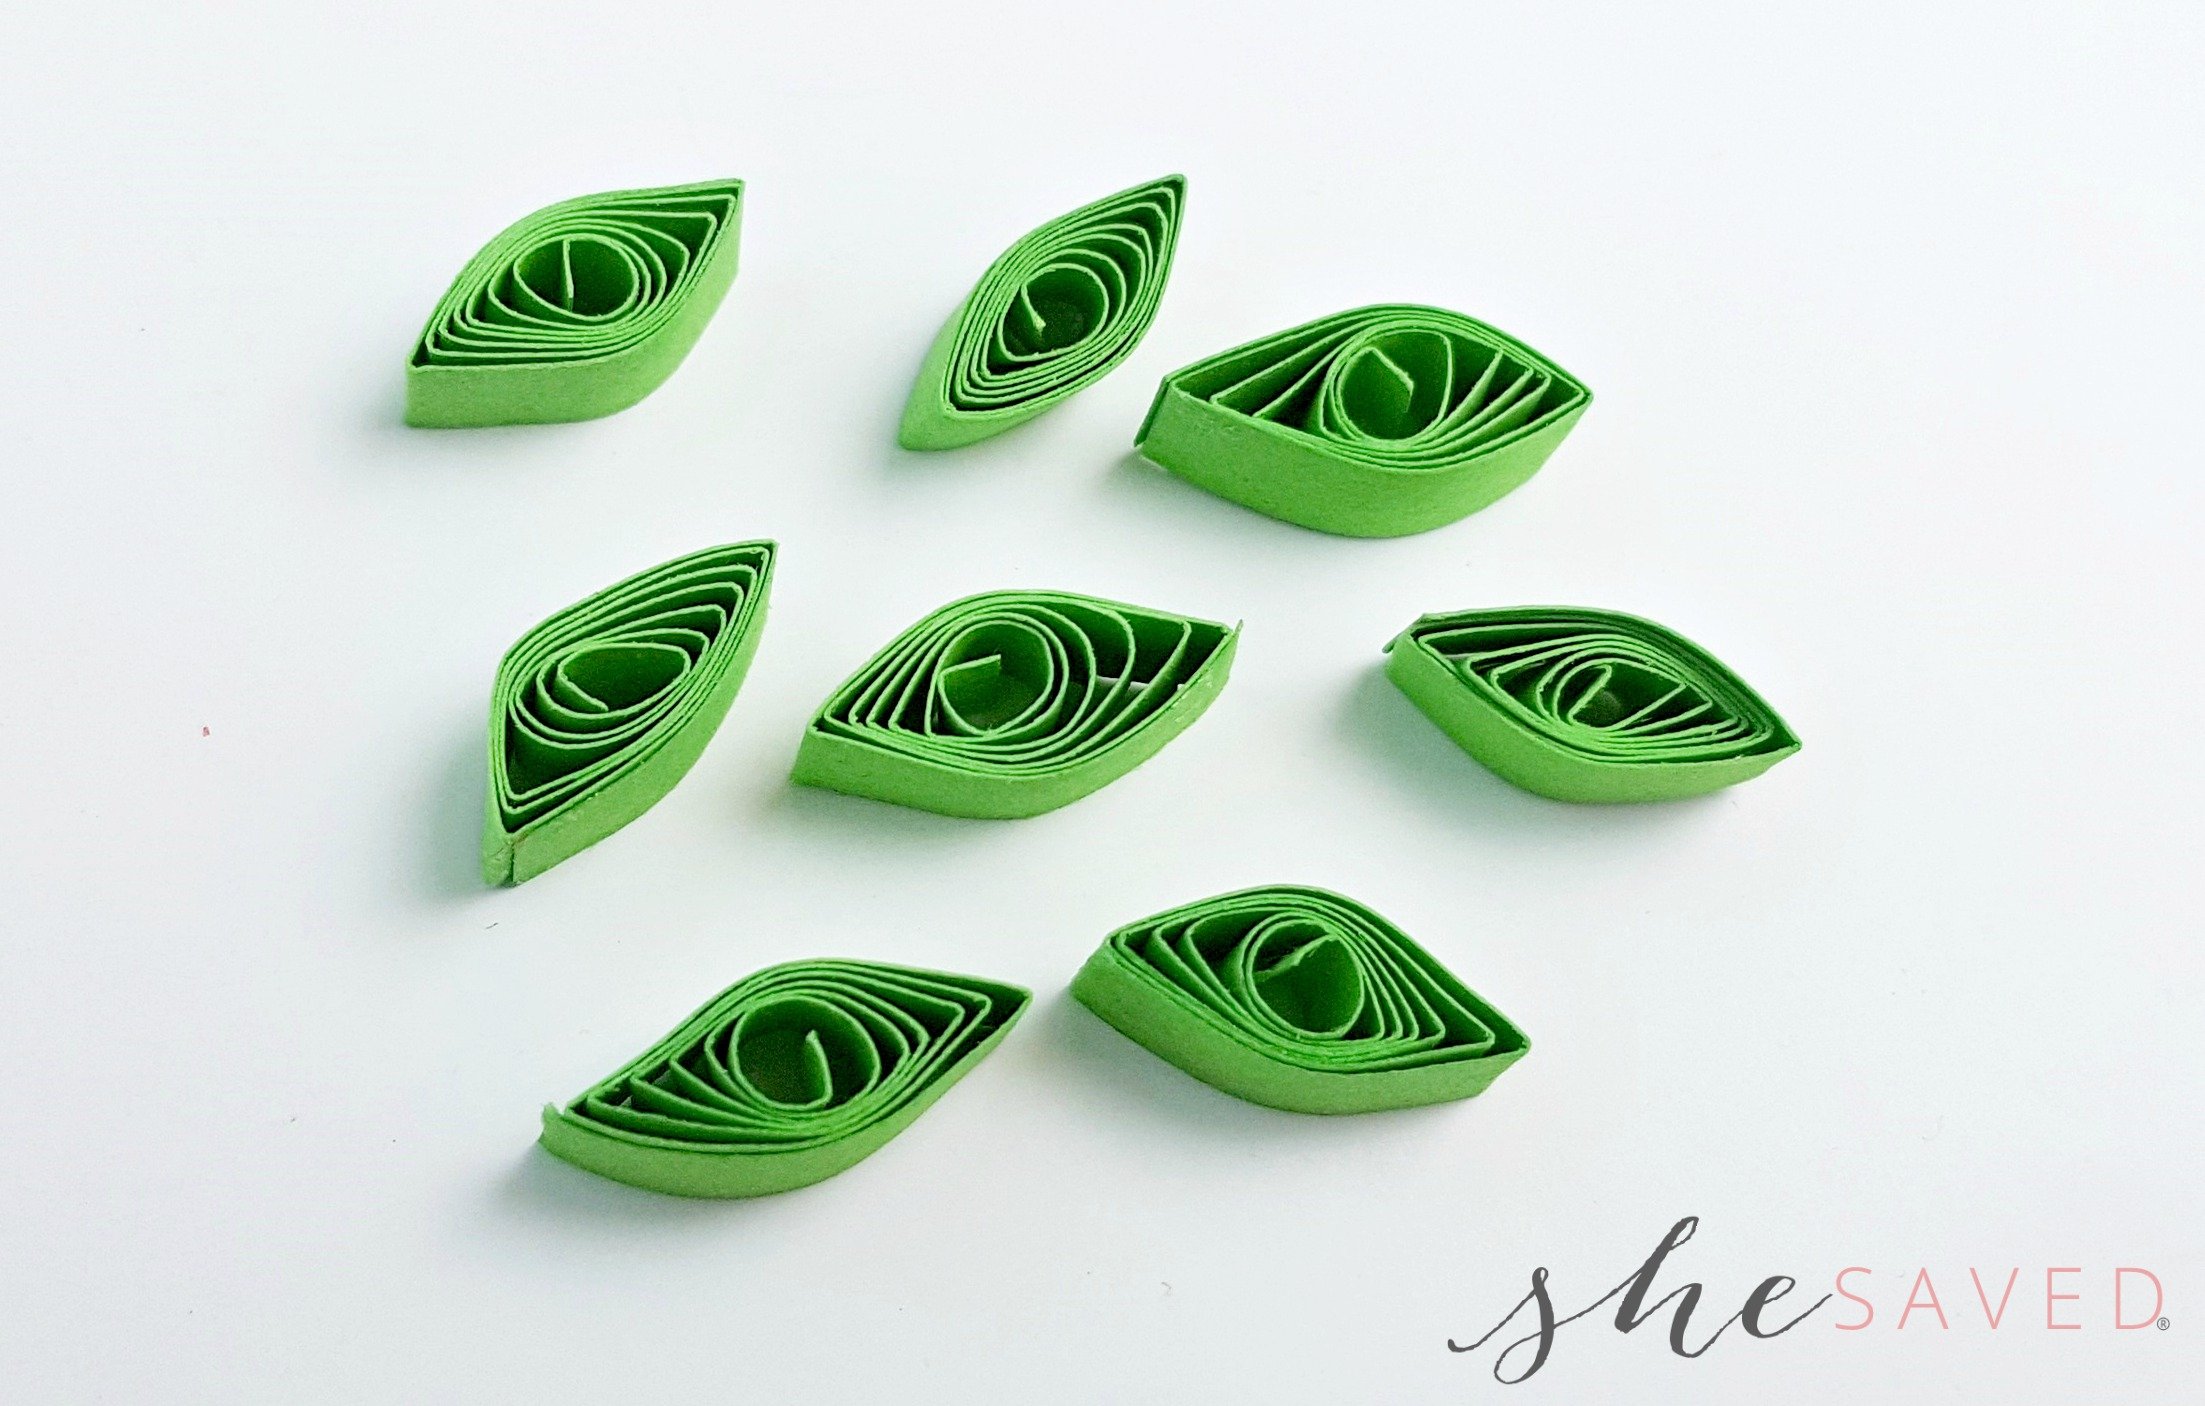
Press the opposite side of the previously pressed side of the loose coil to form a basic eye shape. Glue the open end of the strip to secure the shape.
Step NINE
Similarly create more basic eye shapes for the leaves. Use green colored strips.
Step TEN
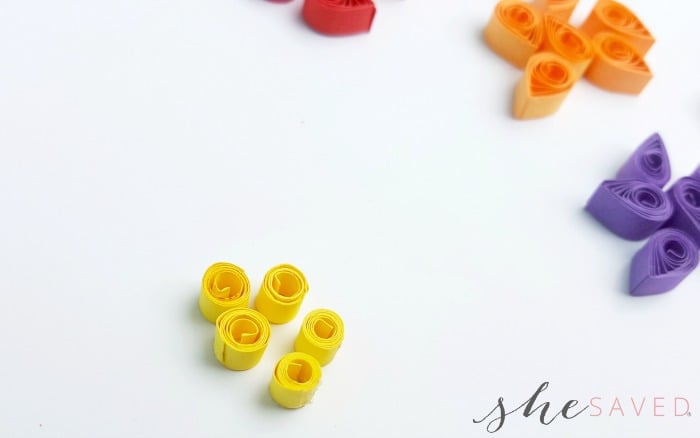
Use yellow colored strip to create semi-loose coils; Create 1 for each flower.
Step ELEVEN
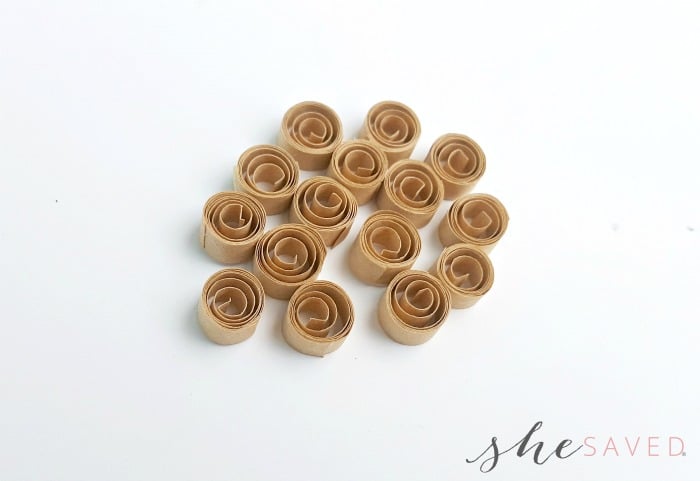
Take brown colored strip to create loose coils. These brown colored loose coils will be used to create the basket pattern.
Step TWELVE
All shapes ready? Take a piece of white stationary paper; gather all the prepared strips and craft glue.
Step THIRTEEN
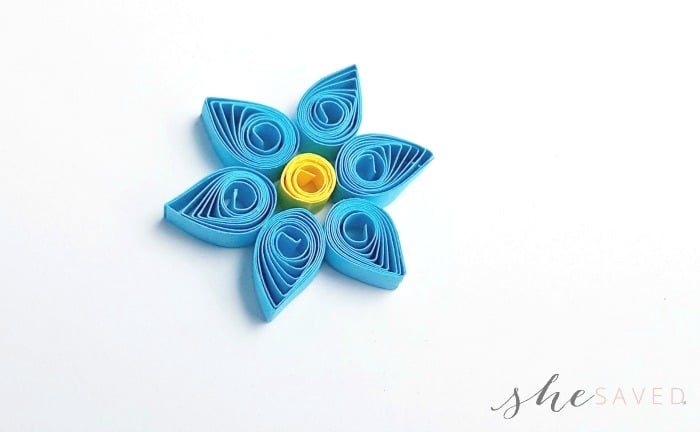
To create the flower pattern glue 1 yellow semi-loose coil and then glue any 6 teardrop shapes around the coil to complete the flower pattern.
Step FOURTEEN
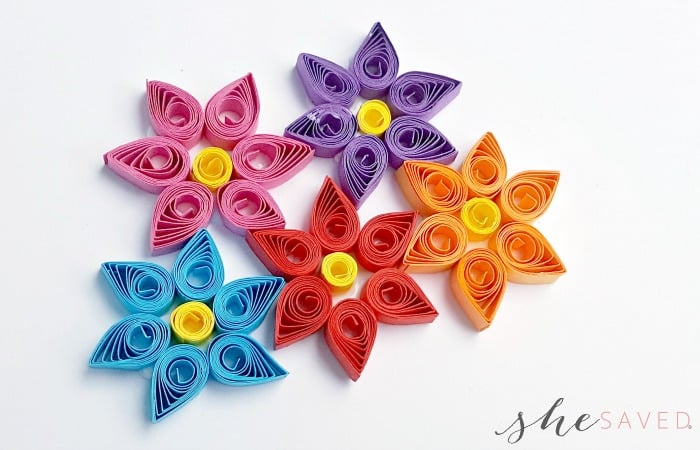
Create the other flower patterns; keep the flowers adjacent to each other. I created 3 flowers on the bottom row and 2 flowers on the top row.
Step FIFTEEN
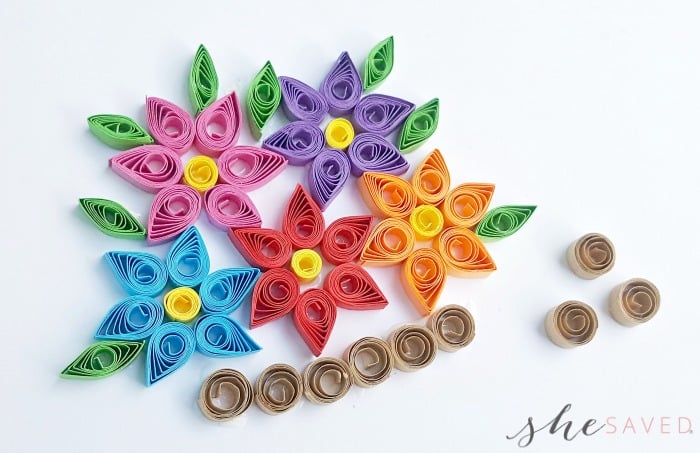
Glue the leaf patterns in between the flower patterns; Use the brown loose coil patterns to create the basket.
Step SIXTEEN
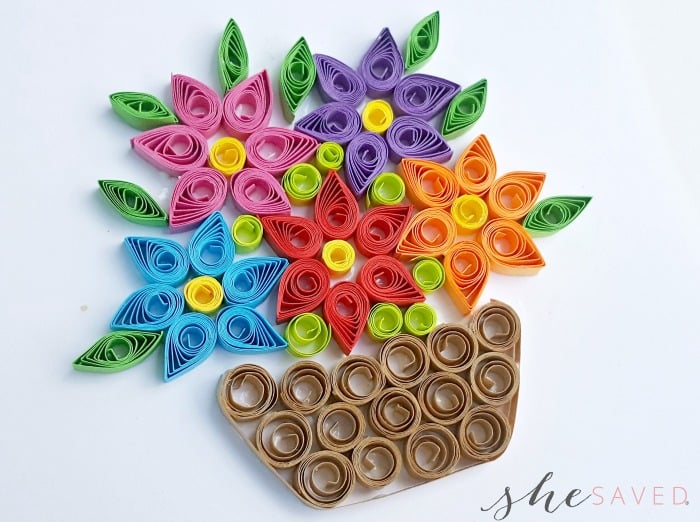
You can use small coil patterns to fill the gaps between the flowers and the leaves. Add any other details as you wish.
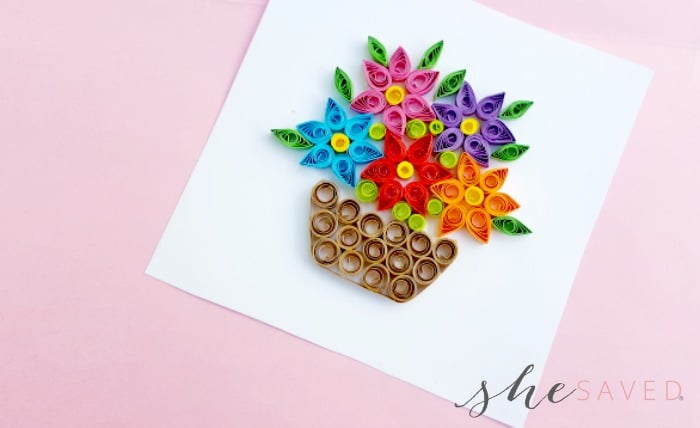
Allow the glue to dry and done! These fun paper quilled projects are neat to frame and also a fun way to make homemade greeting cards, just glue your project to the front of a blank card.

Meet the author – Keri Lyn
The creative and frugal mind behind She Saved for over 12 years now, Keri Lyn shares her adventures in parenting along with her love for family travel, country living and brand marketing. A self-proclaimed “brand loyalist”, Keri Lyn is known for her strong and enthusiastic voice when it comes to the products and brands that she loves. She Saved has become a community for like-minded consumers who appreciate saving money, time and sanity by getting the best deals on quality products and experiences.


Merry Christmas