DIY Joy Sign
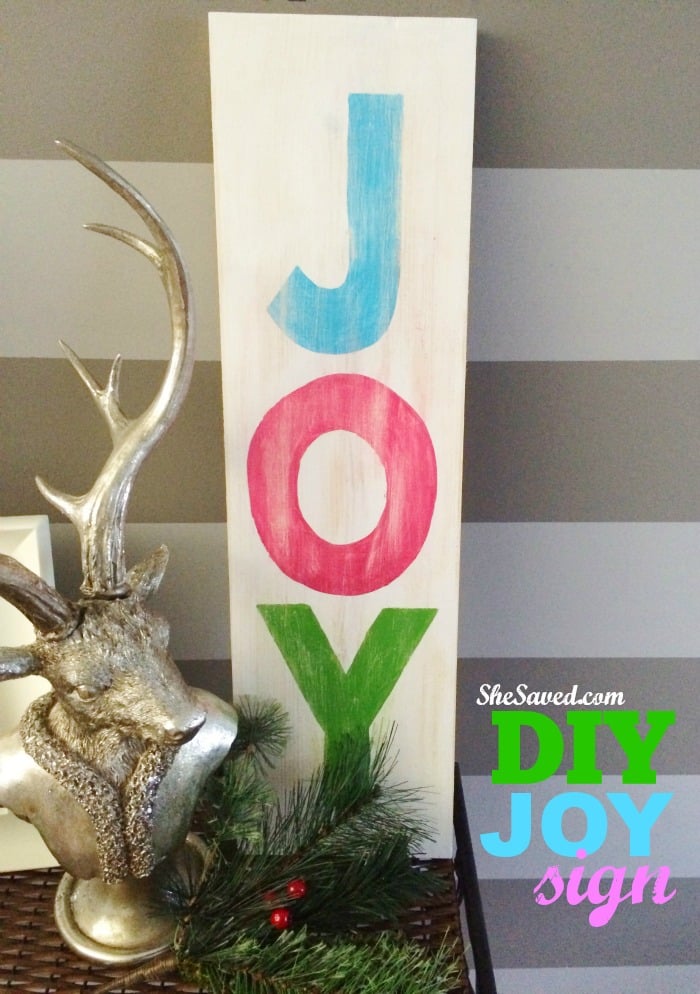
Here’s fun holiday craft idea! This DIY Joy sign is so easy to make (in fact, you can even improvise material–use cardboard if you need to!) and it takes very little in the way of both time and supplies.
DIY Joy Sign
I love to DIY projects, but since I tend to be short on time, I try to avoid any projects that I might start and not finish. I love that is will store easy from year to year and adds such a lovely pop of color to your holiday decor.
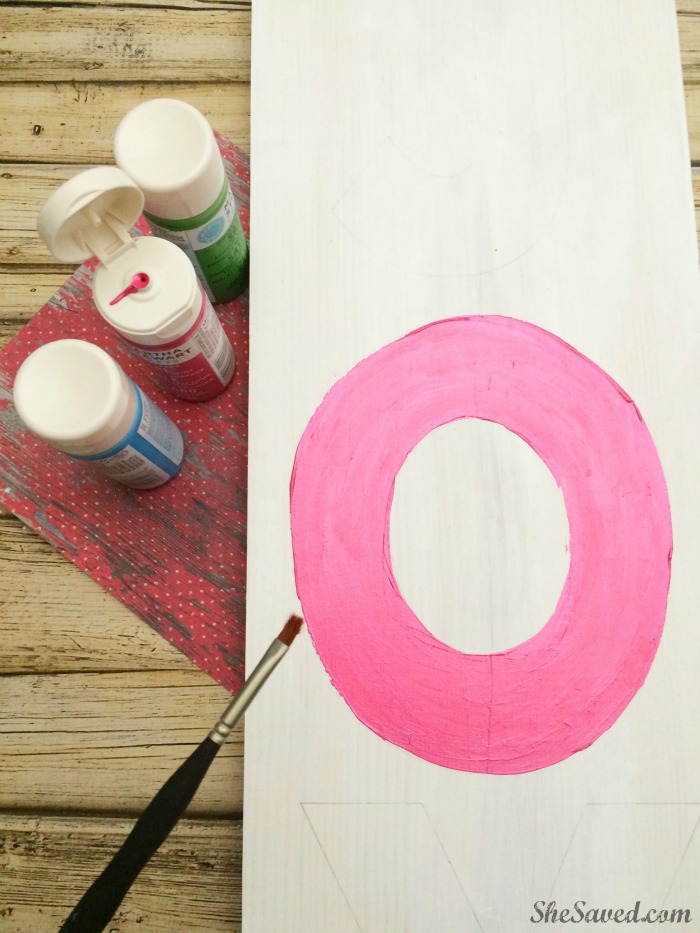
Materials for Making a Homemade Holiday Sign
- 1x8x6″ common board cut to 26″
- Martha Stewart multi surface paint
*use whatever colors that you like, I used:
-Wedding cake satin
-Fruit punch pearl
-Pond high gloss
-Scottish highlands satin - Foam paint brush
- Small craft paint brush
- Sandpaper
Instructions for Making this Homemade JOY Holiday Sign Board
1. Use a 1x8x6 piece of common board, ask a store associate to cut off a 26″ piece (save the rest for another project).
2. Sand the freshly cut edges with your sandpaper.
3. Paint the front and sides of your board white with your foam paintbrush and let dry.
4. Once your board is dry measure out the center of your board and sketch your letter O in the center (or if you don’t feel comfortable sketching, you can print out the letters and trace them onto the board)
5. Sketch your letter O, then sketch your J above the O, and lastly sketch your letter Y below the O.
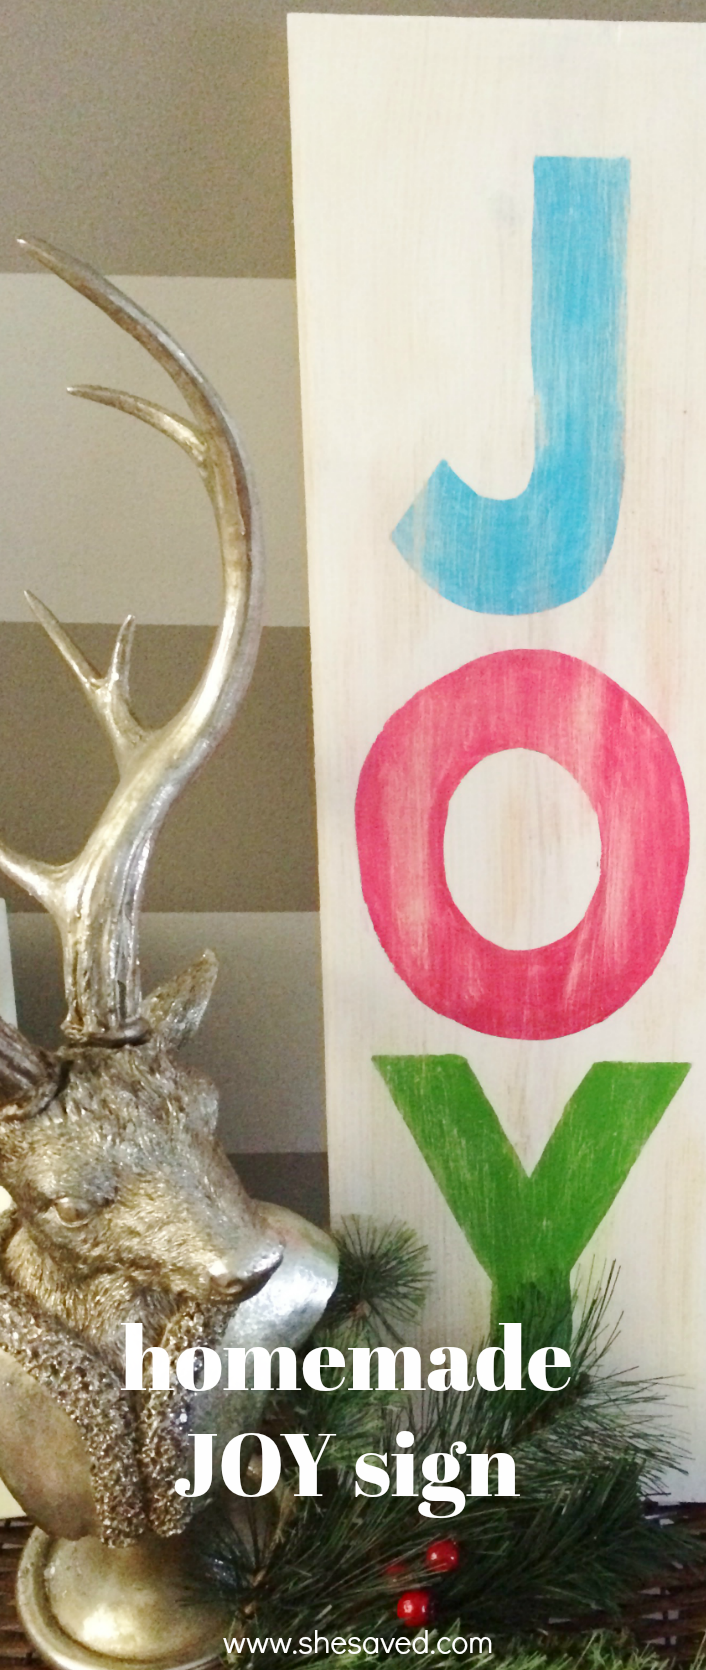
6. Now with your smaller paint brush paint your letter J blue, O pink, Y green and let dry.
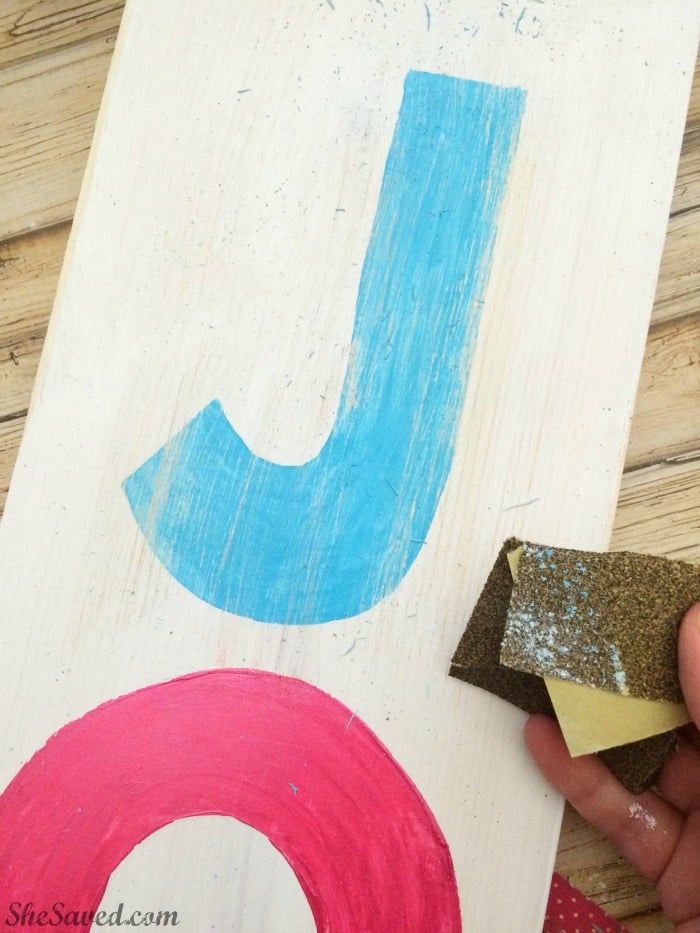
7. Lightly sand your paint board and it’s ready for display! Add a hanger to the back if you will be hanging.
Looking for other fun homemade gift or decor ideas? Here are a few of the other favorite craft activities that we’ve shared over the years:
Print the instructions for this DIY Joy Sign
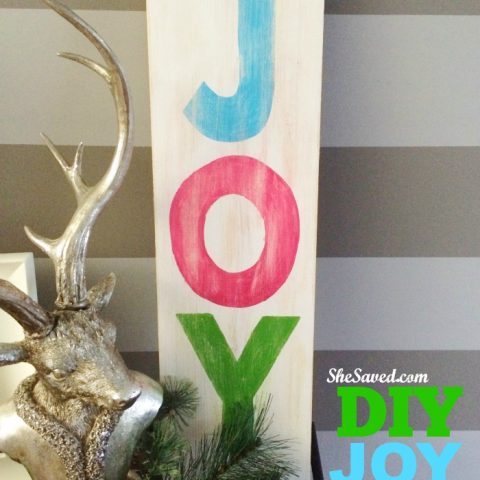
DIY Joy Sign
SO fun and easy to make, this homemade JOY holiday sign will be a lovely addition to your Christmas decor and it's so easy to make! This would also make a lovely gift to give someone this holiday season and homemade gifts are the best!
Materials
- 1x8x6" common board cut to 26"
- Martha Stewart multi surface paint
- Sandpaper
Tools
- Foam paint brush
- Small craft paint brush
Instructions
1. Use a 1x8x6 piece of common board, ask a store associate to cut off a 26" piece.
2. Sand the freshly cut edges with your sandpaper.
3. Paint the front and sides of your board white with your foam paintbrush and let dry.
4. Once your board is dry measure out the center of your board and sketch your letter O in the center
5. Sketch your letter O, then sketch your J above the O, and lastly sketch your letter Y below the O.
6. Now with your smaller paint brush paint your letter J blue, O pink, Y green and let dry.
7. Lightly sand your paint board and it's ready for display! Add a hanger to the back if you will be hanging.
Notes
See the paint colors that I used listed in the post.

Meet the author – Keri Lyn
The creative and frugal mind behind She Saved for over 12 years now, Keri Lyn shares her adventures in parenting along with her love for family travel, country living and brand marketing. A self-proclaimed “brand loyalist”, Keri Lyn is known for her strong and enthusiastic voice when it comes to the products and brands that she loves. She Saved has become a community for like-minded consumers who appreciate saving money, time and sanity by getting the best deals on quality products and experiences.



I have made a joy sign following your instructions…! It is just awesome to look and changed the looking of my drawing-room. All the member of my house was surprised to see it! 🙂 Thanks for sharing such a unique idea!
This is such a cute idea. Hope you have time to drop by and share it at the latest party! Have a great Memorial weekend! Thanks for sharing this great idea.
Great tips…! This is a fun project. It’s made easy and looks pretty. I made this joy signs for my entryway. I learn a great DIY experience. Thanks for sharing your post.