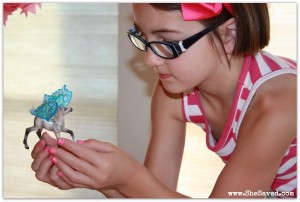
Birthday Party Ideas | Fun Stuff to do with the Kids | Product Review | She's Crafty | She's Creative Fairy Horse Themed Birthday Party
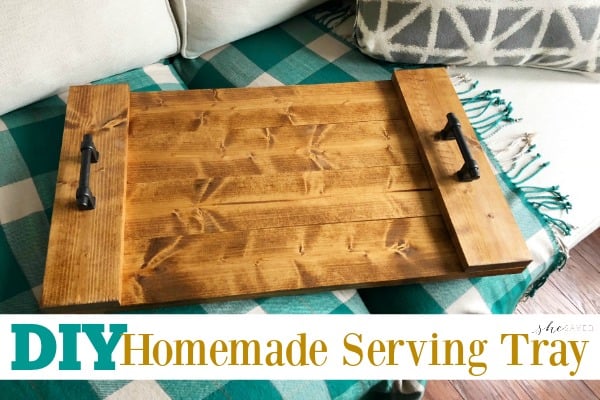
Home Decor Ideas | Homemade Gift Ideas | She's Crafty | She's Creative Easy DIY Farmhouse Serving Tray Project
Fun Stuff to do with the Kids | Homemade Gift Ideas | She's Crafty | She's Creative Paper Quilling Flower Basket Project
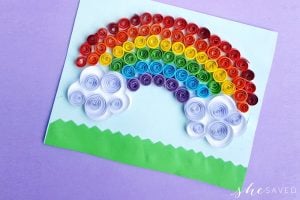
Fun Stuff to do with the Kids | Homemade Gift Ideas | She's Crafty | She's Creative Paper Quilling Project: Quilled Rainbow Craft
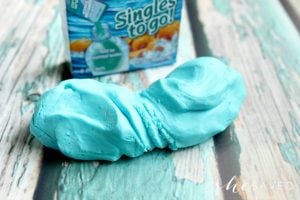
Birthday Party Ideas | Classroom Party Ideas | Fun Stuff to do with the Kids | She's Crafty | She's Creative Edible Slime: Hawaiian Punch Slime Recipe
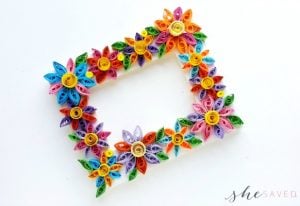
Art & Project Ideas for Kids | Fun Stuff to do with the Kids | Homemade Gift Ideas | She's Crafty | She's Creative Easy Paper Quilling Craft: Quilled Flower Frame
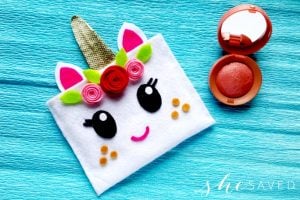
Birthday Party Ideas | Fun Stuff to do with the Kids | Homemade Gift Ideas | She's Crafty No Sew Unicorn Pouch Craft Felt Project
Birthday Party Ideas | Classroom Party Ideas | Fun Stuff to do with the Kids | Homemade Gift Idea | Homemade Gift Ideas | She's Crafty | She's Creative Easy Homemade Kool-Aid Lip Balm
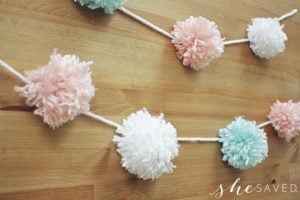
Birthday Party Ideas | Fun Stuff to do with the Kids | She's Crafty | She's Creative Yarn Pom Pom Garland Craft
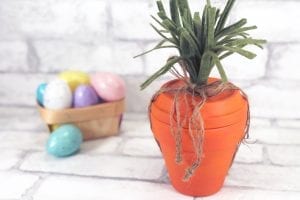
Arts and Crafts | Easter Ideas | Fun Stuff to do with the Kids | Homemade Gift Ideas | She Shared | She's Crafty Terra Cotta Pot Carrot Craft for Easter!
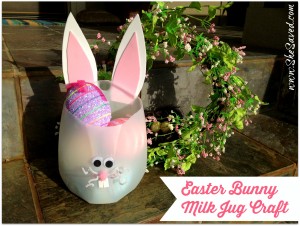
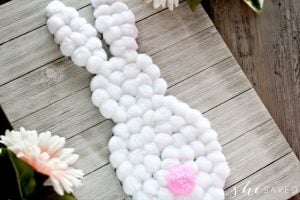
Easter Ideas | Fun Stuff to do with the Kids | Home Decor Ideas | Homemade Gift Ideas | She's Crafty | She's Creative EASY DIY Easter Bunny Wall Hanging