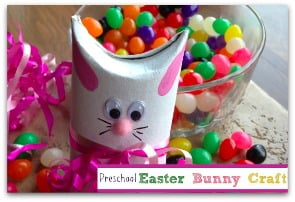
Art & Project Ideas for Kids | Arts and Crafts | Easter Ideas | She's Crafty Toilet Paper Roll Craft: Easter Bunny
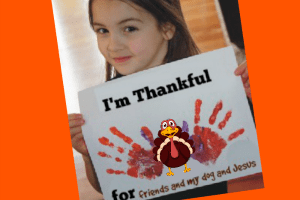
Art & Project Ideas for Kids | Arts and Crafts | Classroom Party Ideas | Fun Stuff to do with the Kids | She's Creative FREE Thankful Turkey Printable for Kids
Art & Project Ideas for Kids | Arts and Crafts | Fun Stuff to do with the Kids Halloween Snack: Oreo Cookie Spiders
Arts and Crafts | Fun Stuff to do with the Kids | She's Crafty She’s Crafty! Recycled Cottontail Bunny
Art & Project Ideas for Kids | Arts and Crafts | Classroom Party Ideas | Fun Stuff to do with the Kids | She's Crafty | She's Creative Halloween Arts & Crafts: Pumpkin and Ghost Pop Up Lollipop Puppets
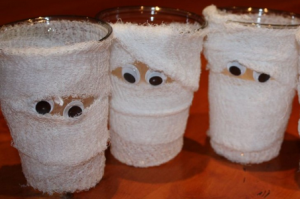
Art & Project Ideas for Kids | Arts and Crafts | Classroom Party Ideas | Fun Stuff to do with the Kids | She's Creative Halloween Arts & Crafts: Mummy Cup Pencil and/or Treat Holders
Art & Project Ideas for Kids | Arts and Crafts | Fun Stuff to do with the Kids | She's Crafty Fun Easter Egg Craft for Kids