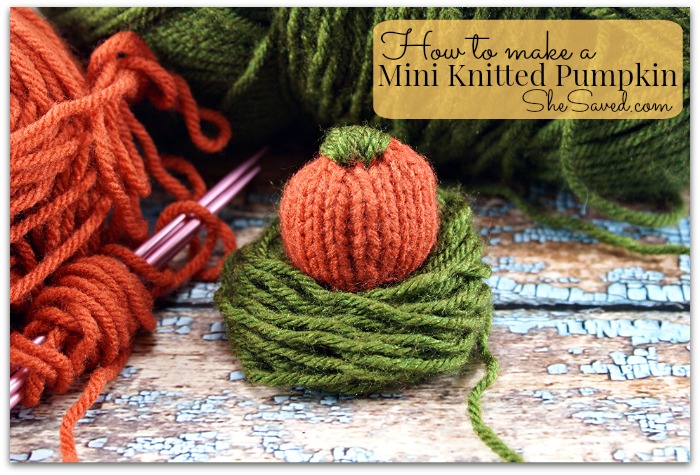
DIY Mini Knitted Pumpkin Pattern
Use this free and cute little mini knitted pumpkin pattern to make a fun fall decor or gift item!
I am so happy to share with you this free pumpkin knitting pattern that my friend David helped me to create to share with all of you!
Even though my knitting talents are close to NONE, I was able to do this one, in fact, so was my 7 year old daughter! We are working on an entire pumpkin patch full of Mini Knitted Pumpkins and our patch is coming along nicely!
I love this for a rainy day project and these little pumpkins will also be darling attached to notes, as festive place setting markers, and I think I might even pile them up in a cute decorative bowl!
Materials needed for Knitting Mini Pumpkins
How to make Knitted Pumpkins
Rnd 2: [kfb, k1] 6 times (You should have 18 stitches when done with Rnd)

More Fall Craft Ideas
- Paper Bag Turkey Craft
- Pom Pom Yarn Garland
- Quilled Paper Thanksgiving Turkey
- Best Fluffy Fall Slime Recipe
Print the Instructions for Making this Halloween Knitting Project
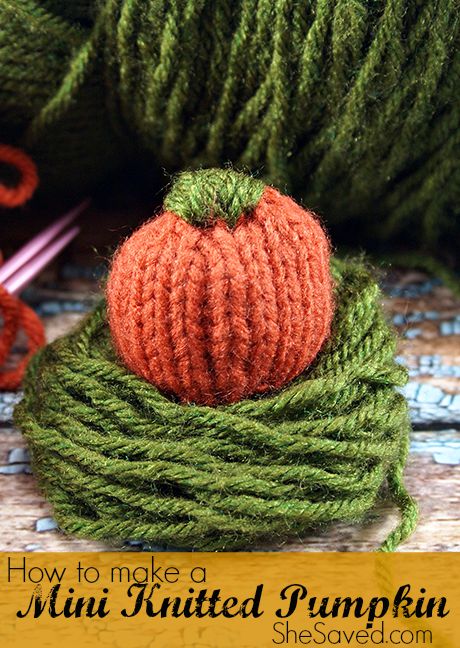
DIY Mini Knitted Pumpkin
If you love to knit then you'll really love this fun Halloween and fall project! How fun are these little DIY knitted pumpkins? You can knit an entire patch of these cute little pumpkins that will look so cute as part of our autumn and holiday decor!
Materials
- Colored Yarn of Choice for pumpkin (I suggest the color Pumpkin, and I used Loops & Threads Worsted weight)
- Small amount of dark green yarn for stem
- Small amount of scrap yarn or other filler
Tools
- US Size 3 Double Pointed Knitting Needles
- 1 Tapestry Needle
Instructions
Knitting Abbreviations Reference:
Rnd = Round
K = Knit
KFB = Knit from back and front (this increases 1 stitch)
K2TO = Knit 2 Together (decreases 1 stitch)
Note: Stitches will be slightly tight in the beginning of pattern.
Post Directions:
Cast on 6 stitches divided evenly over 3 double pointed knitting needles.
Rnd 1: [kfb] 6 times (You should have12 stitches when done with Rnd)
Rnd 2: [kfb, k1] 6 times (You should have 18 stitches when done with Rnd)
(insert step 1 photo)
Rnds 3-13: knit (10 Rnds)
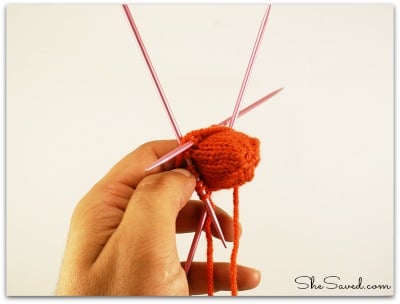
(insert step 2 photo)
Rnd 14: [k2tog, k1] 6 times (12 sts)
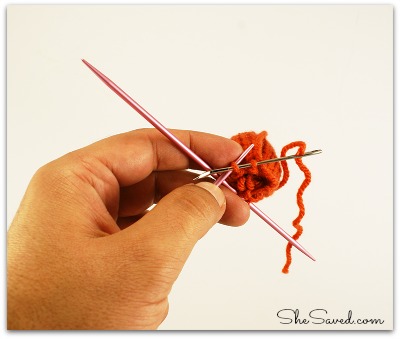
Insert filler yarn until pumpkin shape is formed and nice and plump
(Insert step 3 photo)
Rnd 15: [k2tog] 6 times
Cut Yarn, and pull through your stitches with the tapestry needle and secure yarn.
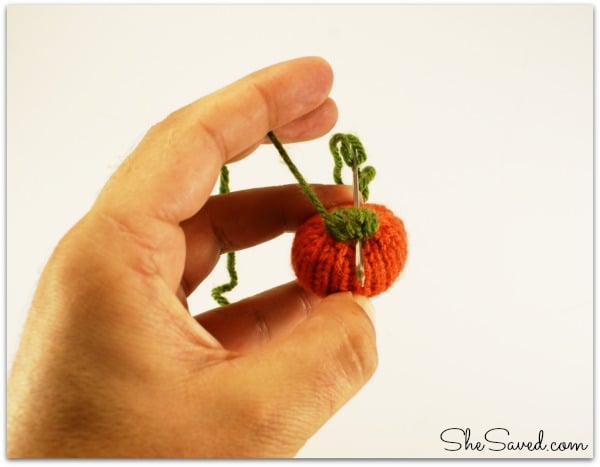
With tapestry needle & green yarn, sew through the top of your pumpkin in a similar pattern to create the stem appearance. I made 14 loops. Cut yarn and secure, and then your done!
(insert step 4 photo)
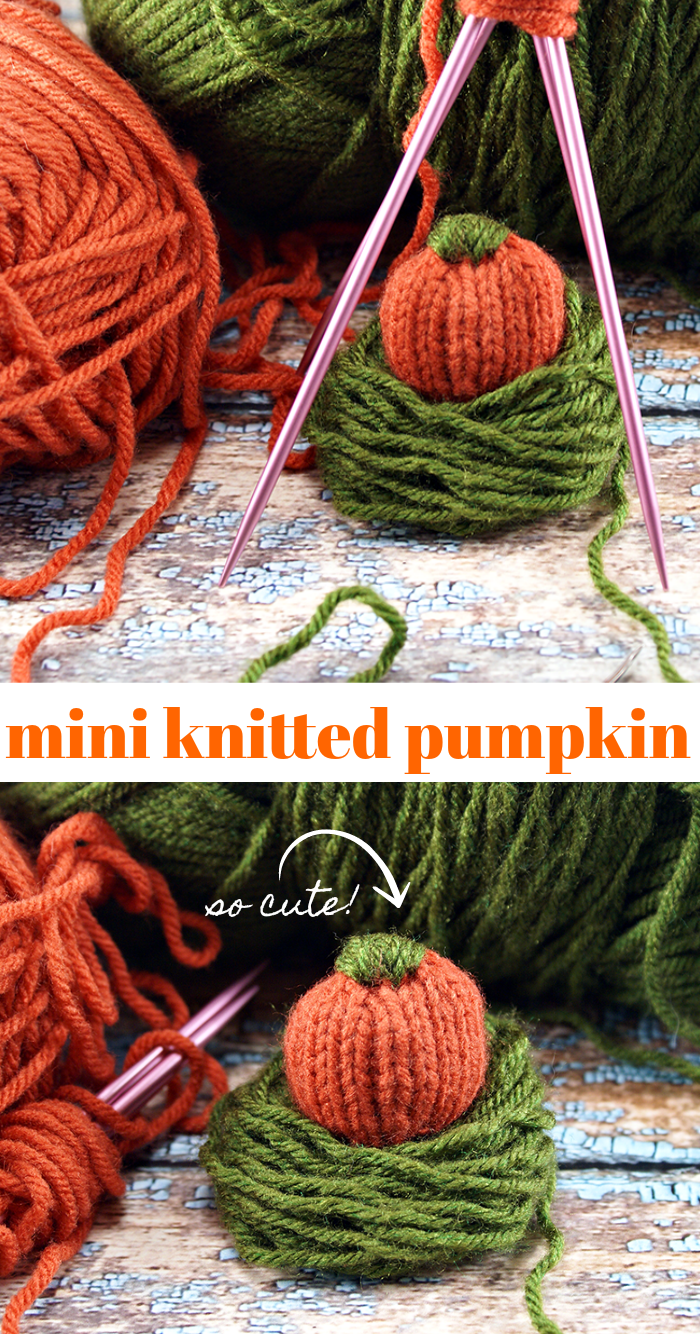
These pumpkins take no time to make, so create as many as you like to make your own pumpkin patch!

Meet the author – Keri Lyn
The creative and frugal mind behind She Saved for over 12 years now, Keri Lyn shares her adventures in parenting along with her love for family travel, country living and brand marketing. A self-proclaimed “brand loyalist”, Keri Lyn is known for her strong and enthusiastic voice when it comes to the products and brands that she loves. She Saved has become a community for like-minded consumers who appreciate saving money, time and sanity by getting the best deals on quality products and experiences.


Saw your link on Keeping It Simple Block Party. Cute pattern!
So cute – I don’t knit or crochet but had to stop over and check this out. I love it!!