DIY Paper Quilling Craft: Quilled Heart Photo Frame
DIY Paper Quilling Craft: Quilled Heart Photo Frame
As you might know, we have been crazy about paper quilling this past year and it has been really fun to share these new DIY paper craft projects with all of you!
One of my very favorite things about paper crafts is that they are really inexpensive which means that they are a great fit for so many people, and the end result is a fabulous keepsake gift that is made from the heart!
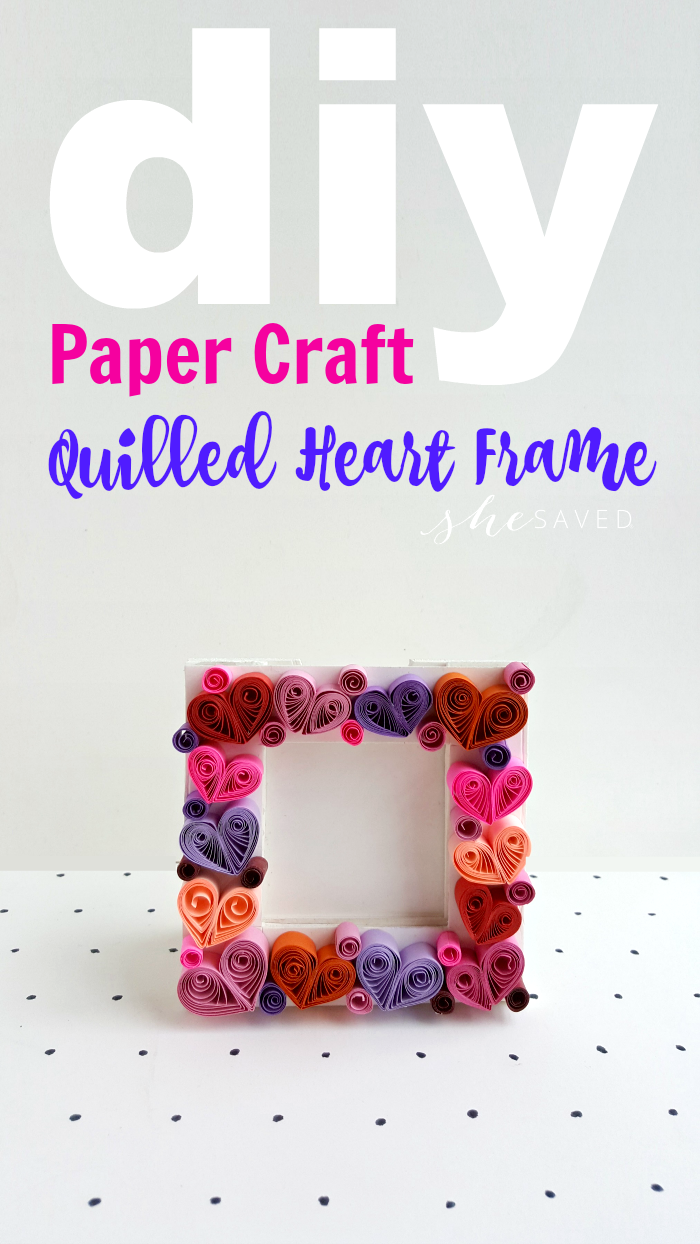
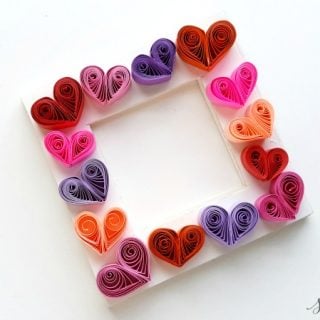
Today’s craft features this fun quilled heart photo frame. Keep in mind, you don’t need to make the frame. If you are short on time (or patience) you can also buy a blank frame or just use a store bought photo mat for the same effect.
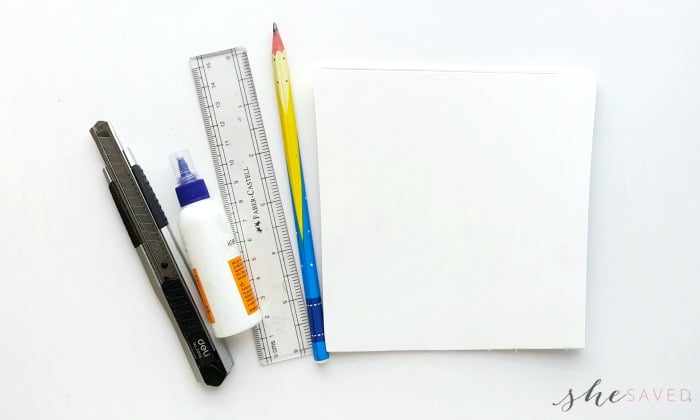
List of Supplies for the frame:
- Craft foam board
- Pencil
- Ruler
- X-acto knife
- Craft glue
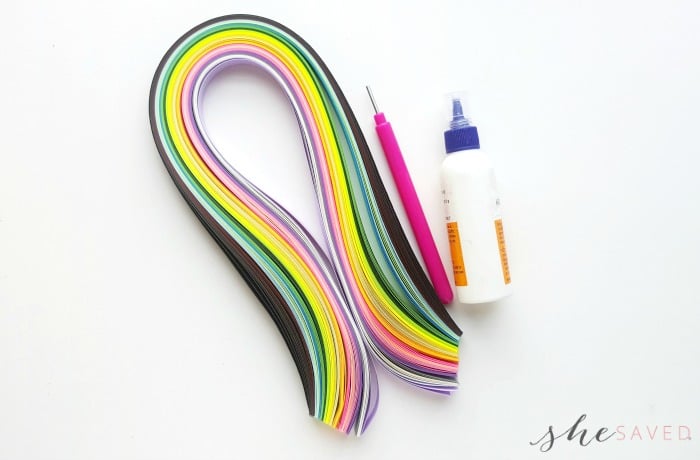
List of Supplies for decorating the frame:
- Quilling paper strips
- Slotted quilling tool
- Craft glue
Instructions:
*Keep in mind, if you don’t need a frame, you can skip to step three.
Step ONE:
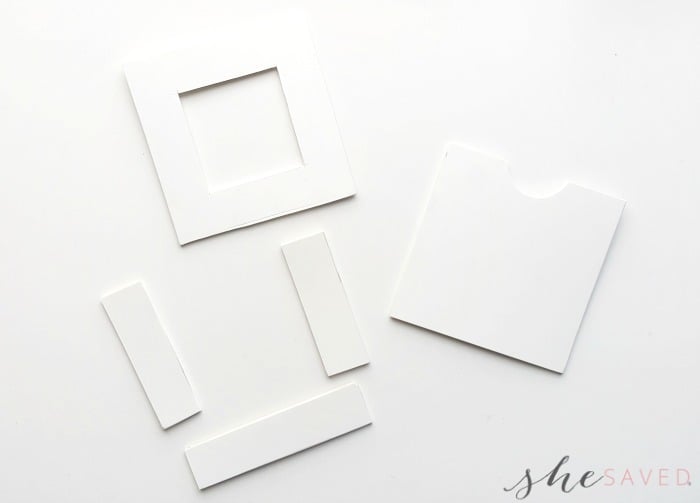
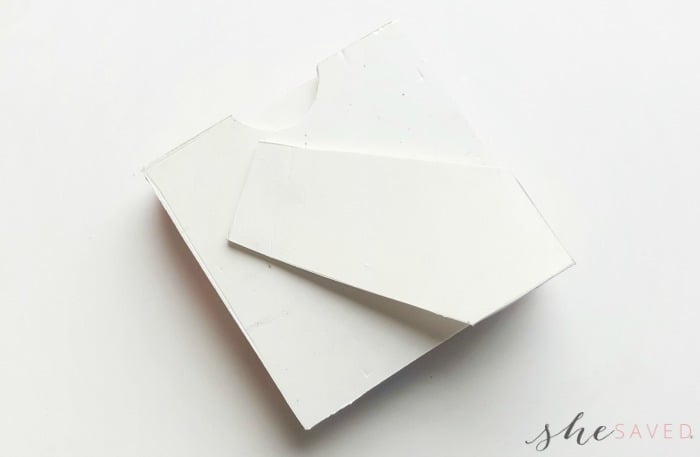
Print and cut out the template patterns. Grab the craft foam board and trace the patterns on it. Use the ruler to make sure that the measurements are accurate. Use pencil to trace the patterns and x-acto knife to cut out the traced patterns. The frame has 3 parts – back, middle and front.
Step TWO:
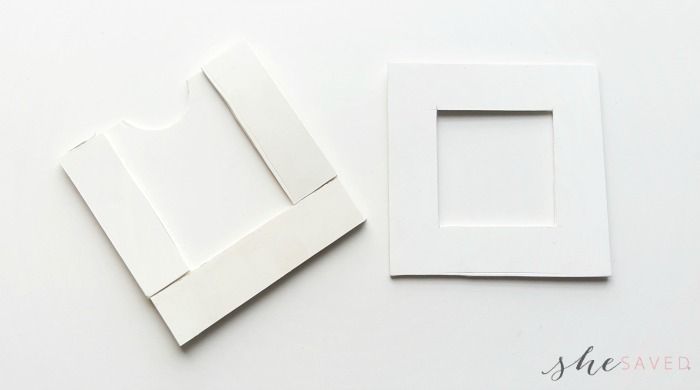
Take the back side of the frame and place it on a flat surface. Stick the middle parts (bottom, left and right) of the frame on the back part. The longest part among the middle parts will go along the bottom side of the frame’s back side. Attach the 2 other parts on 2 sides (left and right) of the frame’s back side.
Step THREE:
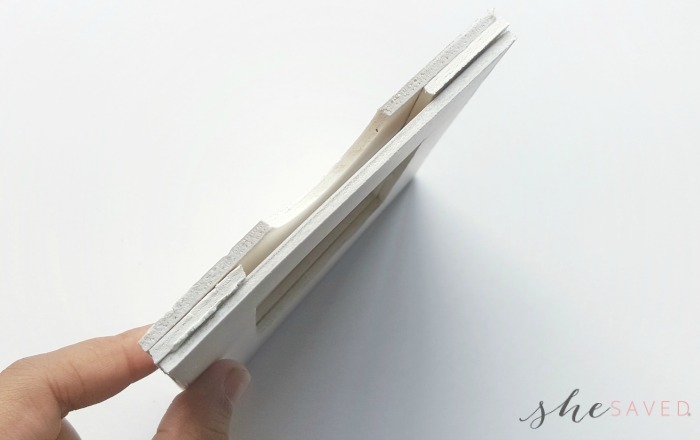
Now carefully attach the front part, making sure to match all 4 sides with the bottom and middle parts.
Making the Quilled Hearts for Your Frame
Step FOUR:
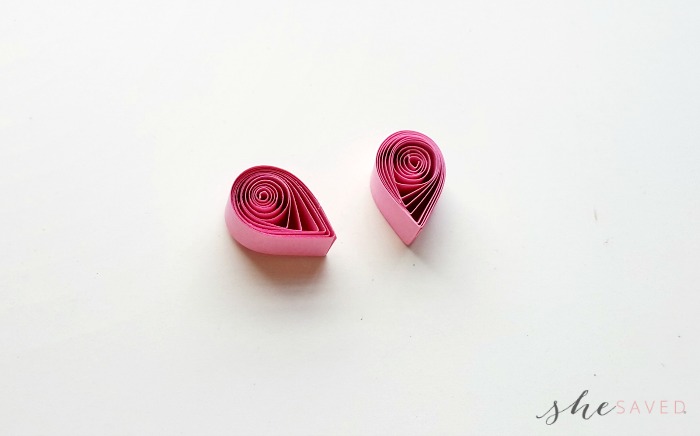
Grab a bunch of quilling strips; you will need a lot of them! Use the slotted quilling tool to create loose coils with the strip. Press the loose coil on any one side to form a teardrop shape. Apply glue to secure the open end. Similarly create another teardrop shape by using another strip of the same size and color.
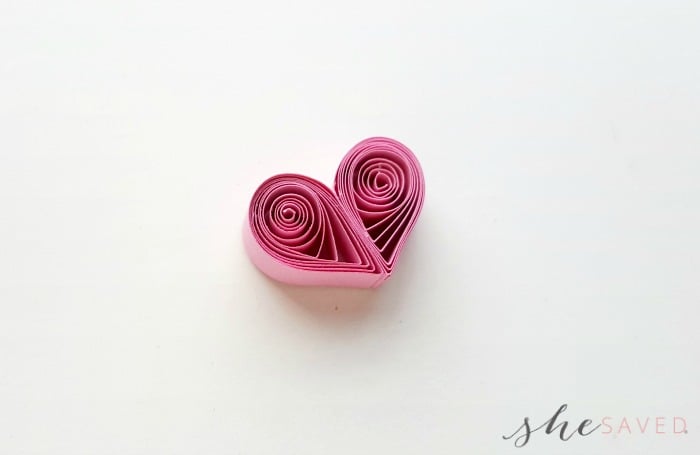
Step FIVE:
Take the 2 teardrop shape created in the previous step. Glue the shapes side by side to form a basic heart shape.
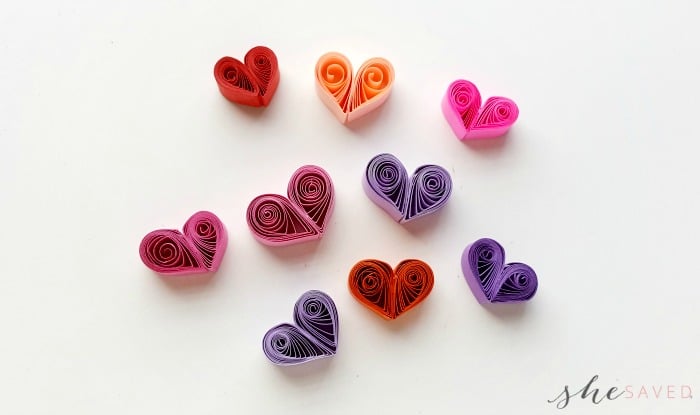
Step SIX:
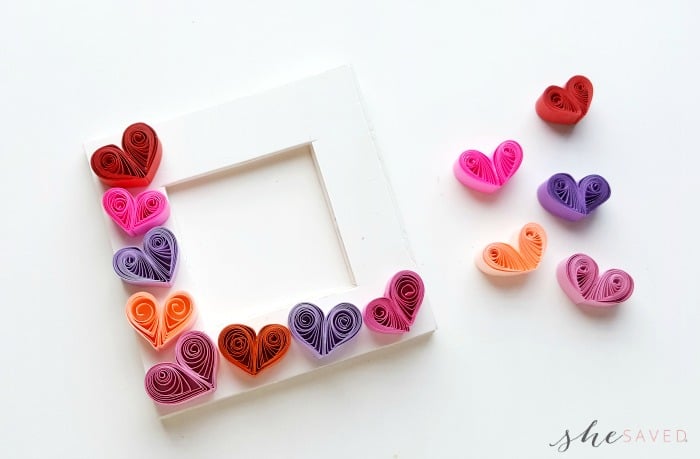
Similarly create more quilled heart shapes. I made 14 quilled heart shapes to fill my pattern.
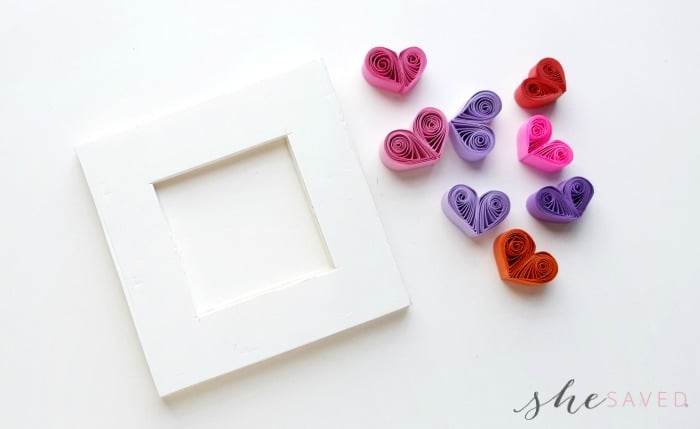
Step SEVEN:
All items ready? Grab the frame and the quilled hearts and let’s decorate the frame!
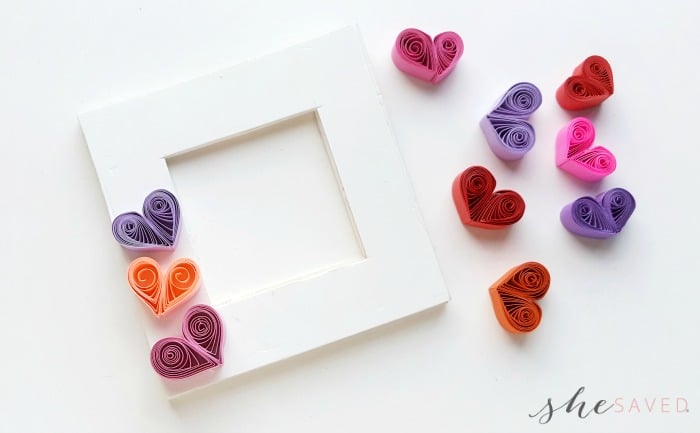
Step EIGHT:
Start to glue the hearts on the front side of the frame. I started to glue the quilled hearts from one side.
Continue to glue the quilled hearts until the frame is filled.
Step NINE:
If you want to fill the small gaps between the quilled hearts you can use small loose coils.
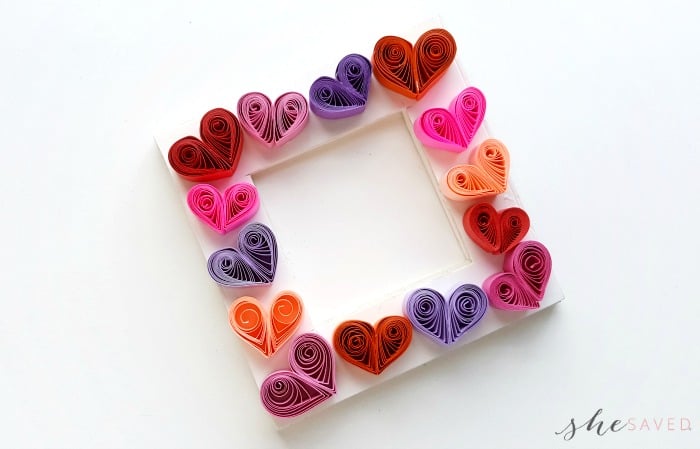
Step TEN:
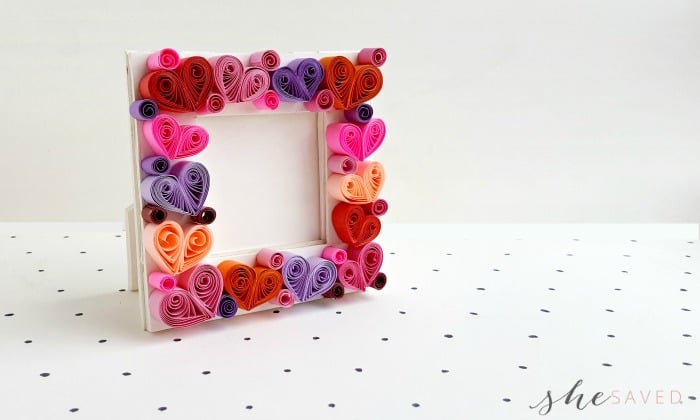
Make the photo frame stand out of craft foam board and attach it on the back side of the frame.

Step ELEVEN:
Allow the glue to dry. Lay the frame flat until the glue is dried.
Print the Instructions to Make this Quilled Heart Frame
DIY Paper Quilling Craft: Quilled Heart Photo Frame
Such a fun Valentine's Day gift idea! Make this cute paper quilled heart frame and put in your favorite photo or hand drawn piece of art or quote and you've got a wonderful handmade gift for your Valentine that will be cherished for years to come! We love paper quilling and it's an easy and fun way to make a gift from the heart!
Materials
List of Supplies for the frame:
- Craft foam board
- Craft glue
List of Supplies for decorating the frame:
- Quilling paper strips
- Craft glue
Tools
List of Tools for the frame:
- Pencil
- Ruler
- X-acto knife
List of Tools for decorating the frame:
- Slotted quilling tool
Instructions
Step -1:
Print and cut out the template patterns. Grab the craft foam board and trace the patterns on it. Use the ruler to make sure that the measurements are accurate. Use pencil to trace the patterns and x-acto knife to cut out the traced patterns. The frame has 3 parts – back, middle and front.
Step -2:
Take the back side of the frame and place it on a flat surface. Stick the middle parts (bottom, left and right) of the frame on the back part. The longest part among the middle parts will go along the bottom side of the frame’s back side. Attach the 2 other parts on 2 sides (left and right) of the frame’s back side.
Step - 3:
Now carefully attach the front part, making sure to match all 4 sides with the bottom and middle parts.
Step - 4:
Grab a bunch of quilling strips; you will need a lot of them! Use the slotted quilling tool to create loose coils with the strip. Press the loose coil on any one side to form a teardrop shape. Apply glue to secure the open end. Similarly create another teardrop shape by using another strip of the same size and color.
Step - 5:
Take the 2 teardrop shape created in the previous step. Glue the shapes side by side to form a basic heart shape.
Step - 6:
Similarly create more quilled heart shapes. I made 14 quilled heart shapes to fill my pattern.
Step - 7:
All items ready? Grab the frame and the quilled hearts and let’s decorate the frame!
Step - 8:
Start to glue the hearts on the front side of the frame. I started to glue the quilled hearts from one side.
Step – 9 and 10:
Continue to glue the quilled hearts until the frame is filled.
Step - 11:
If you want to fill the small gaps between the quilled hearts you can use small loose coils.
Step - 12:
Make the photo frame stand out of craft foam board and attach it on the back side of the frame.
Step – 13 (final image):
Allow the glue to dry. Lay the frame flat until the glue is dried.


Meet the author – Keri Lyn
The creative and frugal mind behind She Saved for over 12 years now, Keri Lyn shares her adventures in parenting along with her love for family travel, country living and brand marketing. A self-proclaimed “brand loyalist”, Keri Lyn is known for her strong and enthusiastic voice when it comes to the products and brands that she loves. She Saved has become a community for like-minded consumers who appreciate saving money, time and sanity by getting the best deals on quality products and experiences.