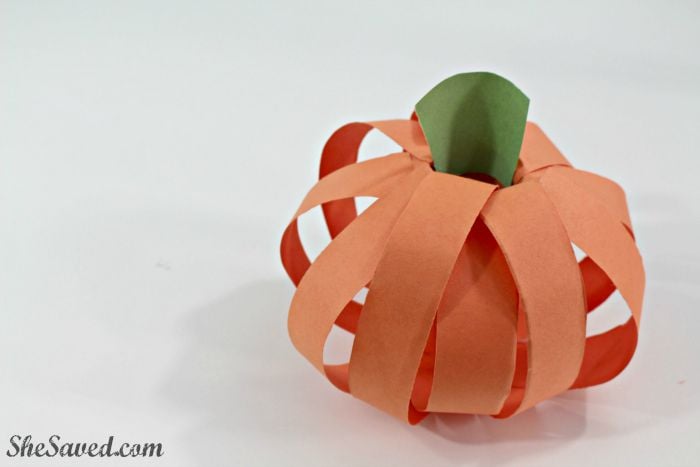
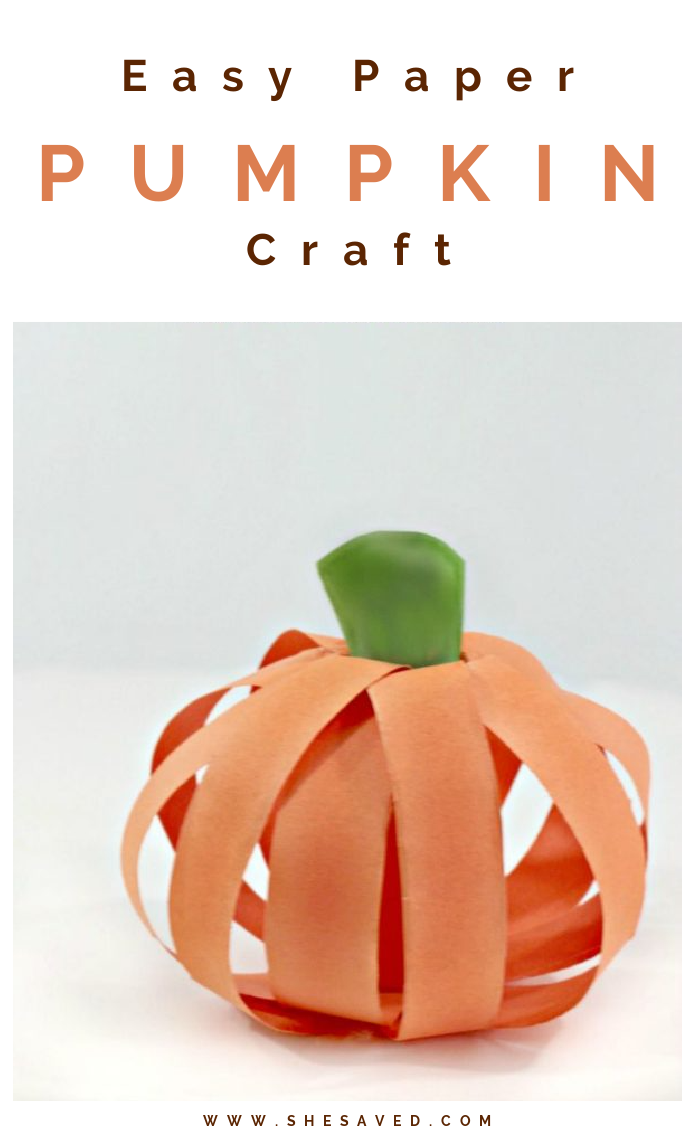
Fall Craft: Easy Paper Pumpkin Craft
Little hands love to create and this easy paper pumpkin craft is just perfect for little creative minds! I love that this craft project uses their cutting and gluing skills. (*if you want to simplify this project, you could have the strips already cut for them.)

The best part about this project is that every pumpkin will turn out a little different and it makes for a wonderful finished “paper pumpkin patch” display!
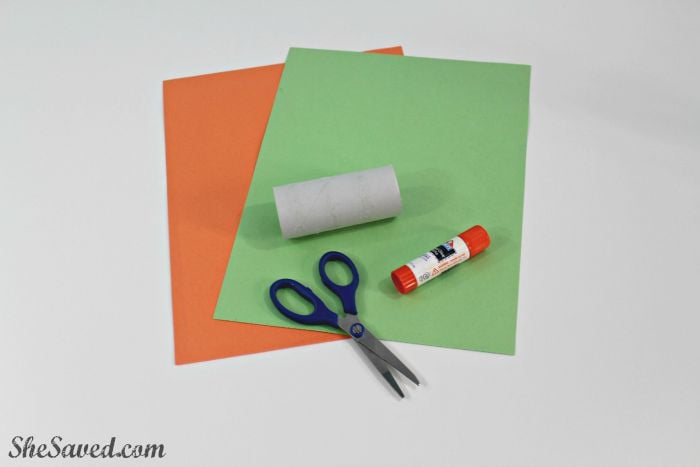
Supplies for this Paper Pumpkin Craft Project
2 sheets of orange and 1 green construction paper
empty toilet paper tube
scissors
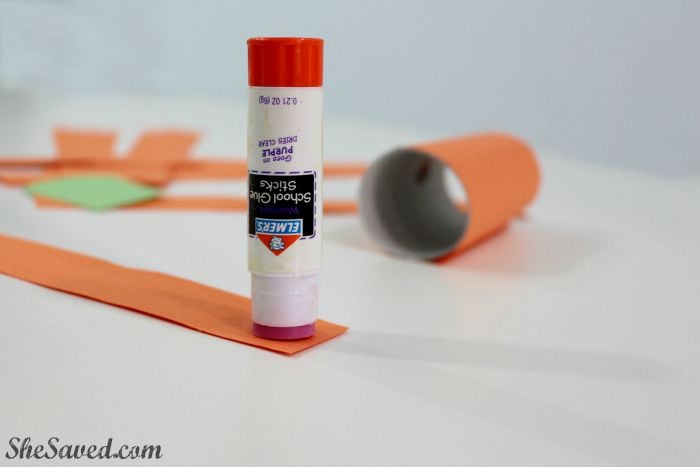
glue
How to Make
Step 1: Use a ruler or folds in the paper to measure strips at least 1 inch wide. Measure them along the shorter side length of the construction paper. You will want approximately 12 strips for each pumpkin.
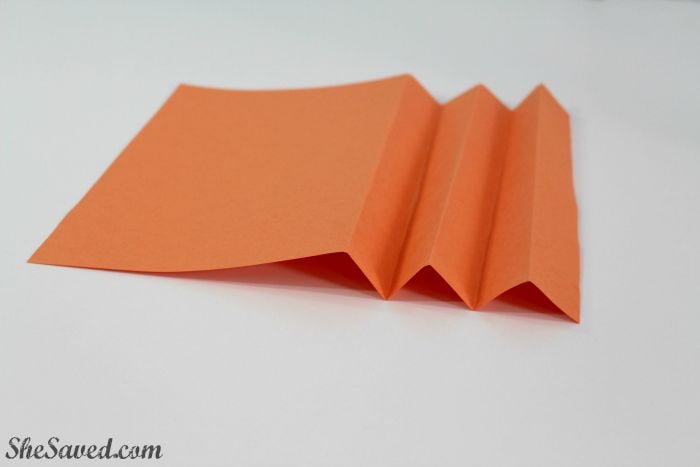
Step 2: Cut your strips of paper.
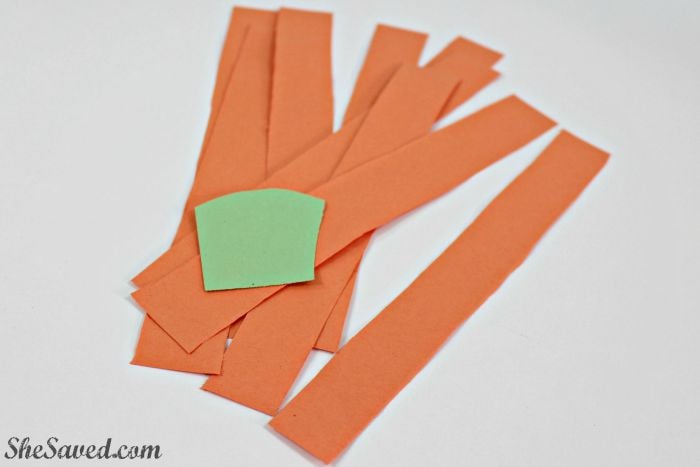
Step 3: Cut a stem of any size or shape from the green construction paper. You will want the base of the stem to not exceed 2 inches so that it fits into the top of the tube.
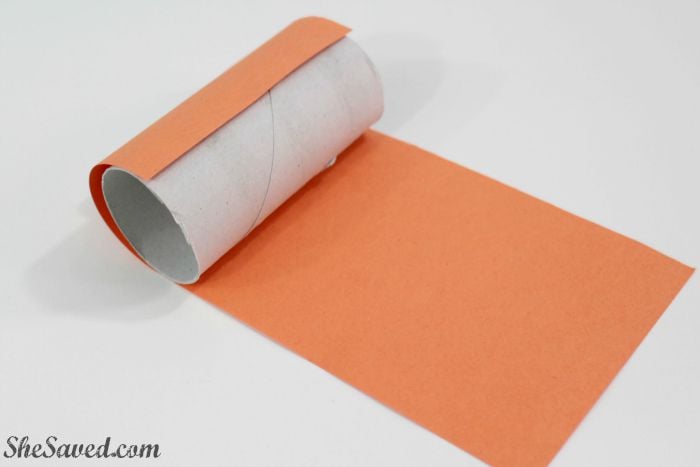
Step 4: Lay the toilet paper roll on the orange paper and measure where to cut so that you cover/wrap the tube.
Step 5: Cut the orange paper and use glue to apply it to the outside of the roll.
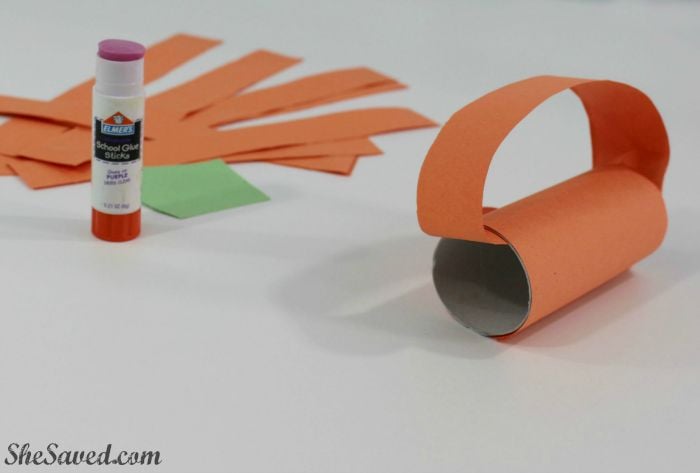
Step 6: For each strip of paper, apply glue to the very ends and press inside each end of the paper roll. Repeat this process adding strips around the entire tube.
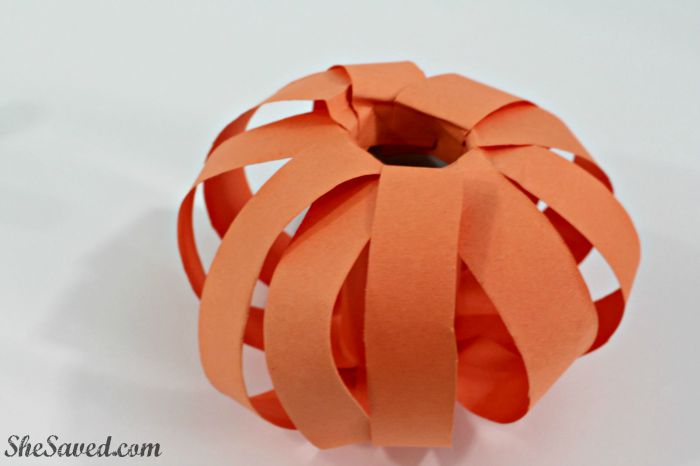
Step 7: Apply glue to one side of the bottom of the stem and press it into the top of the roll.
How fun is that? This easy to make paper pumpkin craft is perfect for kids of all ages and will make fun Halloween or Fall Harvest Party decorations. This craft also works well to help kids work on their cutting and pasting skills.
For more fun fall favorite and halloween craft ideas, check out these other projects we’ve shared:
What are your favorite Halloween and Fall craft ideas?

Meet the author – Keri Lyn
The creative and frugal mind behind She Saved for over 12 years now, Keri Lyn shares her adventures in parenting along with her love for family travel, country living and brand marketing. A self-proclaimed “brand loyalist”, Keri Lyn is known for her strong and enthusiastic voice when it comes to the products and brands that she loves. She Saved has become a community for like-minded consumers who appreciate saving money, time and sanity by getting the best deals on quality products and experiences.