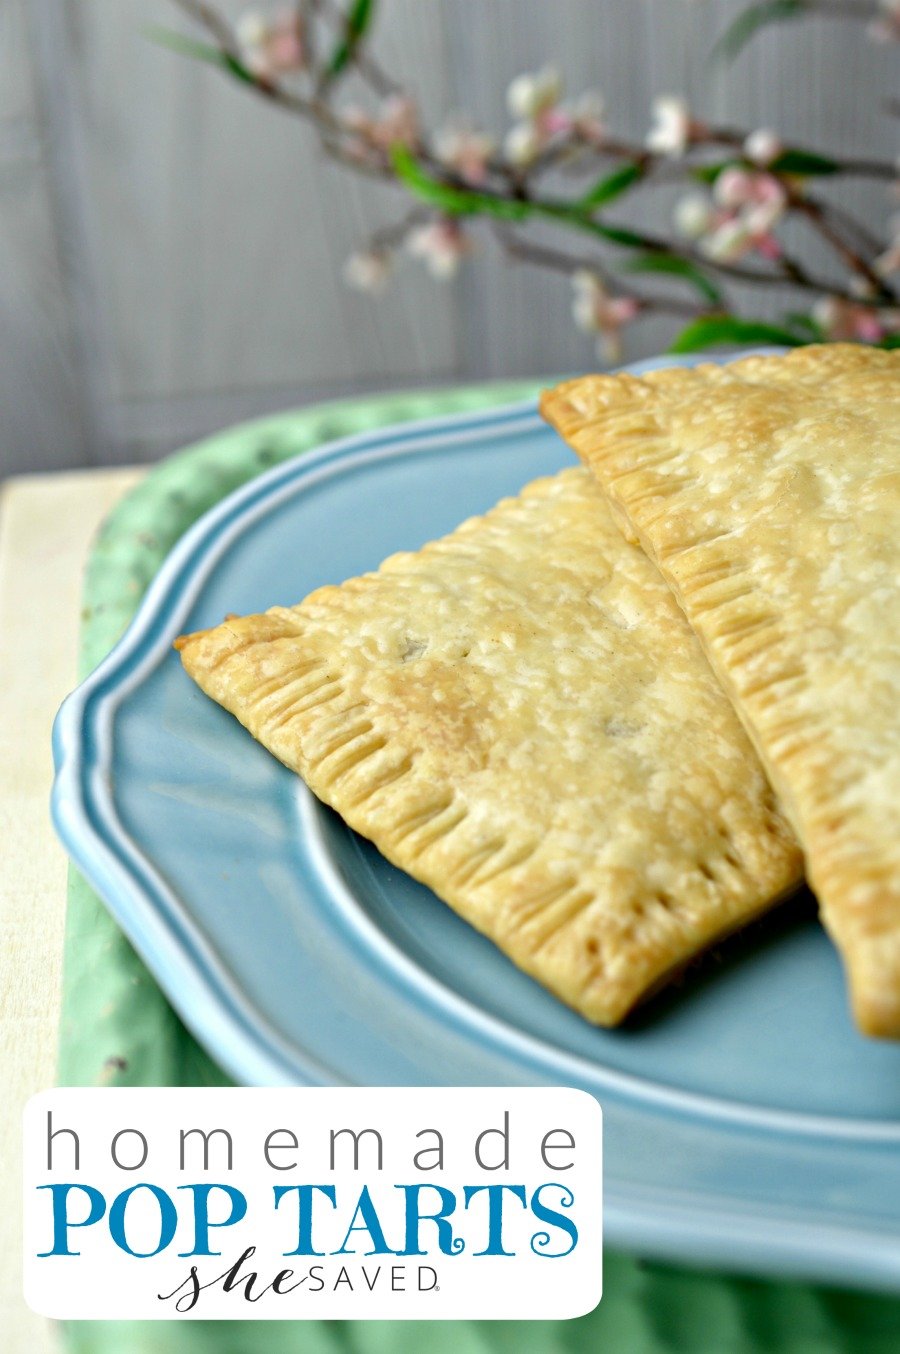
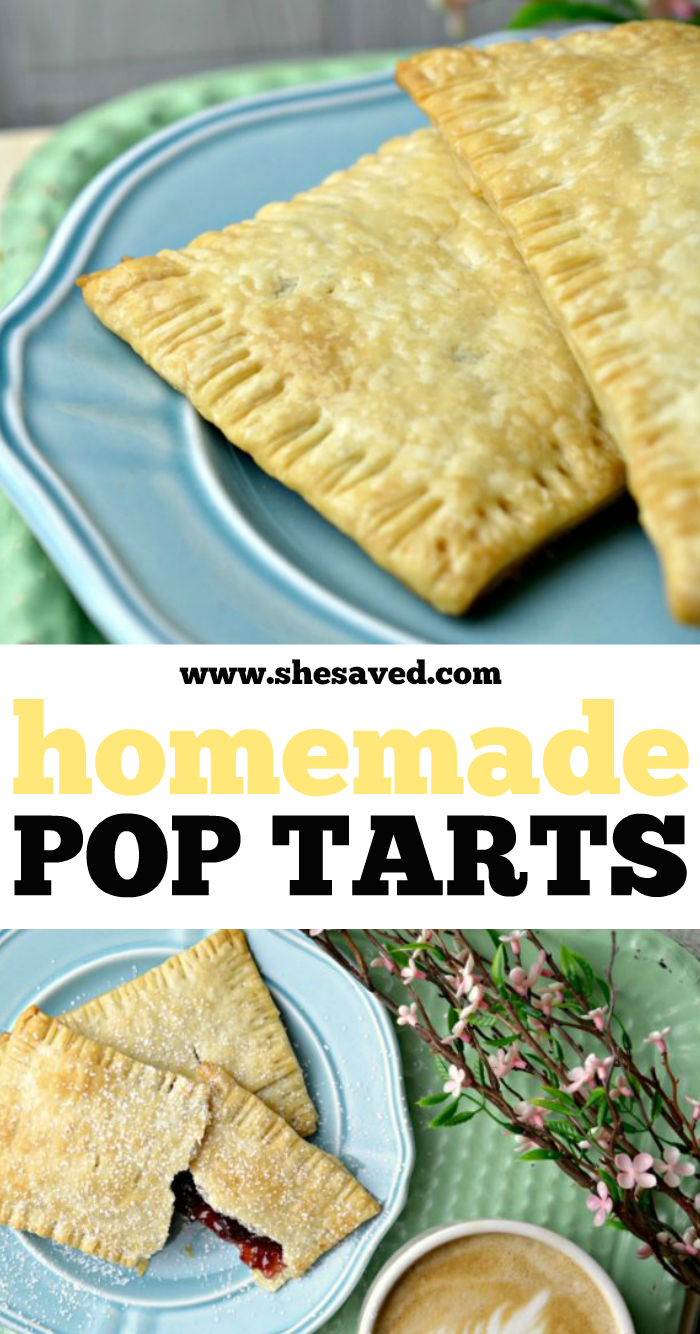
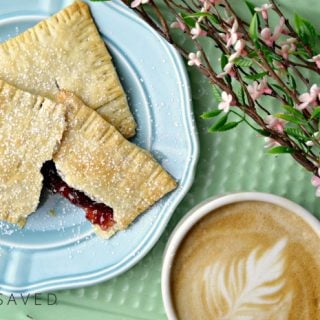
Easy Pop Tart Recipe
Are your kids begging for a box of Pop Tarts? Why not make them at home with them with this Easy Pop Tart Recipe that they can customize with their favorite flavors!
My kids LOVE the ideas of Pop Tarts but I’m just not crazy about the contents. This recipe has been a wonderful solution, and they actually say that they like them even better than the store bought ones!
Easy Pop Tart Recipe
Making Pop Tarts at home is not only economical, but it will give you peace knowing that you know exactly what is in them and that you’ve made them fresh for your family.
Ingredients for homemade Pop Tarts:
- 1 package of Pie Dough (or your favorite homemade recipe!)
- 1/2 cup Jam (any flavor!)
- Butter, for brushing
How to Make Homemade Pop Tarts
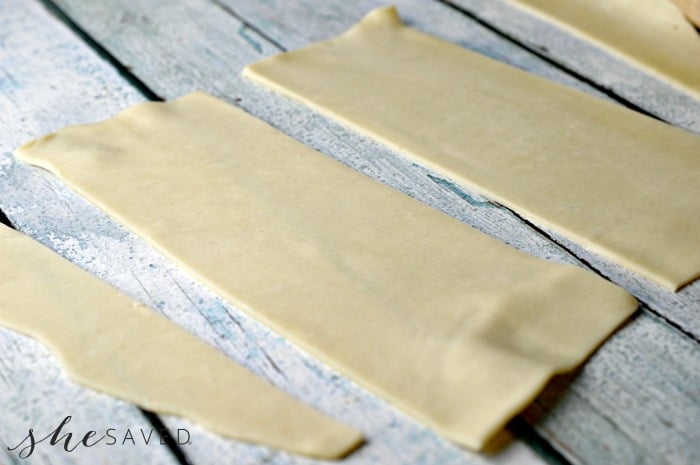
Begin by rolling your pie dough out on a lightly floured surface (if needed) until it’s about 1/8 – 1/4 inch thick.
Cut the dough into roughly 12, 3×4 inch pieces. Re-roll your dough as needed to use as much as possible.
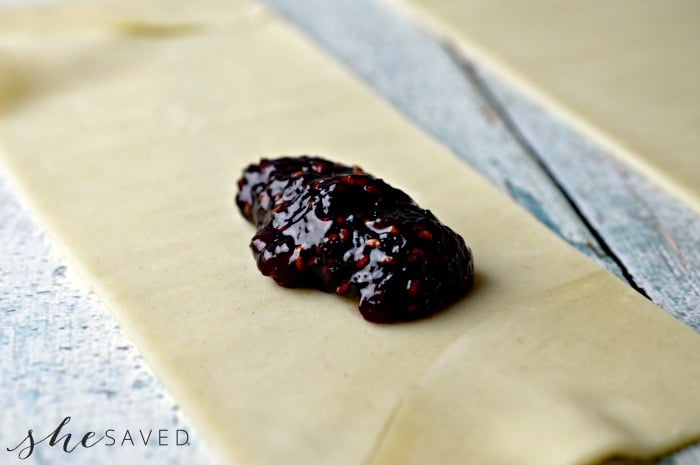
Place about a tablespoon of jam into the middle of each of the rectangles.
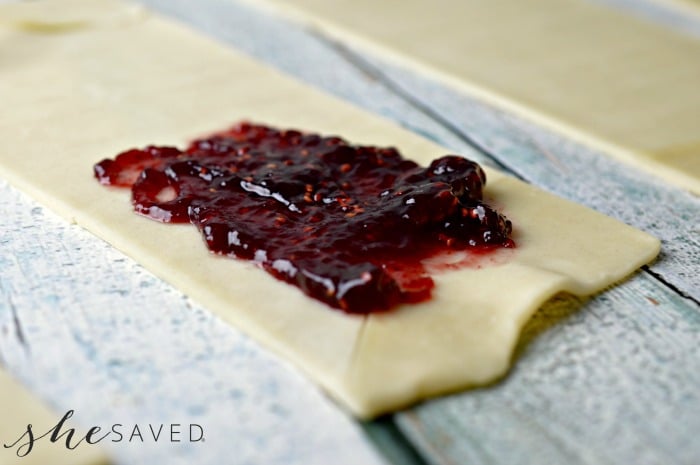
Spread out the jam slightly and then brush a small amount of butter around the edges of the dough.
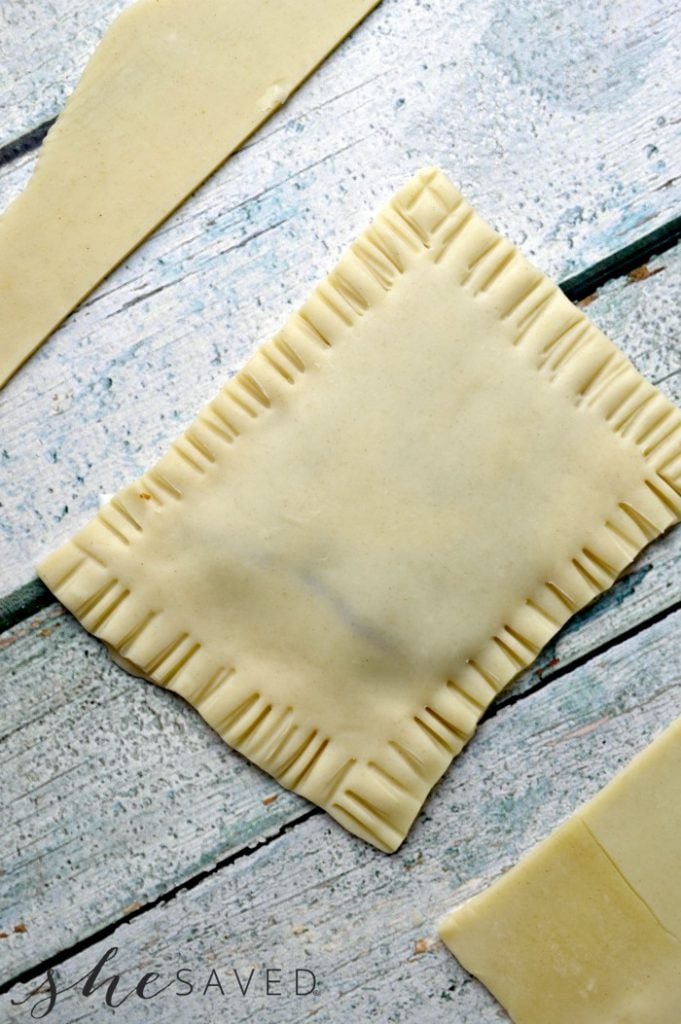
Fold the dough over and use a fork to crimp the edges of the pop tart, all the way around the rectangle.
Use a sharp knife to cut 3 very small slices along the top of the pop tart so that it can “breath” in the oven and the jam won’t explode.
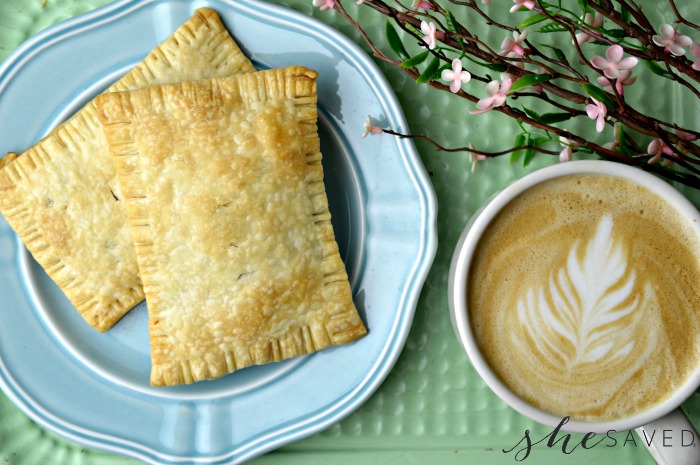
Bake the Pop Tarts on a greased cookie sheet at 350 degrees for about 20 minutes or until golden brown.
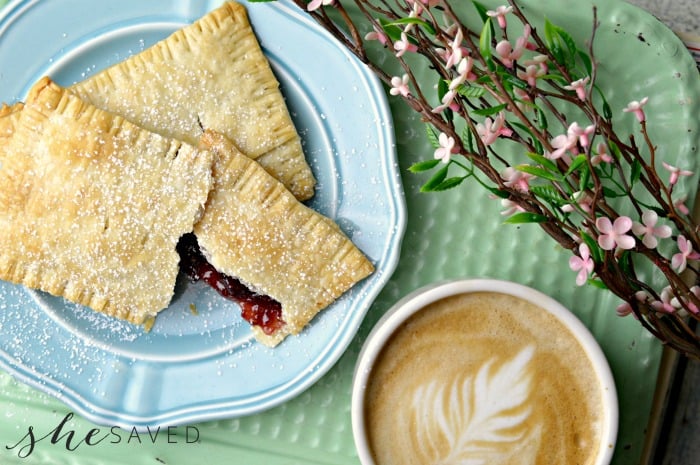
Cool and sprinkle with a bit of powdered sugar if desired.
This easy Pop Tart recipe is so simple to customize with your favorite flavors!
Just let your kids pick out their favorite jam flavor the next time you are at the store or you could even try a combination of a few flavors!
You can also make a powdered sugar icing to go on top of them.
I like to make them in batches and then freeze them.
I recommend individually wrapping them in cling wrap and then putting into a Ziploc freezer bag so that the kids (and husband!) can put them in the toaster oven or microwave to reheat.
Because these are homemade, they are a bit more fragile and don’t do quite as well in the toaster, and do best when laying flat for reheating.
I love finding and sharing great breakfast recipes!
If you enjoy berry recipes, you might like our Mixed Berry Tart recipe – it’s a family favorite and perfect for all occasions. Other favorite berry recipes include our Apple Blackberry Fruit Tart and Favorite Fruit Recipes.
Print the Recipe for Homemade Pop Tarts
Easy Pop Tart Recipe
Are your kids begging for a box of Pop Tarts? Why not make them at home with them with this Easy Pop Tart Recipe that they can customize with their favorite flavors!
Ingredients
- 1 package of Pie Dough (or your favorite homemade recipe!)
- 1/2 cup Jam (any flavor!)
- Butter, for brushing
Instructions
Begin by rolling your pie dough out on a lightly floured surface (if needed) until it’s about 1/8 – 1/4 inch thick. Cut the dough into roughly 12, 3×4 inch pieces. Re-roll your dough as needed to use as much as possible.
Place about a tablespoon of jam into the middle of each of the rectangles.
Spread out the jam slightly and then brush a small amount of butter around the edges of the dough.
Fold the dough over and use a fork to crimp the edges of the pop tart, all the way around the rectangle. Use a sharp knife to cut 3 very small slices along the top of the pop tart so that it can “breath” in the oven and the jam won’t explode.
Bake the Pop Tarts on a greased cookie sheet at 350 degrees for about 20 minutes or until golden brown. Cool and sprinkle with a bit of powdered sugar if desired.
Notes
I like to make them in batches and then freeze them. I recommend individually wrapping them in cling wrap and then putting into a Ziploc freezer bag so that the kids (and husband!) can put them in the toaster oven or microwave to reheat. Because these are homemade, they are a bit more fragile and don’t do quite as well in the toaster, and do best when laying flat for reheating.

Meet the author – Keri Lyn
The creative and frugal mind behind She Saved for over 12 years now, Keri Lyn shares her adventures in parenting along with her love for family travel, country living and brand marketing. A self-proclaimed “brand loyalist”, Keri Lyn is known for her strong and enthusiastic voice when it comes to the products and brands that she loves. She Saved has become a community for like-minded consumers who appreciate saving money, time and sanity by getting the best deals on quality products and experiences.


Those look waaaaayy better than the store bought stuff!!! Thanks for sharing! 🙂